Koreans can’t bake.
That’s been my insecurity since starting this baking journey. That I’m Korean. And unlike my fellow caucasian friends, I have no family pie recipe or a mom that baked chocolate chip cookies with me on Saturday mornings. The only things I baked as a child were Pillsbury crescents from a tin or boxed Duncan Hines. Baking from scratch was never a part of my family growing up.

Instead, my Saturdays consisted of Korean language classes followed by math drills with Sargent Shin… and his chopstick wand. After math, my sisters and I would get to watch some TV whilst stuffing thousands of Korean dumplings called “mandu”. Okay. Maybe not thousands but god did it ever feel like thousands! Only after all the mandus were stuffed and our math drills were done correctly, were my sisters and I allowed to bake Duncan Hines Classic Yellow Cake. And if we were really lucky, my mom would have bought the chocolate icing in a carton for us to ice the yellow cake with. As a child, baking this cake and devouring it was my escape, my utopia, my moment of being unkorean.
…


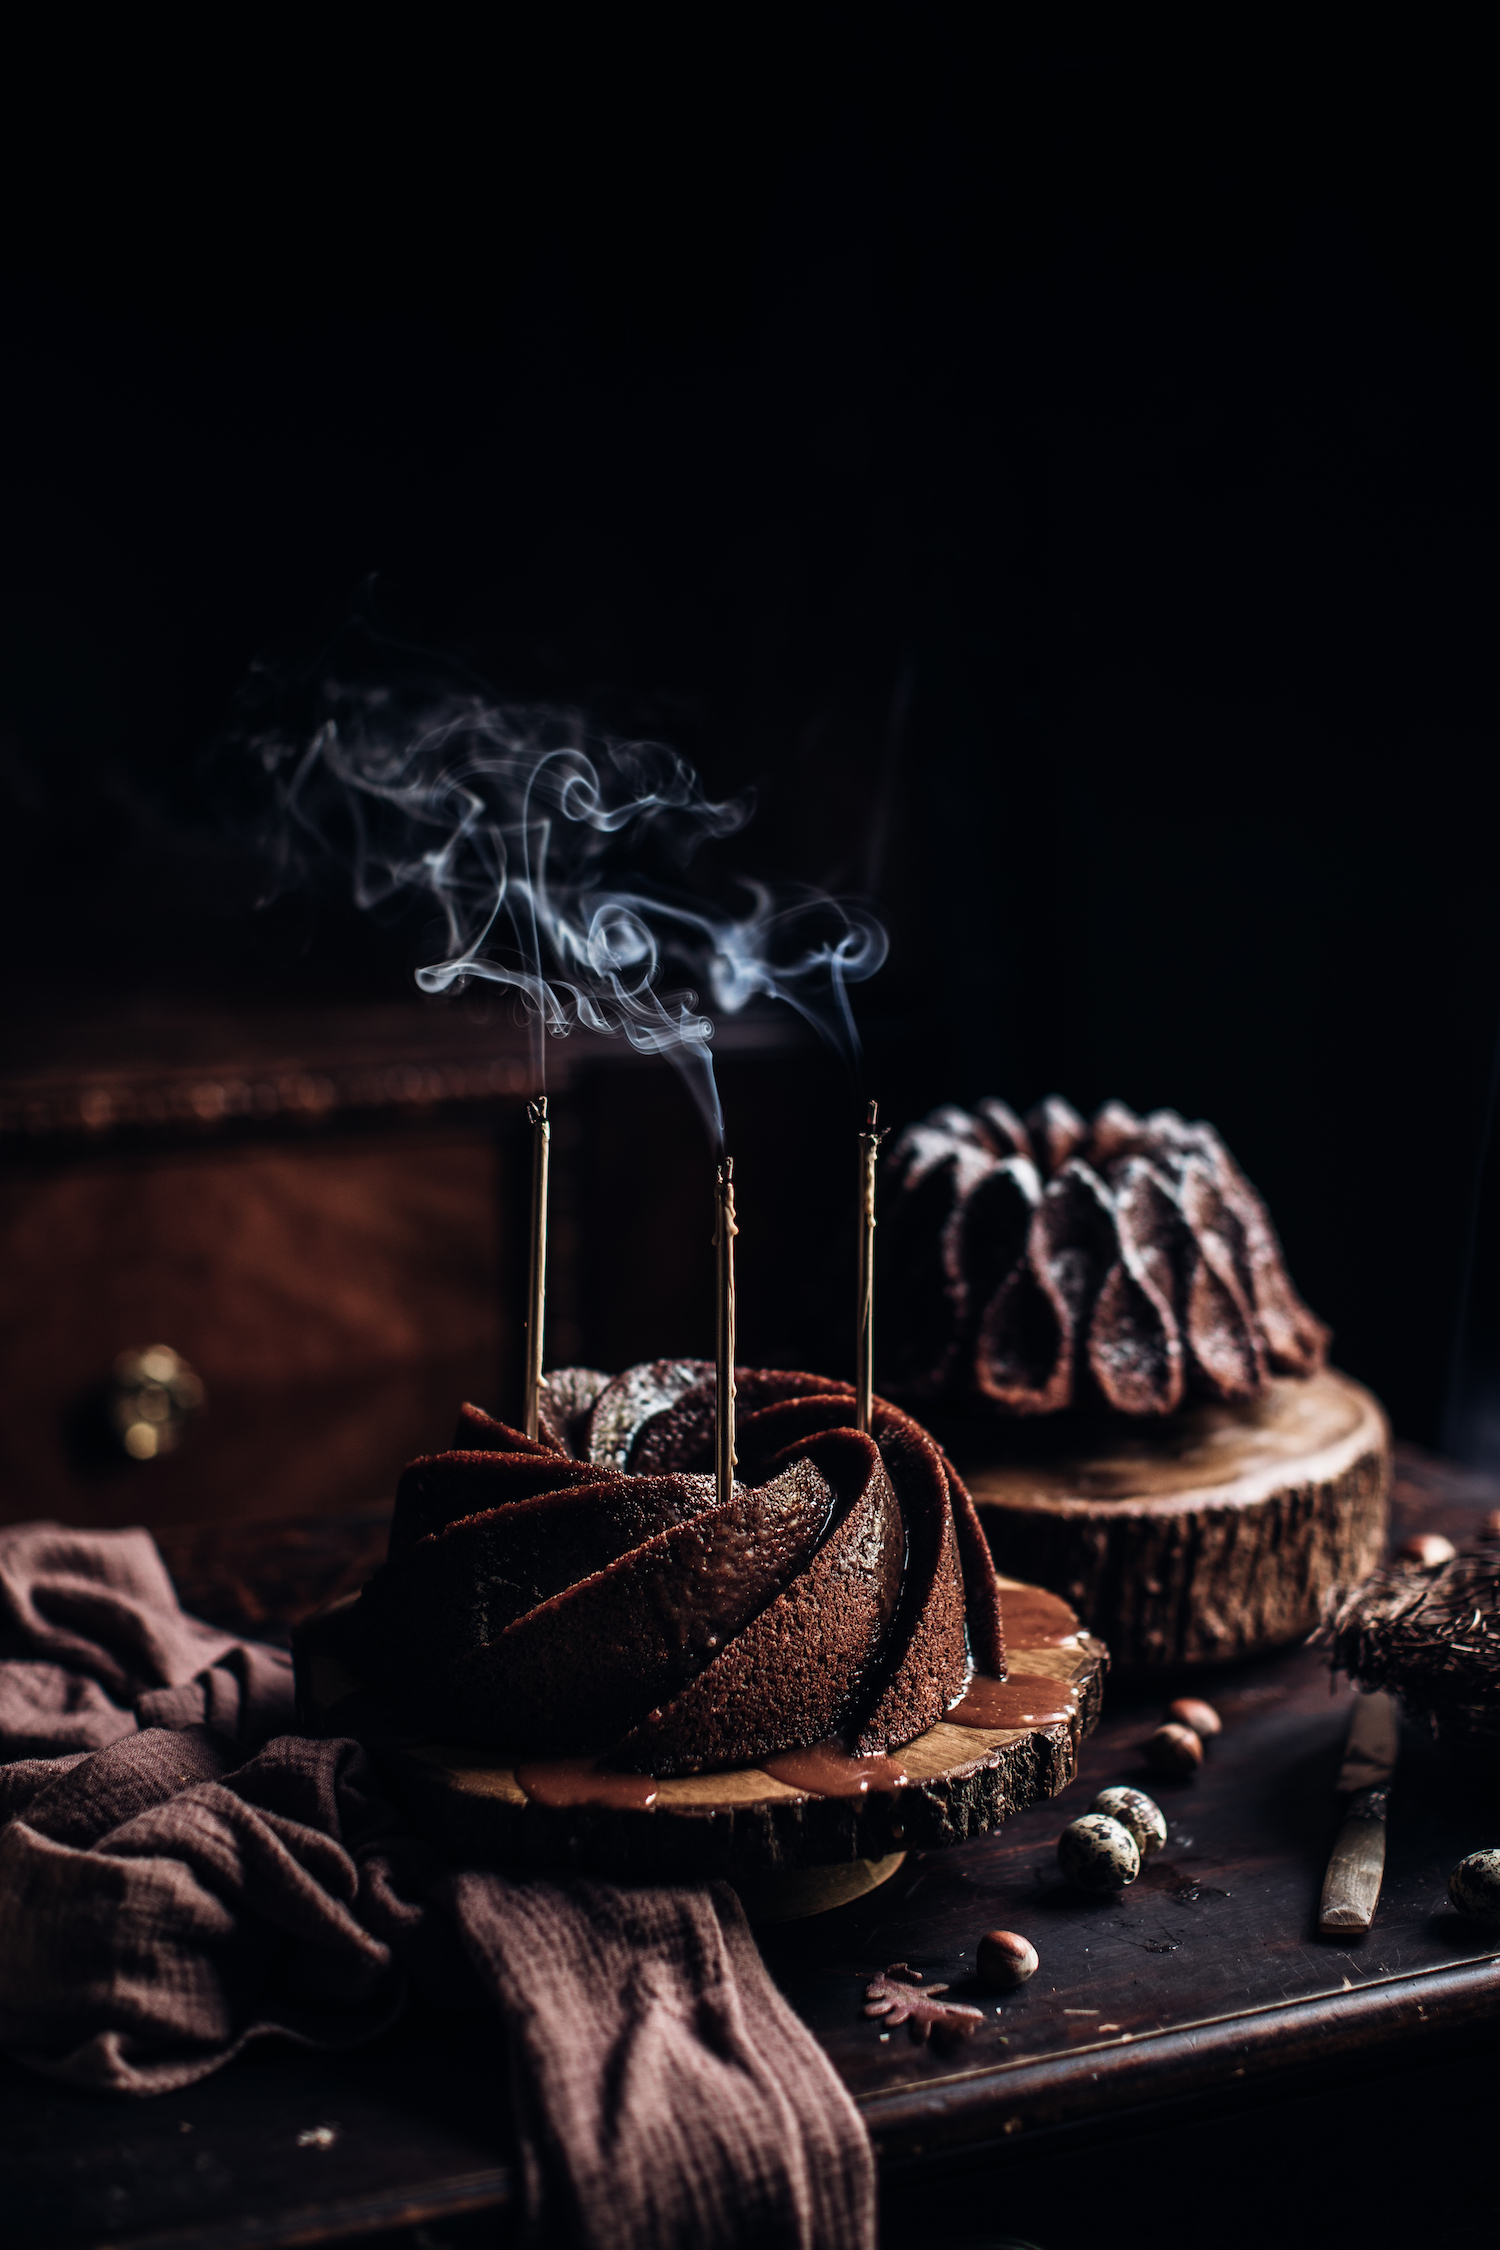
 FOOD STYLING AND PHOTOGRAPHY WORKSHOP