• Skip to primary navigation
  • Skip to main content
  • Skip to primary sidebar

STEMS & FORKS

Beautiful musings of flora and fare.

  • Home/Blog
  • About
  • Recipe Index
  • Awards and Accolades
  • Contact
  • Workshops
  • Gallery

Cakes

Spiced Rum, Pecan, and Chocolate Bundt Cake

January 18, 2021 By stemsandforks

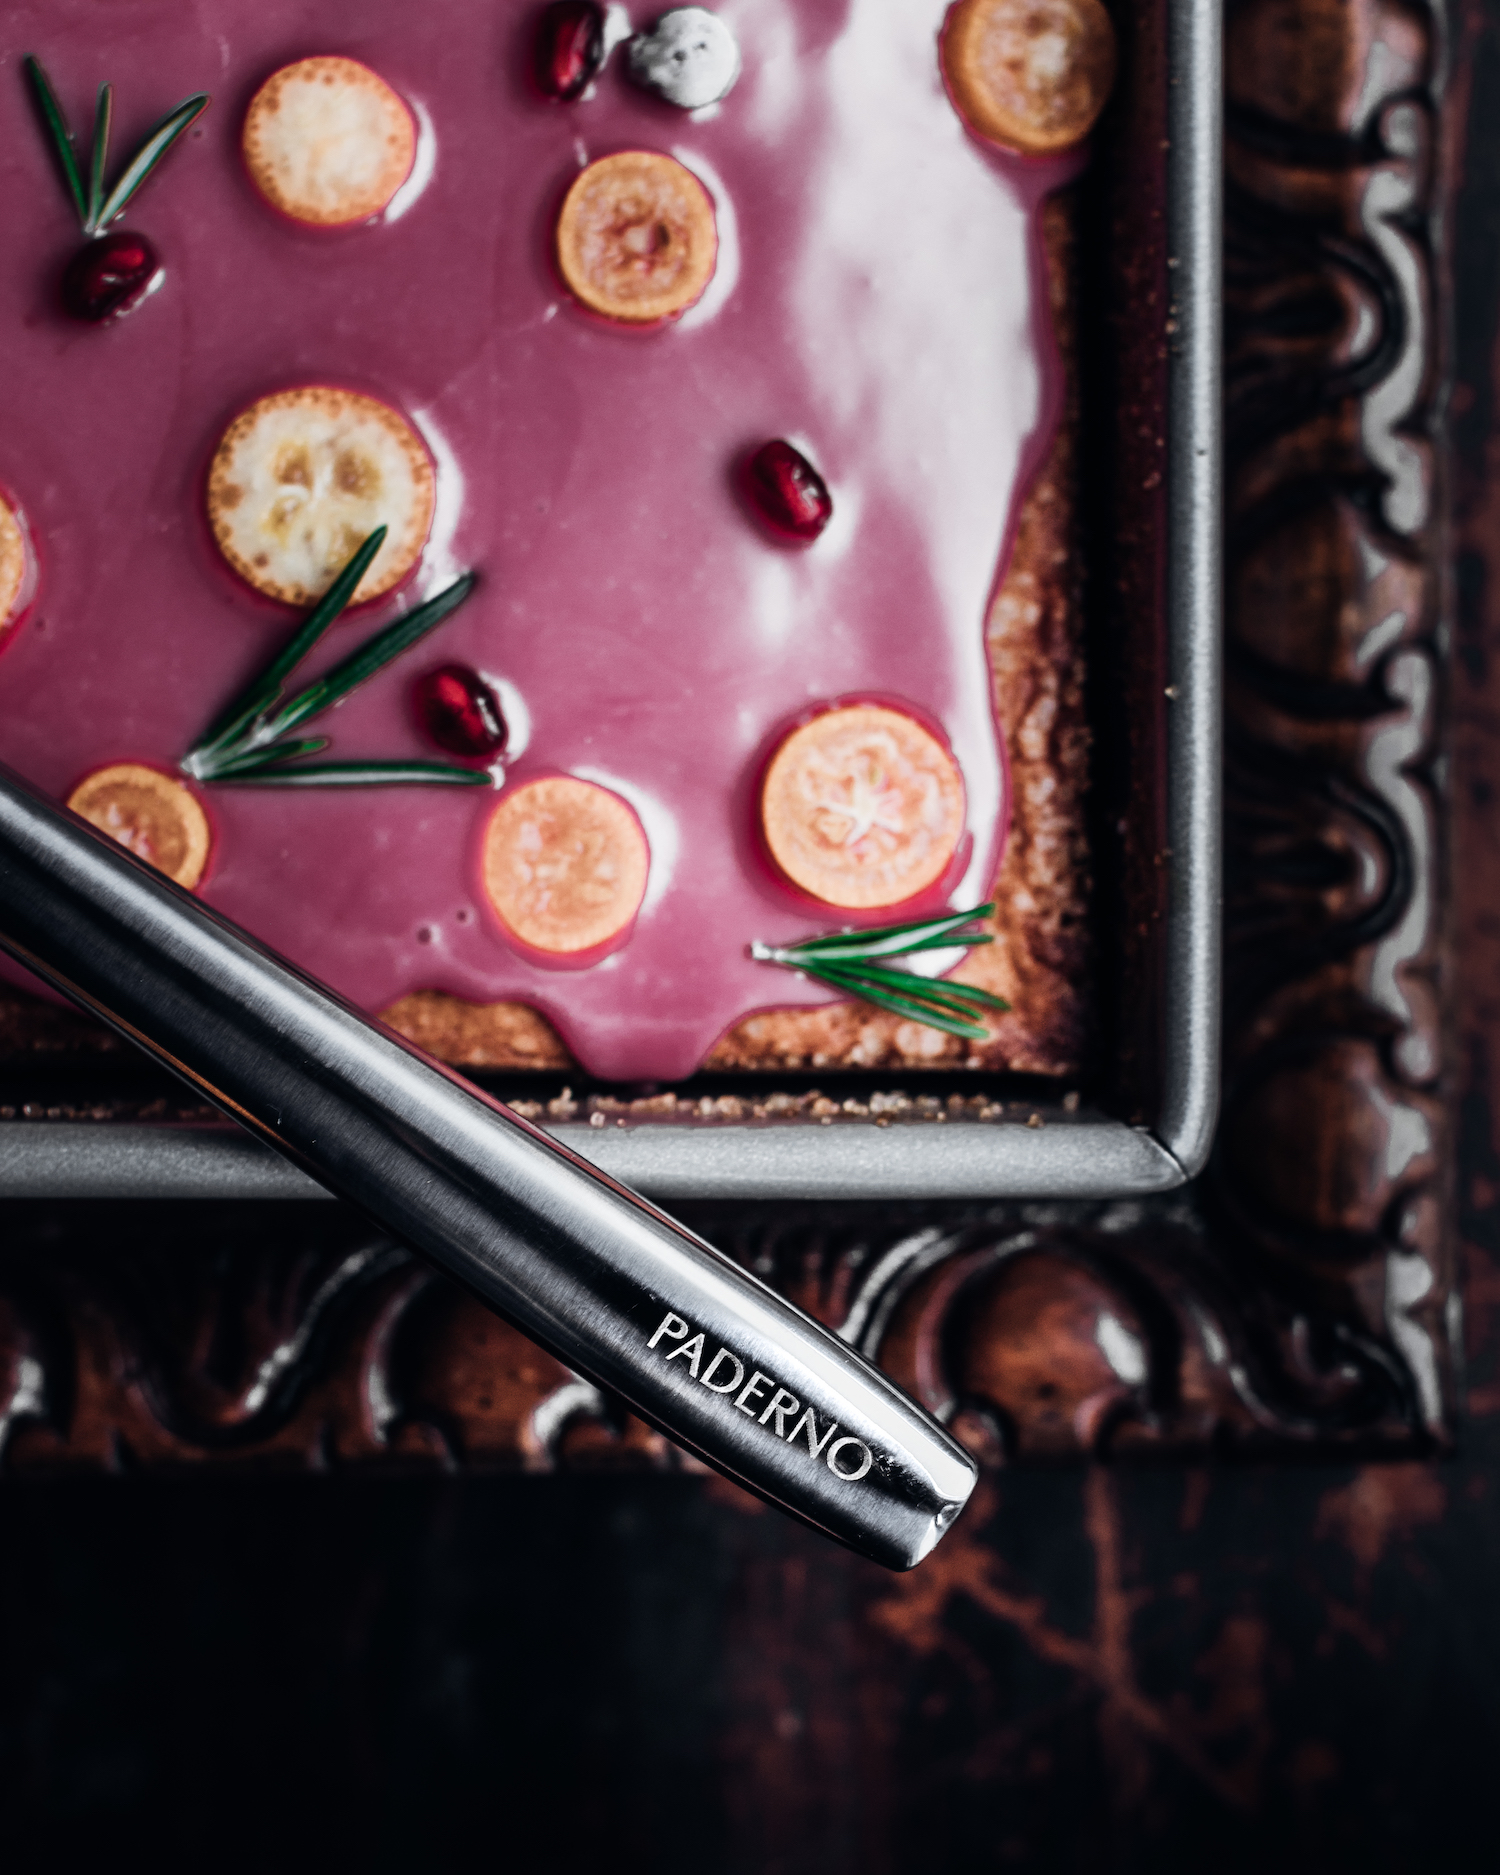
This recipe was sponsored by Paderno Kitchenware.

Paderno Kitchenware’s Fine-Edge Arch Cake Pan.

PADERNO Montgomery Chef’s Knife, 8-in
PADERNO Digital Kitchen Scale, 30-lb

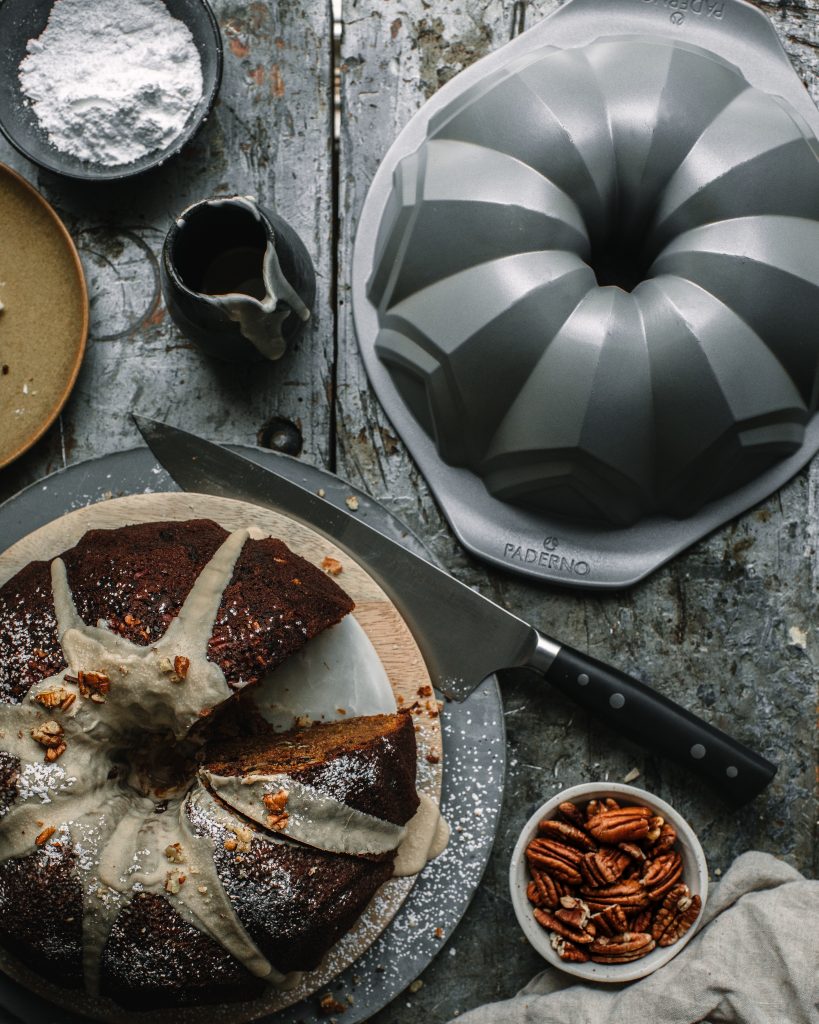
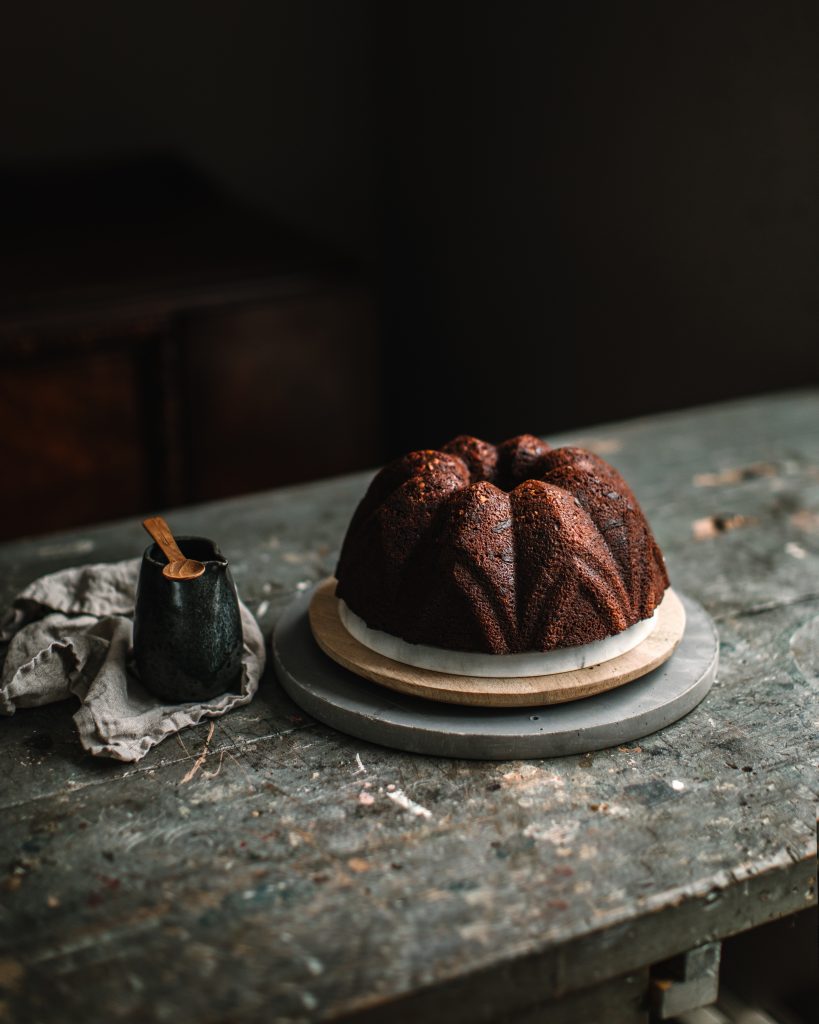
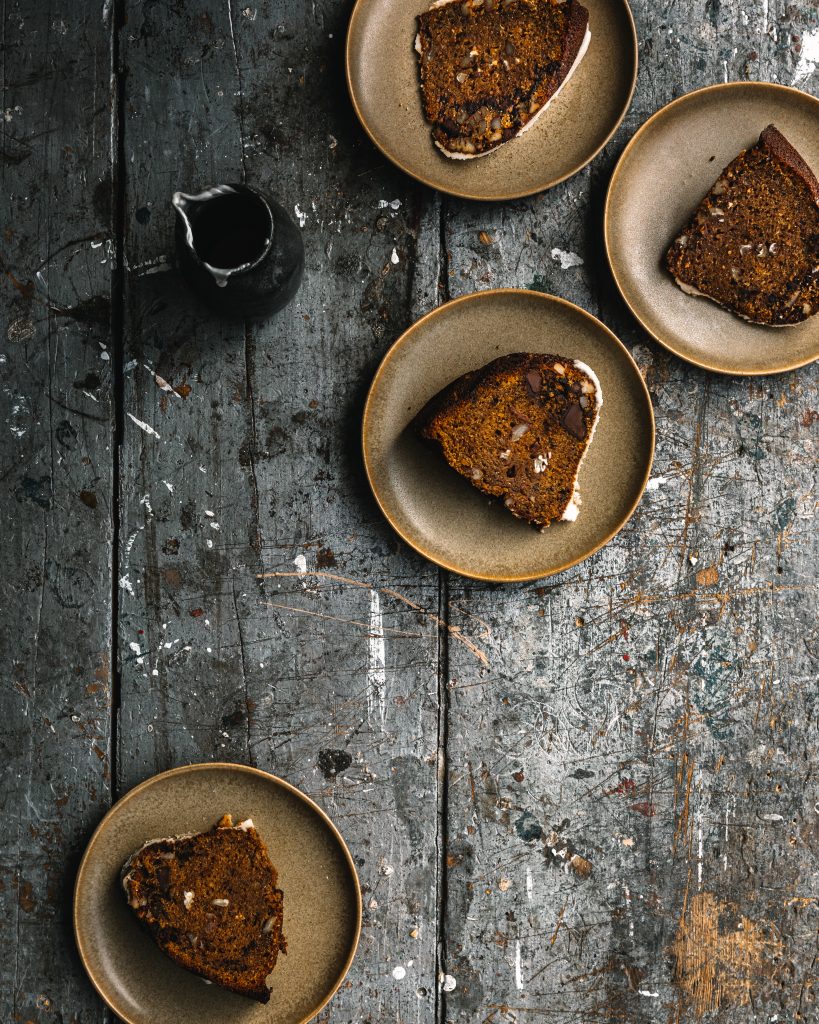
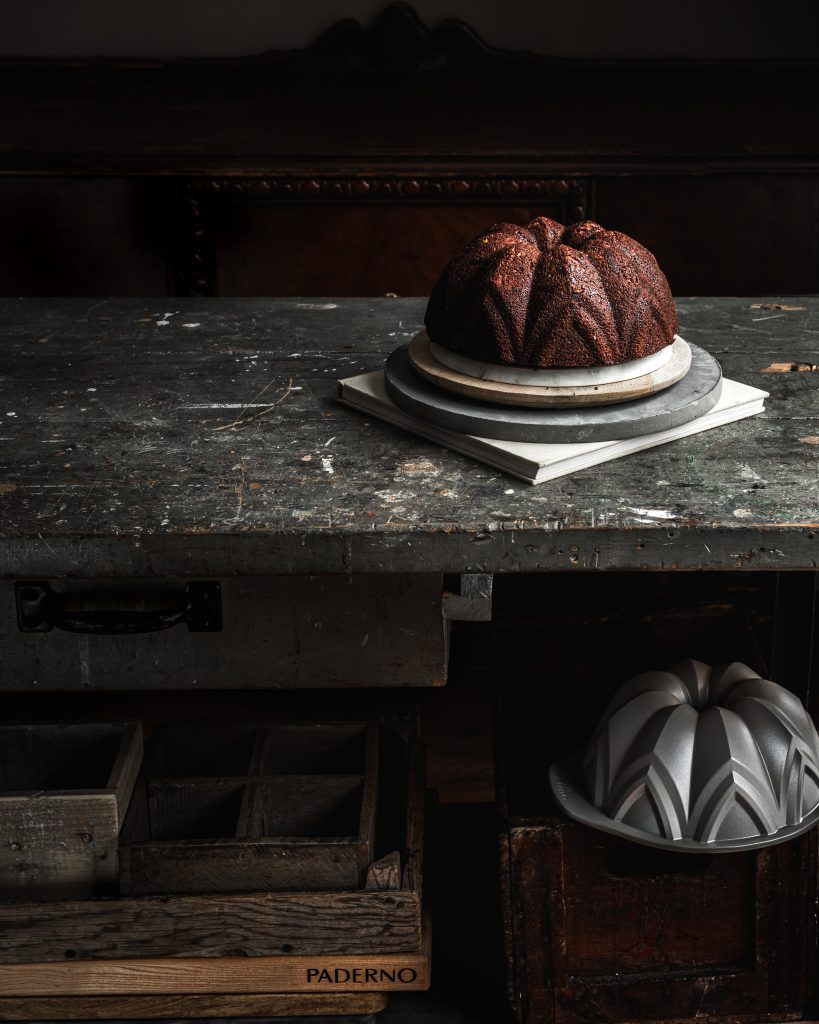
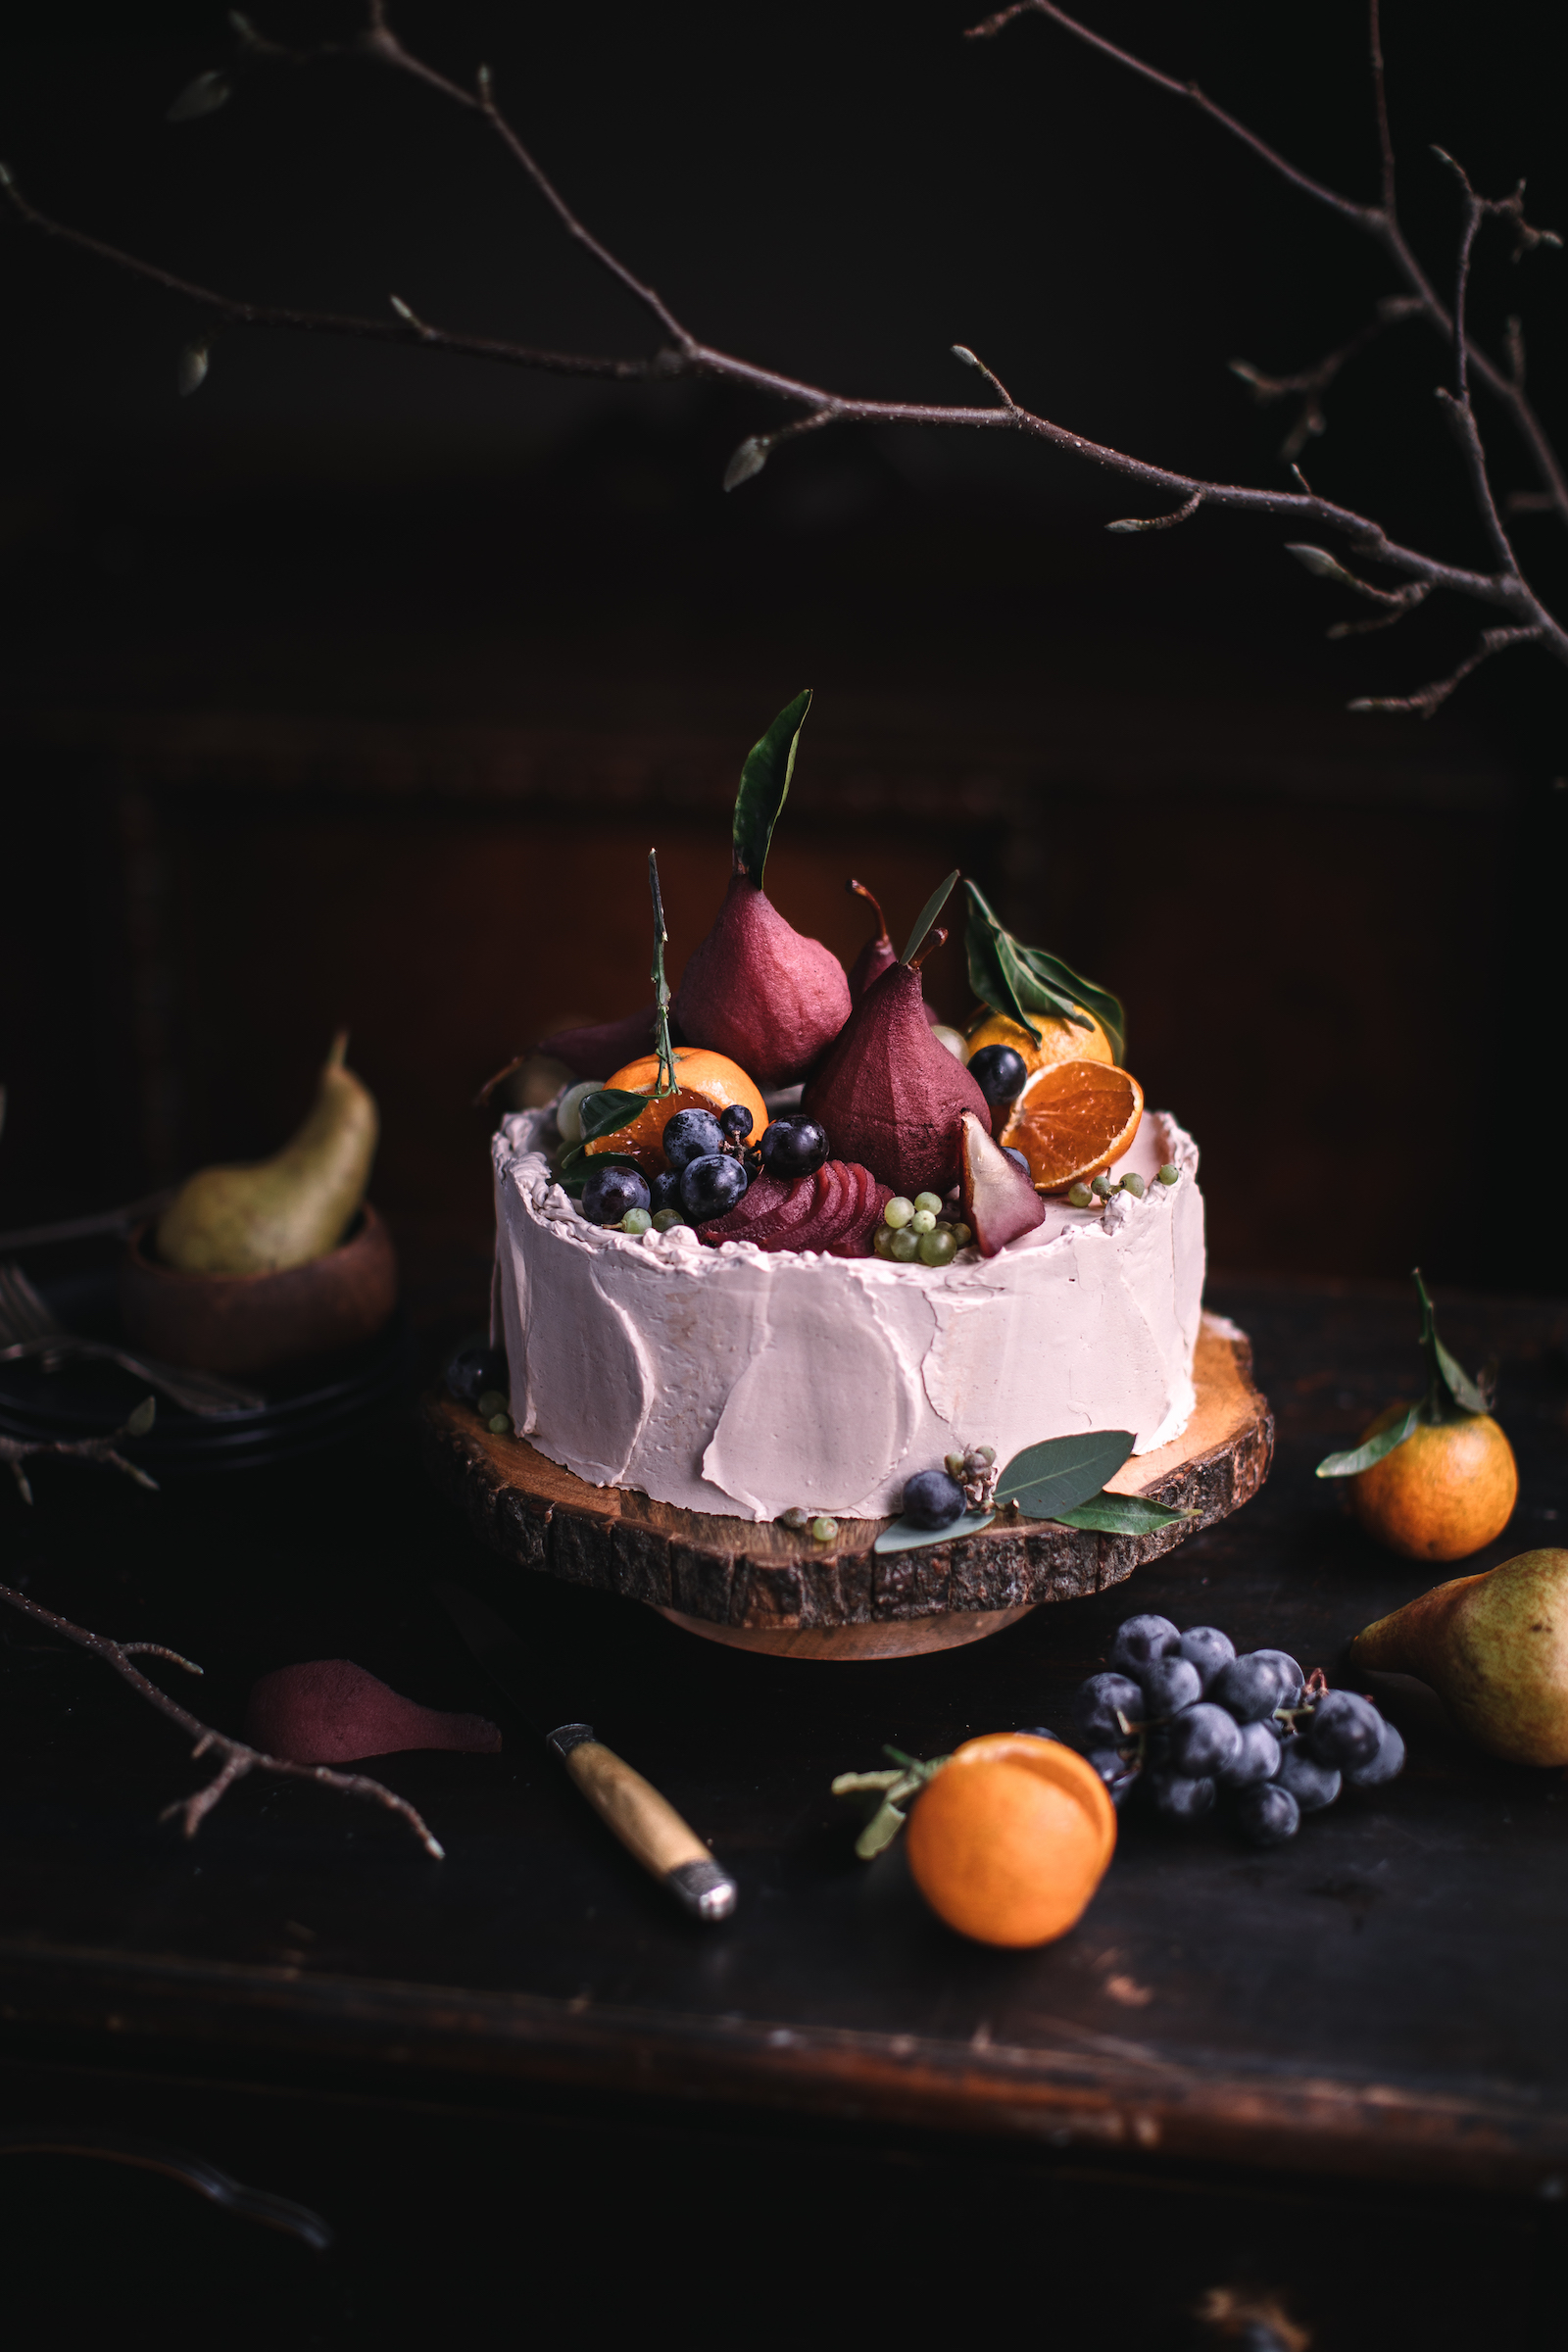
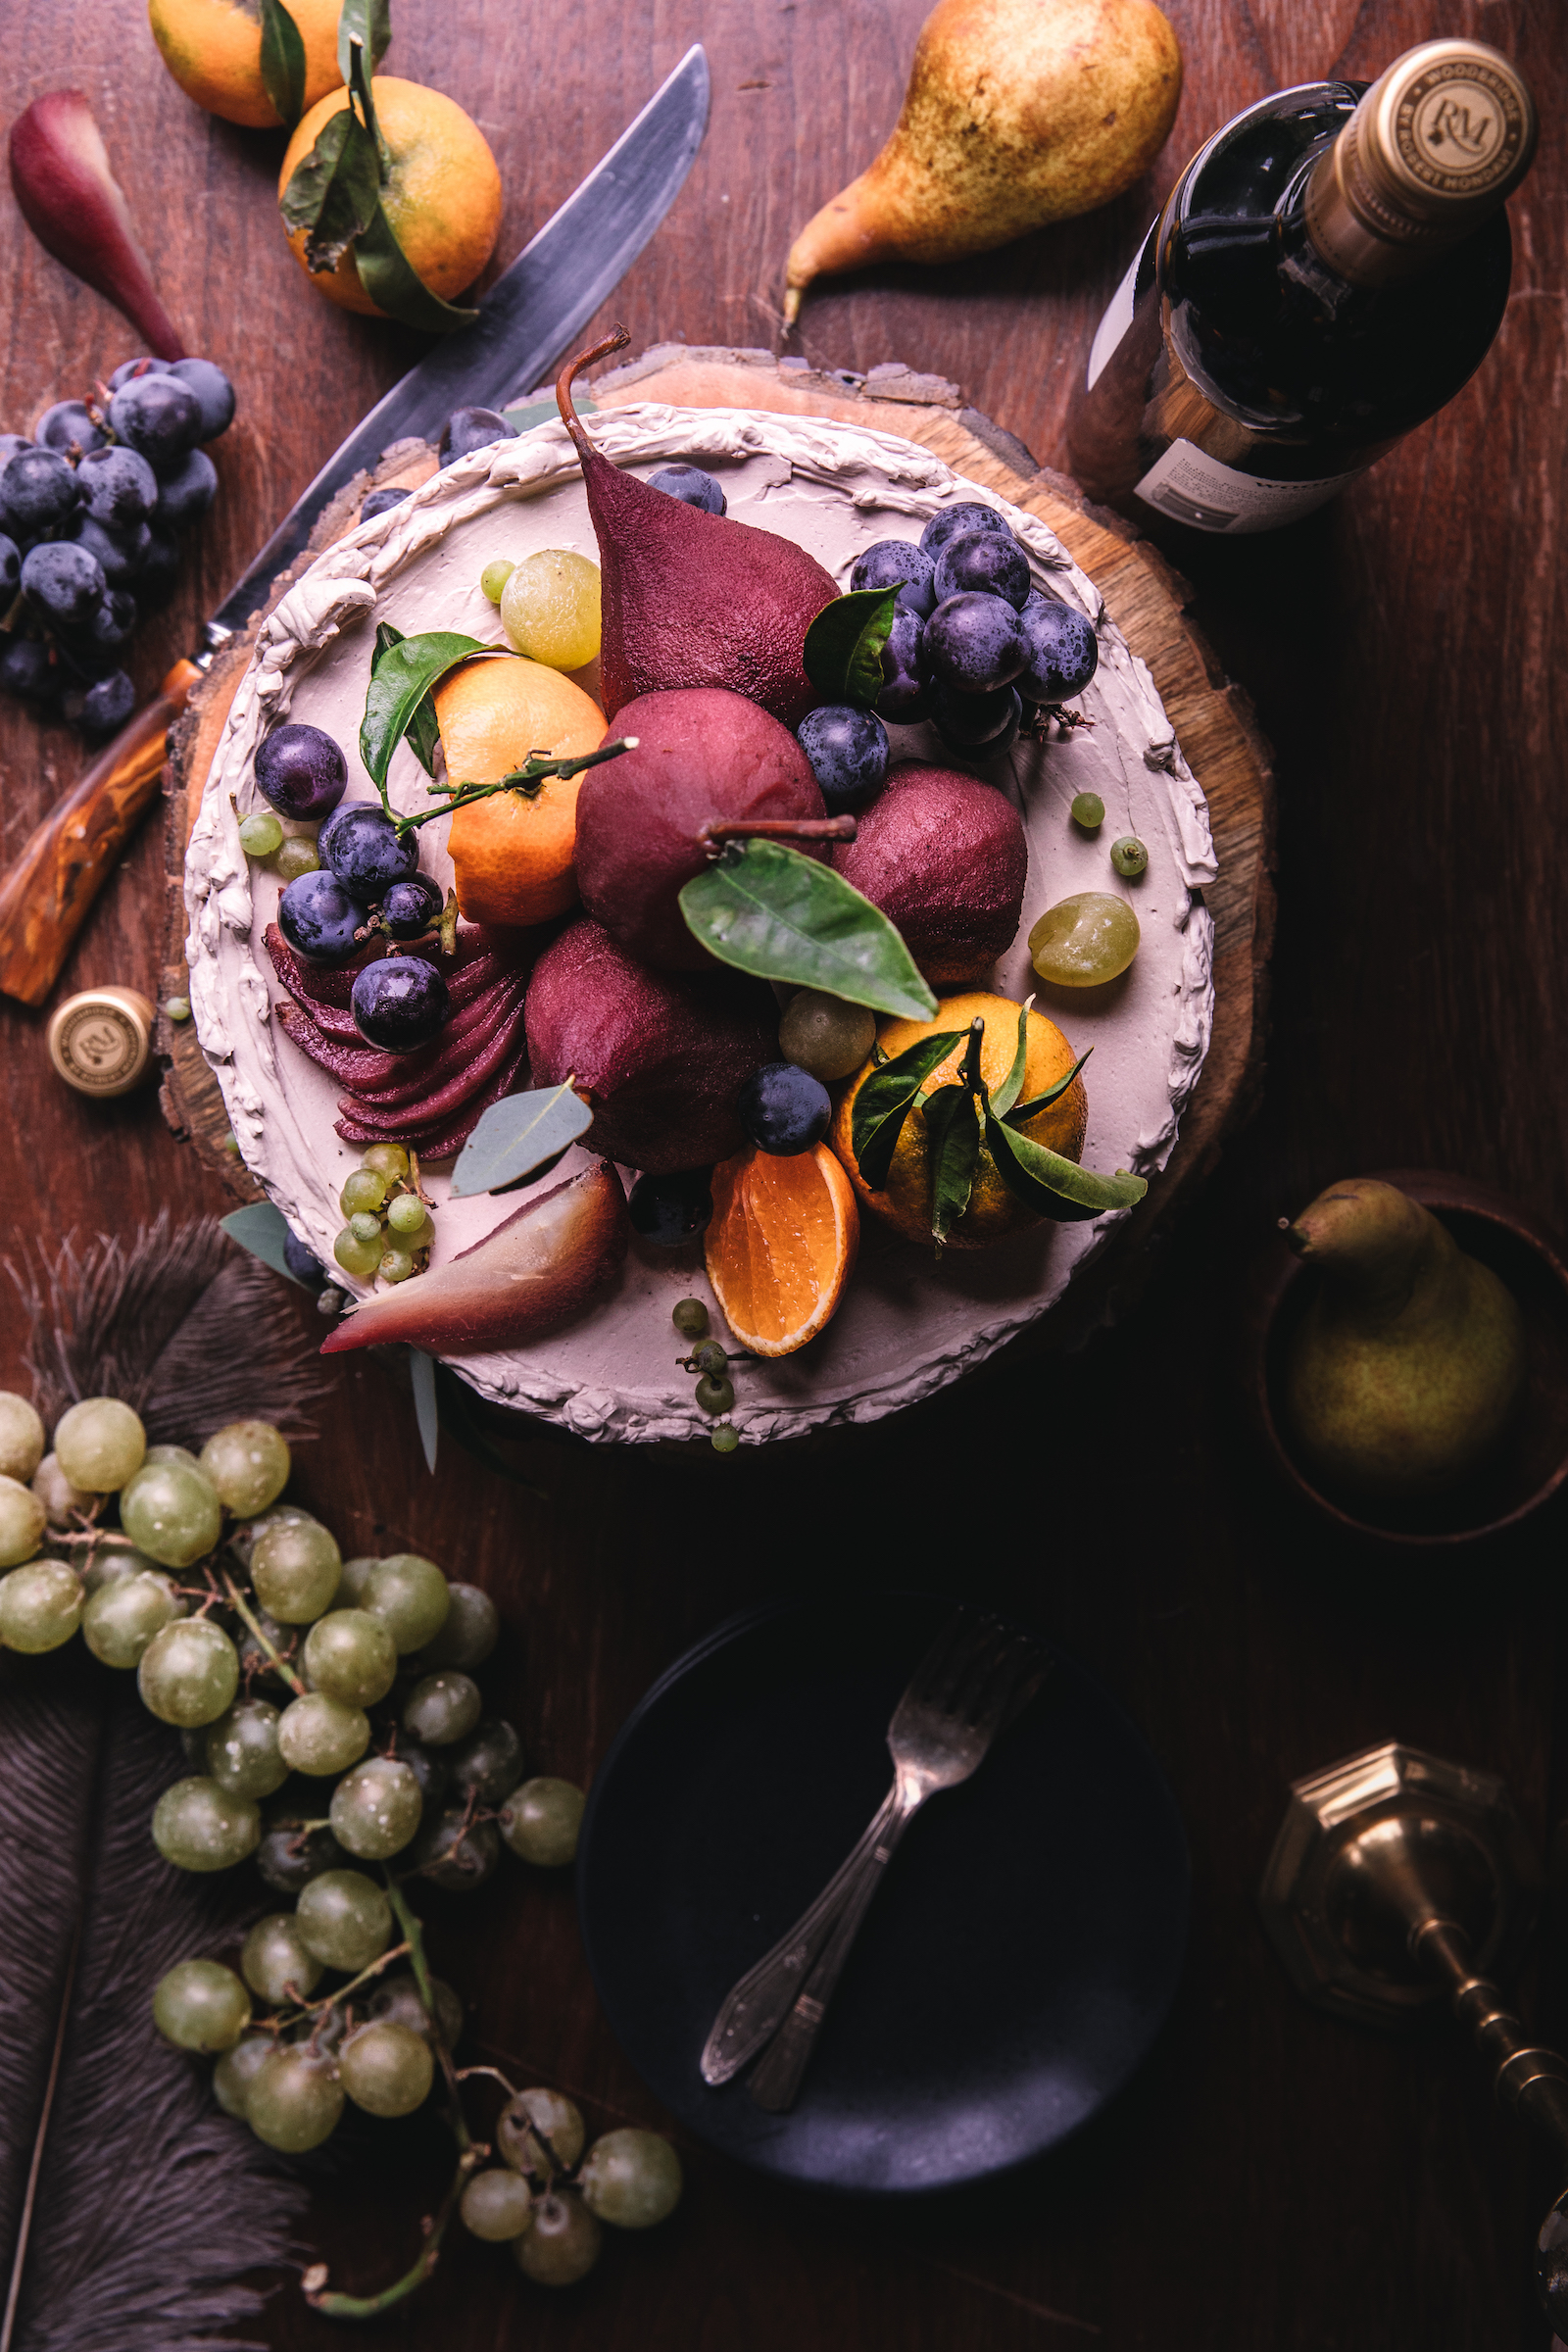
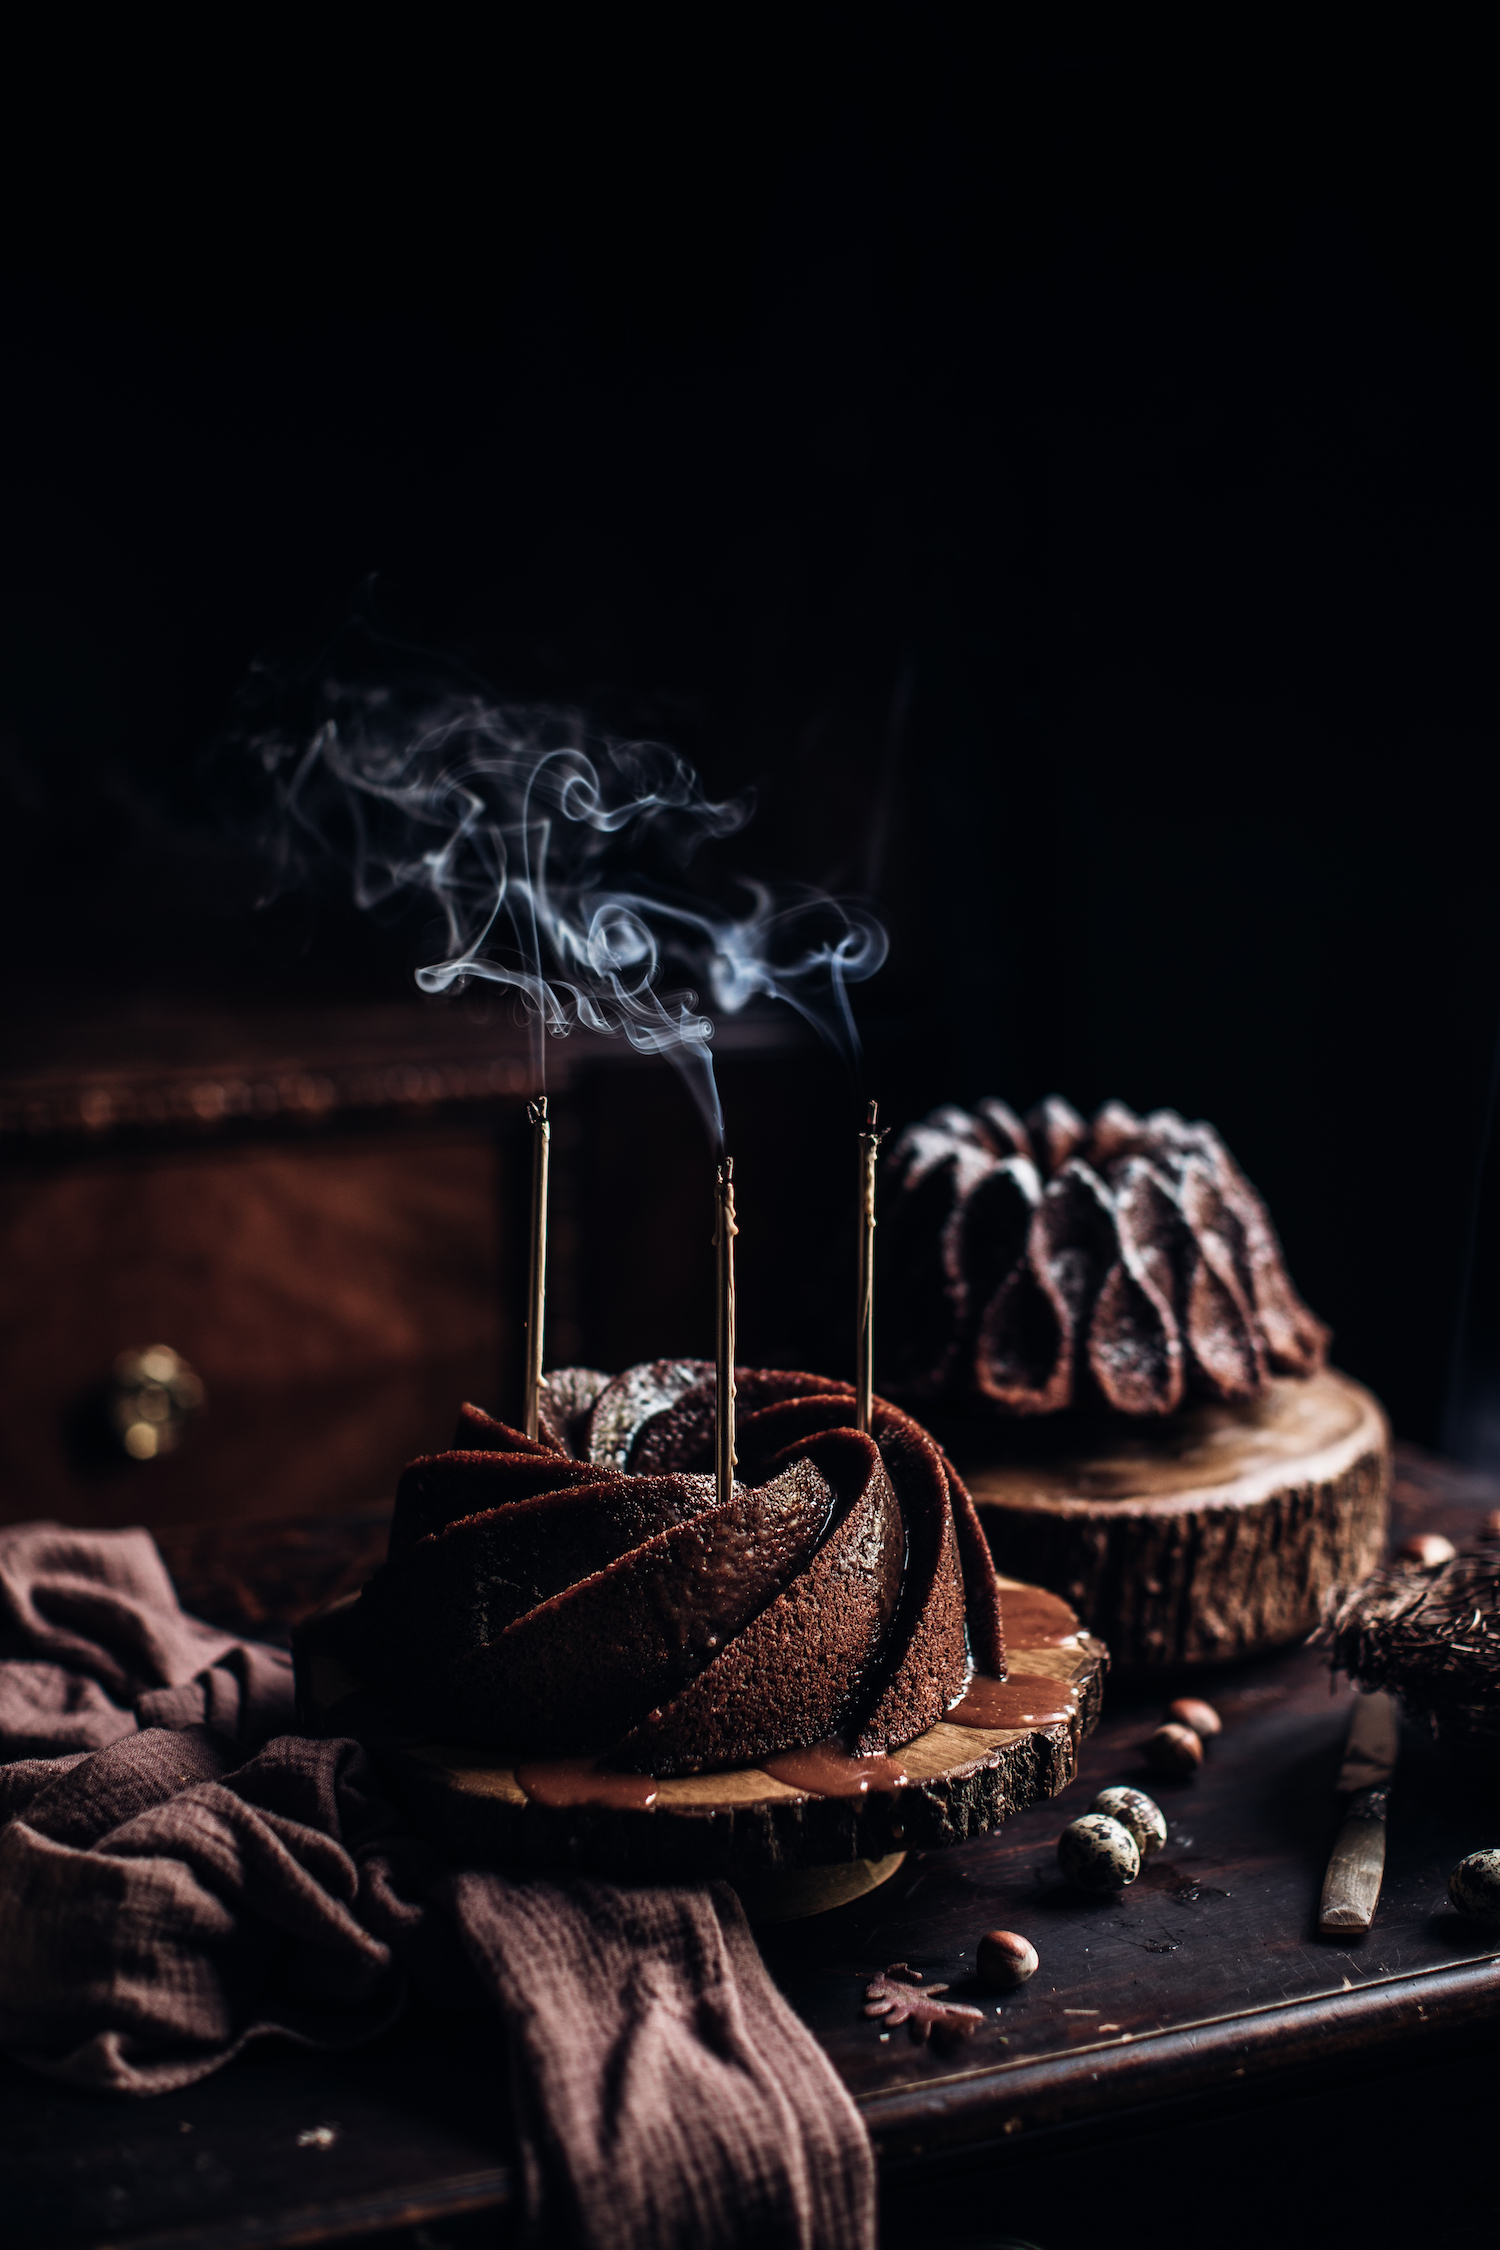
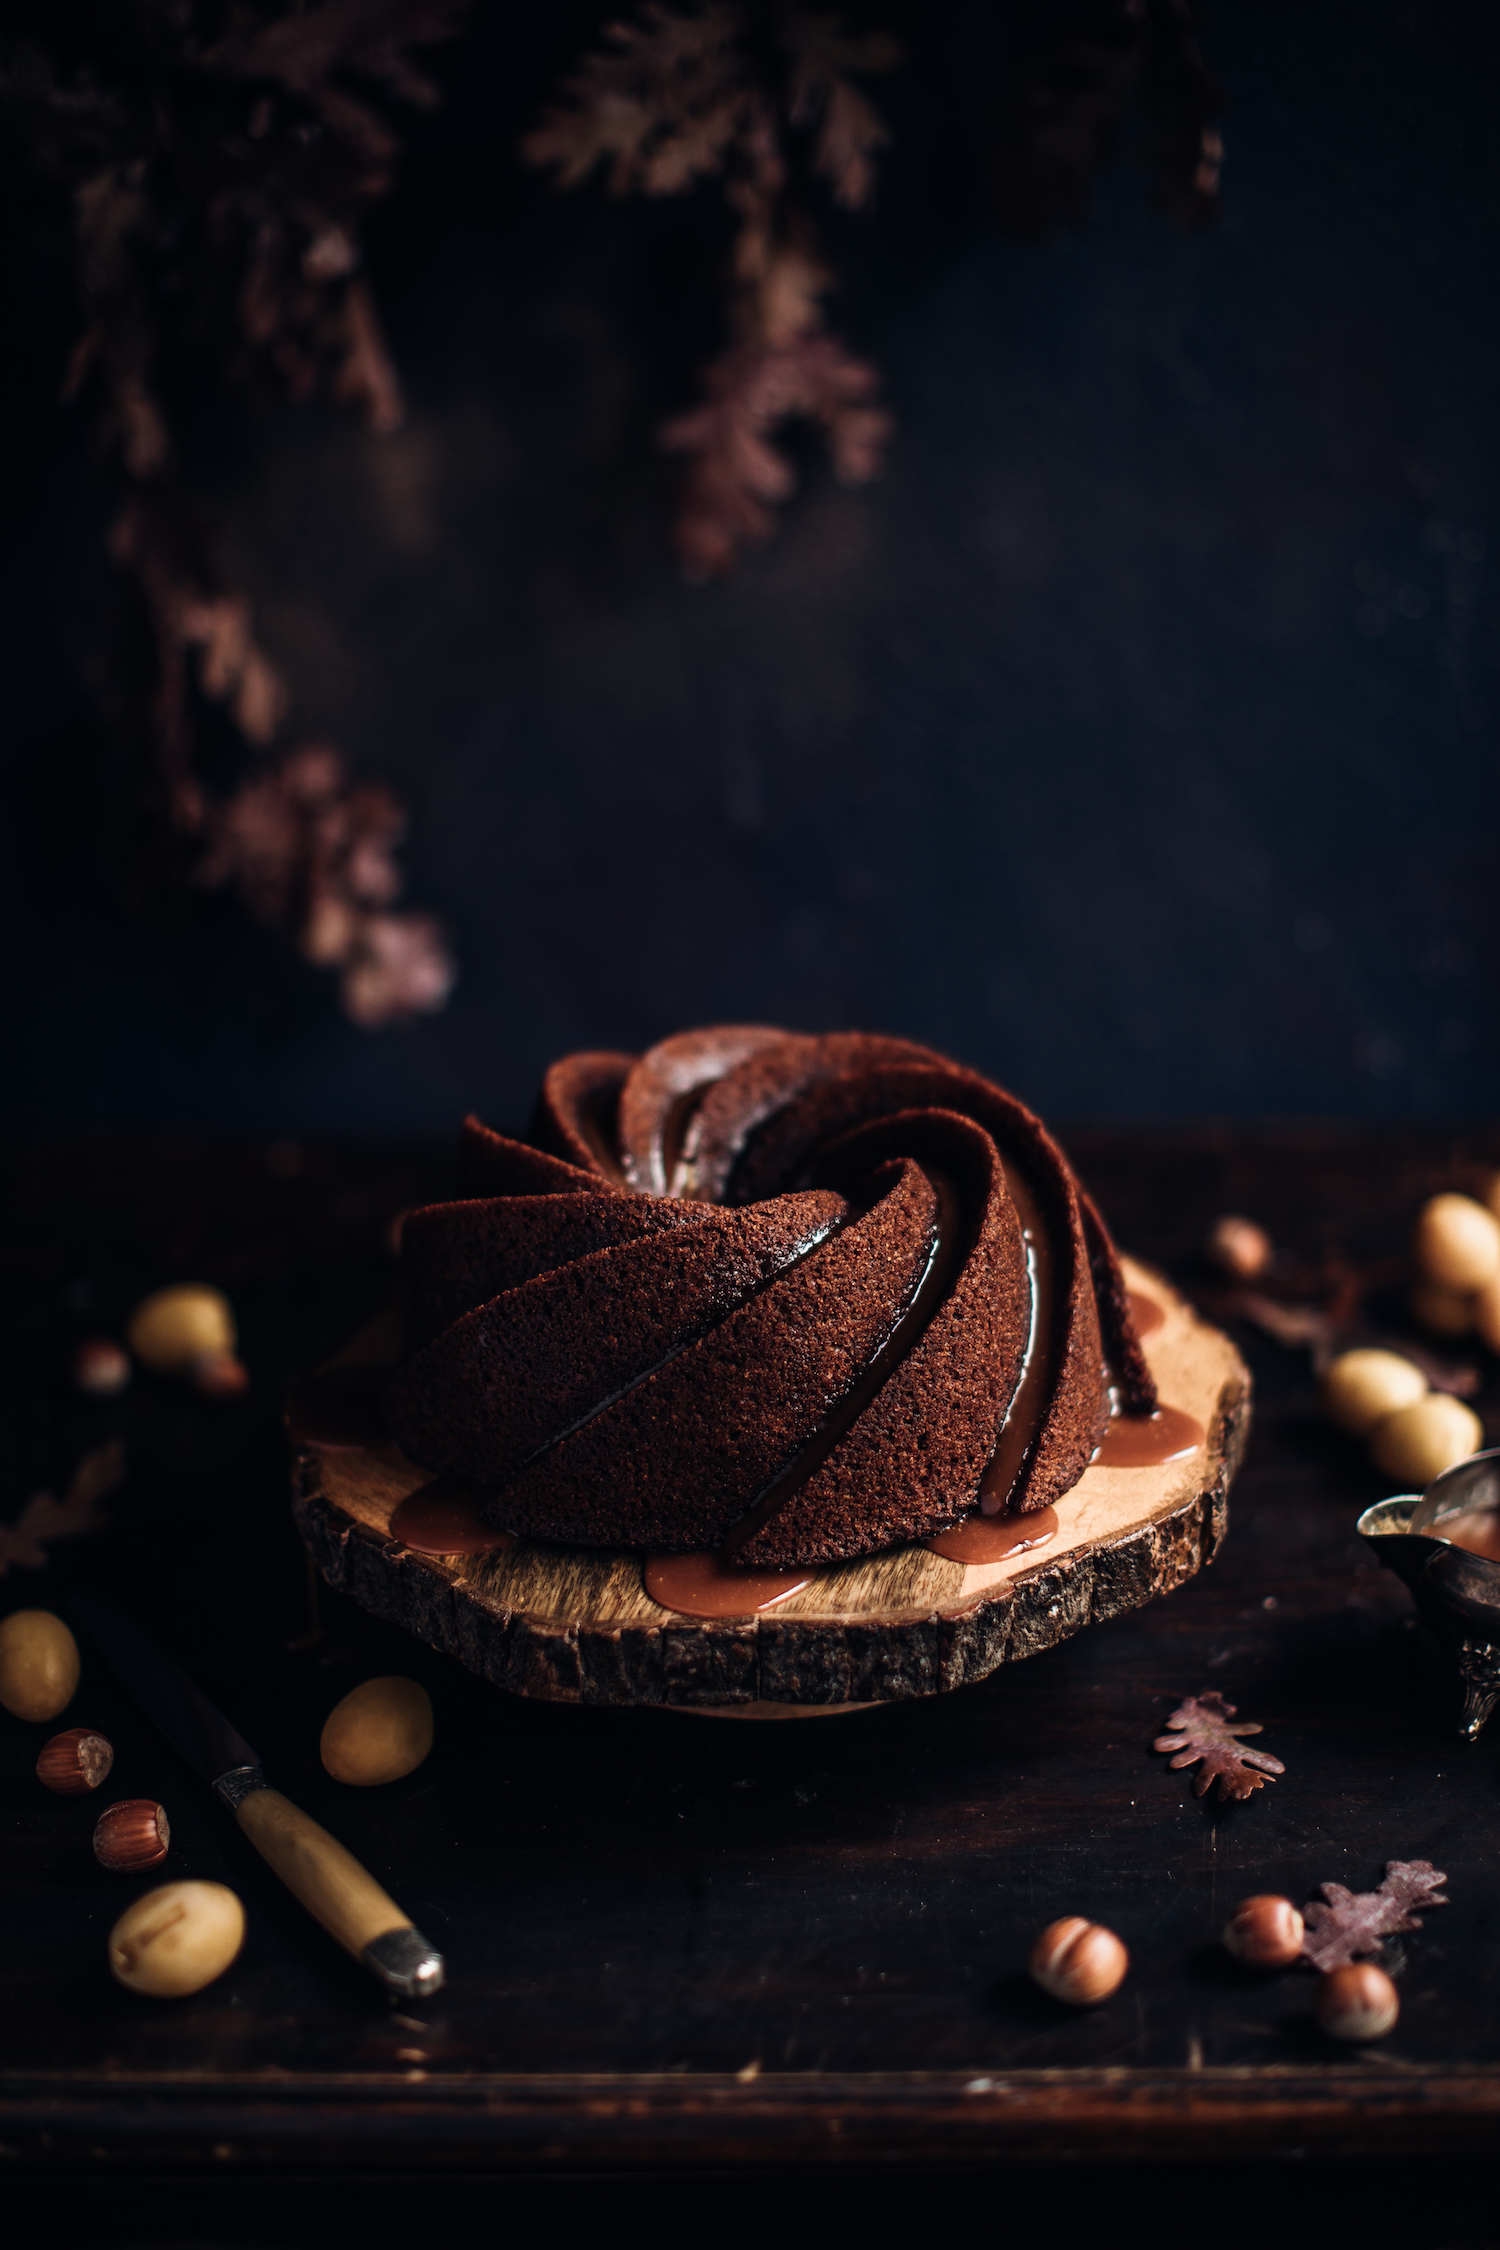
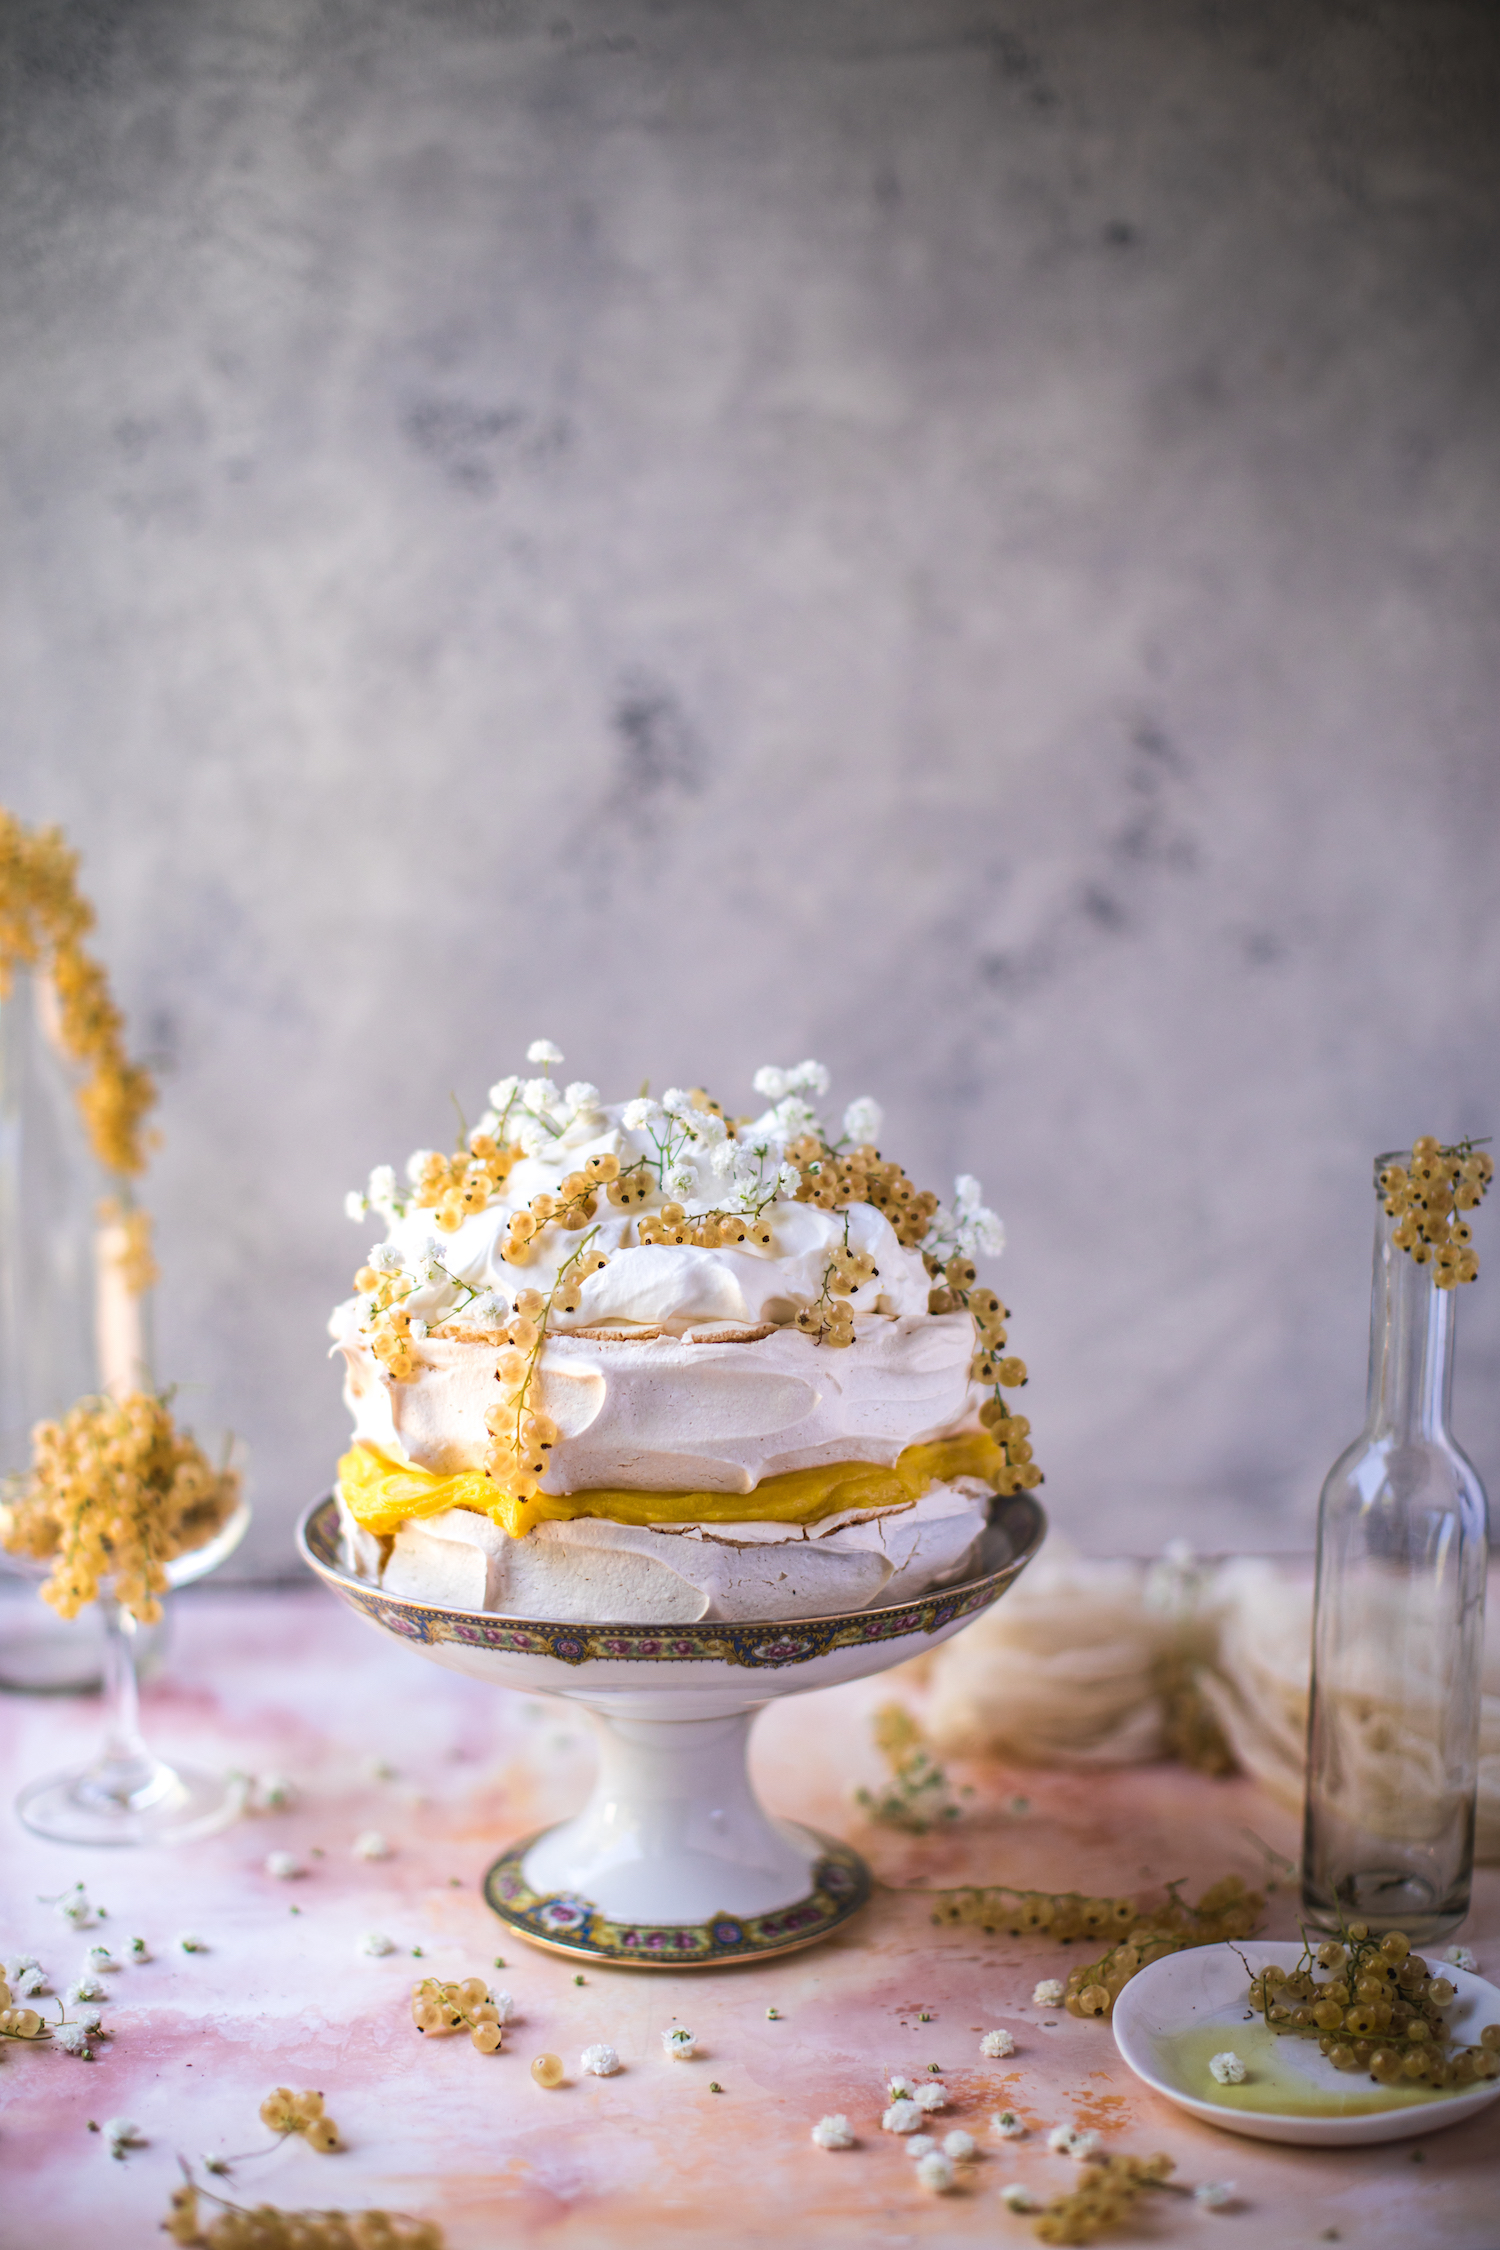
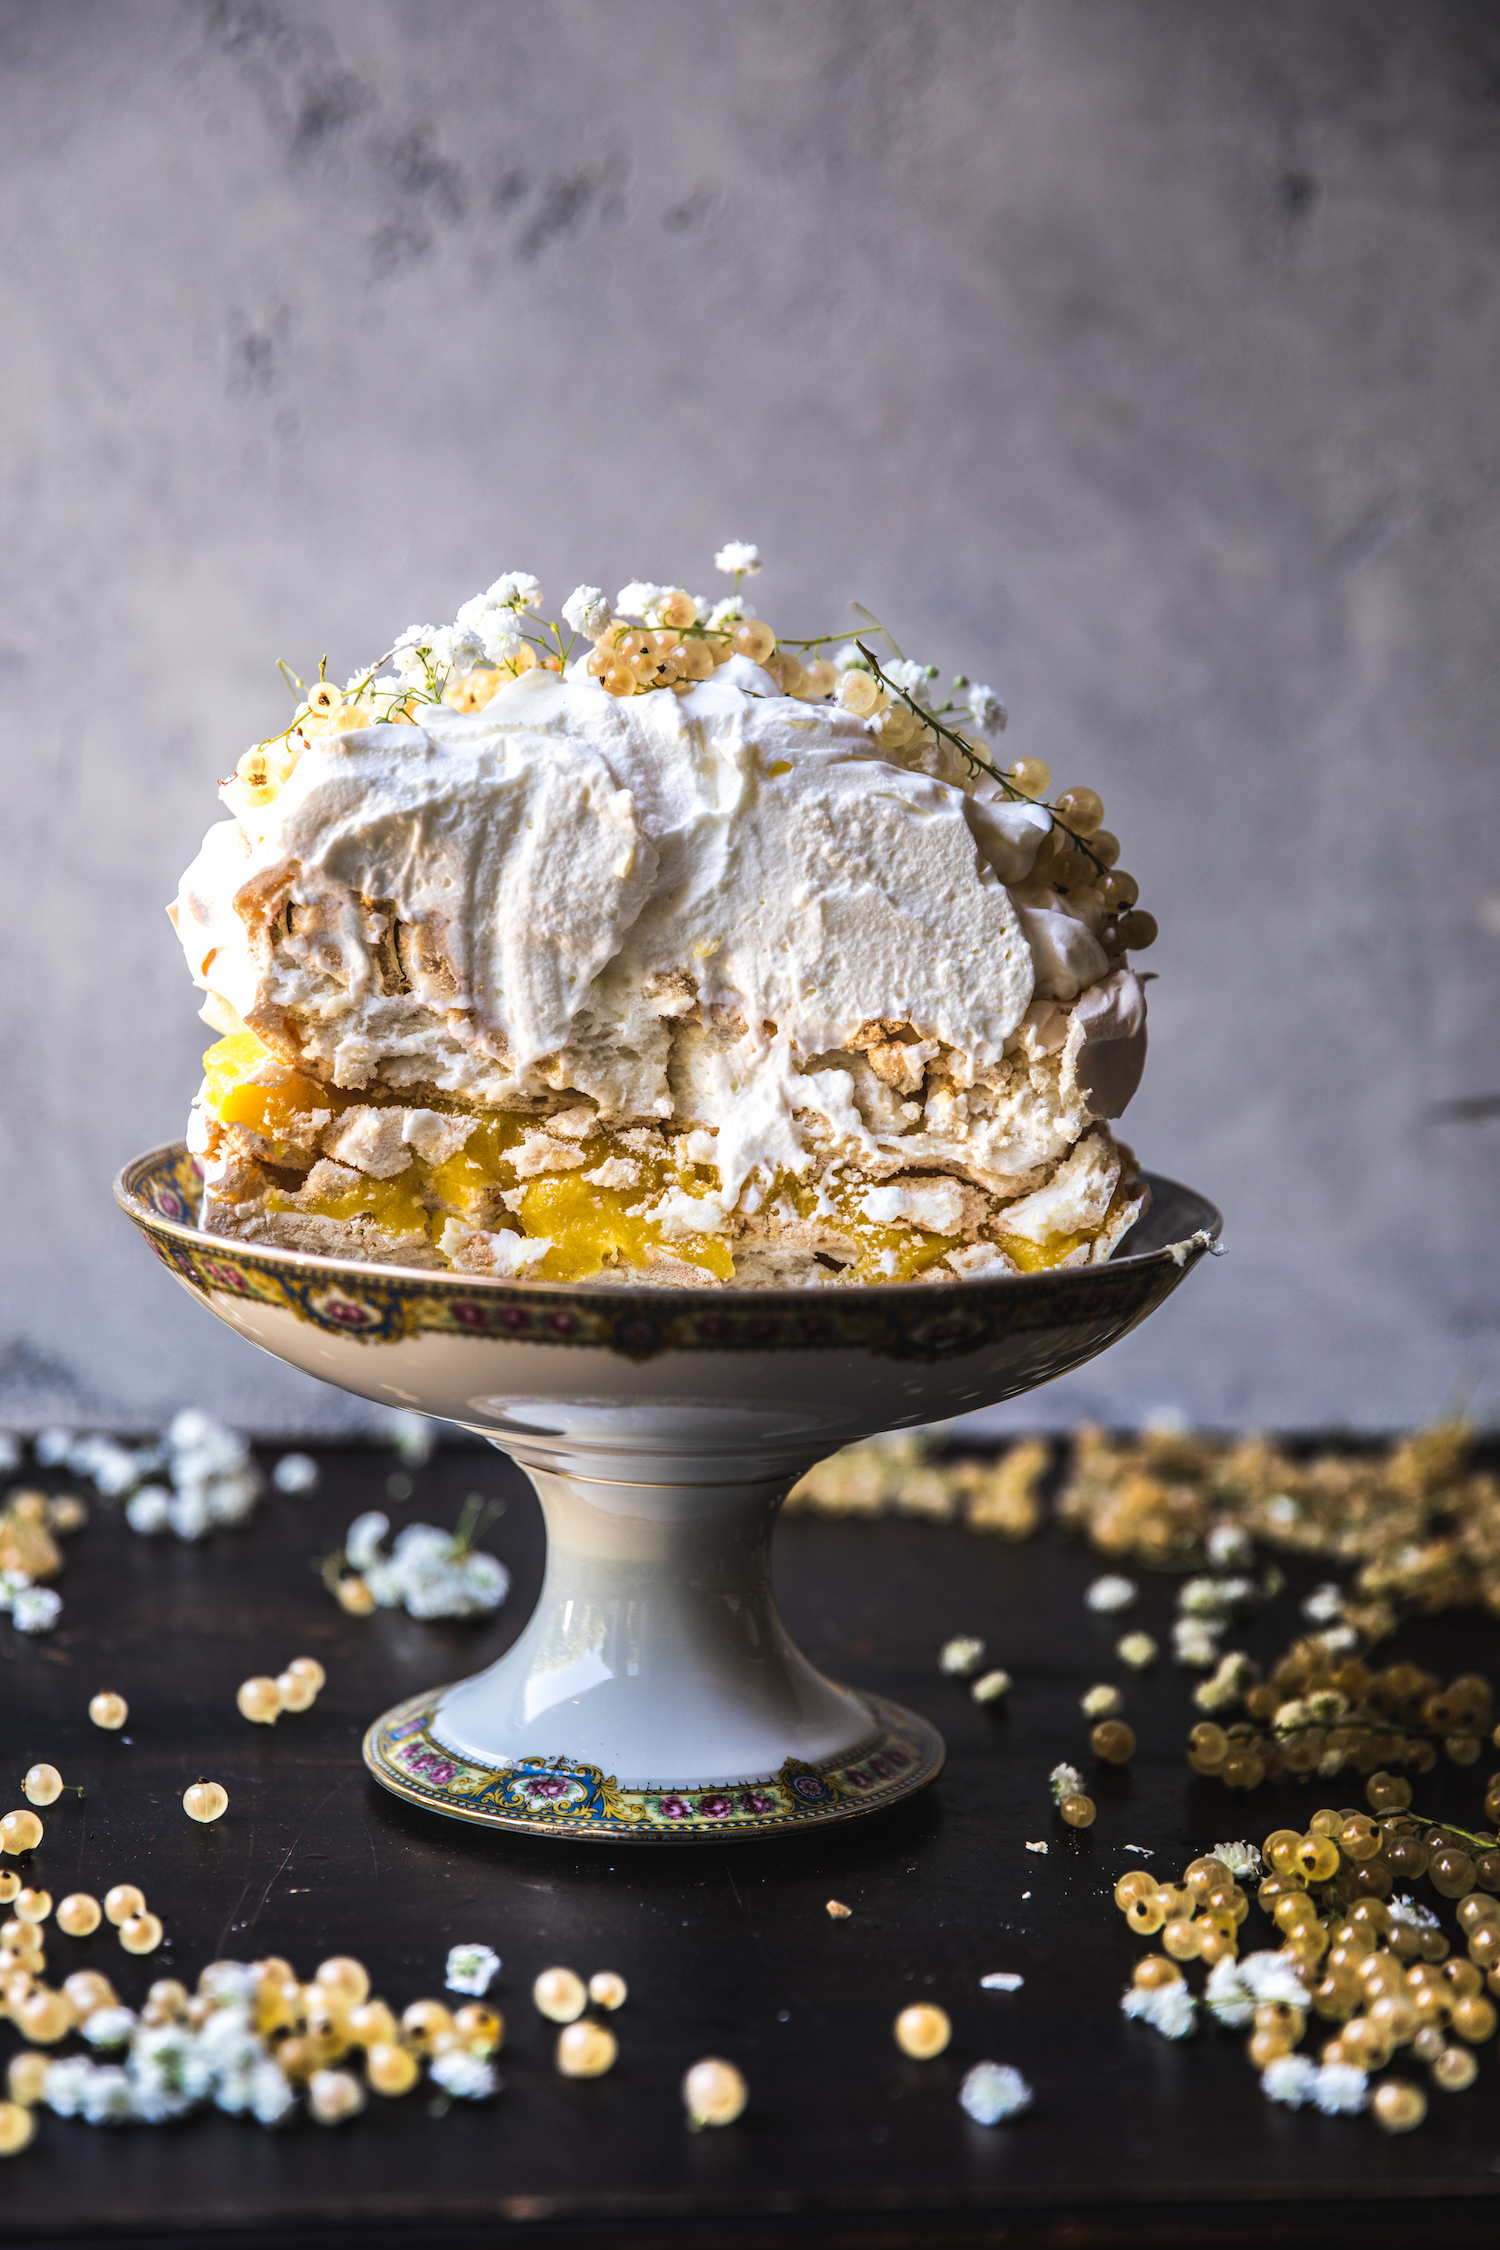
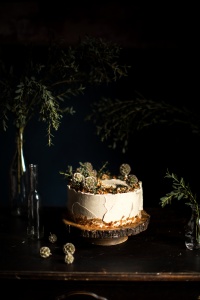
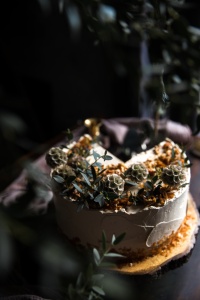
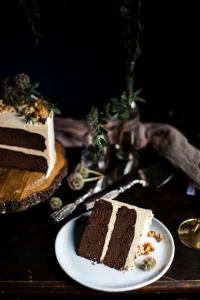
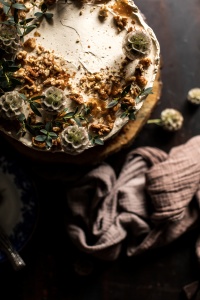
Spiced Rum, Pecan and Chocolate Bundt Cake. This cake is super nutty and chocolately, mildly tipsy with a mellow touch of spice. It’s not a typical commercial bakery cake with a structured crumb. Rather an uber moist and delicious cake. Enjoy.

Spiced Rum, Pecan and Chocolate Bundt Cake

Serving Size:
10
Time:
15 min prep,
1 hour bake
Difficulty:
Easy

Ingredients

  • 2 1/2 cups or 295 g whole grain flour (NO SUBSTITUTES)
  • 1 teaspoon baking powder 
  • 1 teaspoon baking soda 
  • 1/2 teaspoon salt 
  • 1 teaspoon cardamom 
  • 1 1/4 cup or 250 g white granulated sugar 
  • 1 cup vegetable oil 
  • 1 cup fancy molasses 
  • 5 large eggs room temperature 
  • 1/2 cup spiced rum 
  • 3/4 cup thick sour cream or Greek yogurt 
  • 1/2 cup buttermilk 
  • 1 1/2 cup or 185 grams chopped pecans 
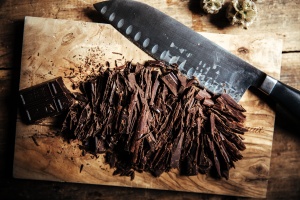
  • 1 1/2 cup or 200 g semi-sweet chocolate chunks 
  • FOR THE ICING:
  • 1.5 cups or 185 g icing sugar 
  • 2 tablespoons spiced rum 
  • 1 tablespoon vanilla extract 
  • OPTIONAL:
  • 1 tablespoon icing sugar to sprinkle on top of frosting

Directions

  1. Take your 10” Fine-Edge Arch Paderno Bundt Pan and grease with baking spray OR brush 2 tablespoons of unsalted and softened butter (make sure you grease all the grooves and indents) and dust with AP flour. Discard the access flour and set pan aside. 
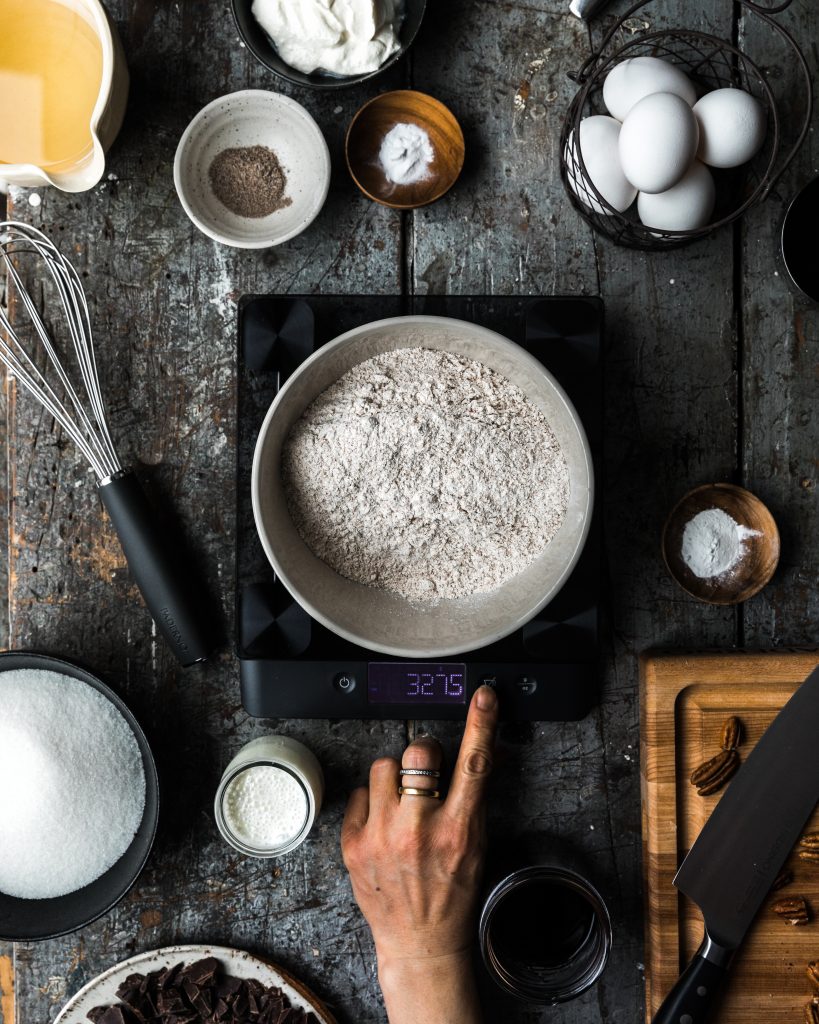
  2. Preheat oven to 350F with oven rack in middle. In a large bowl, whisk together the whole grain flour, baking powder, baking soda, cardamom and salt and set aside. 
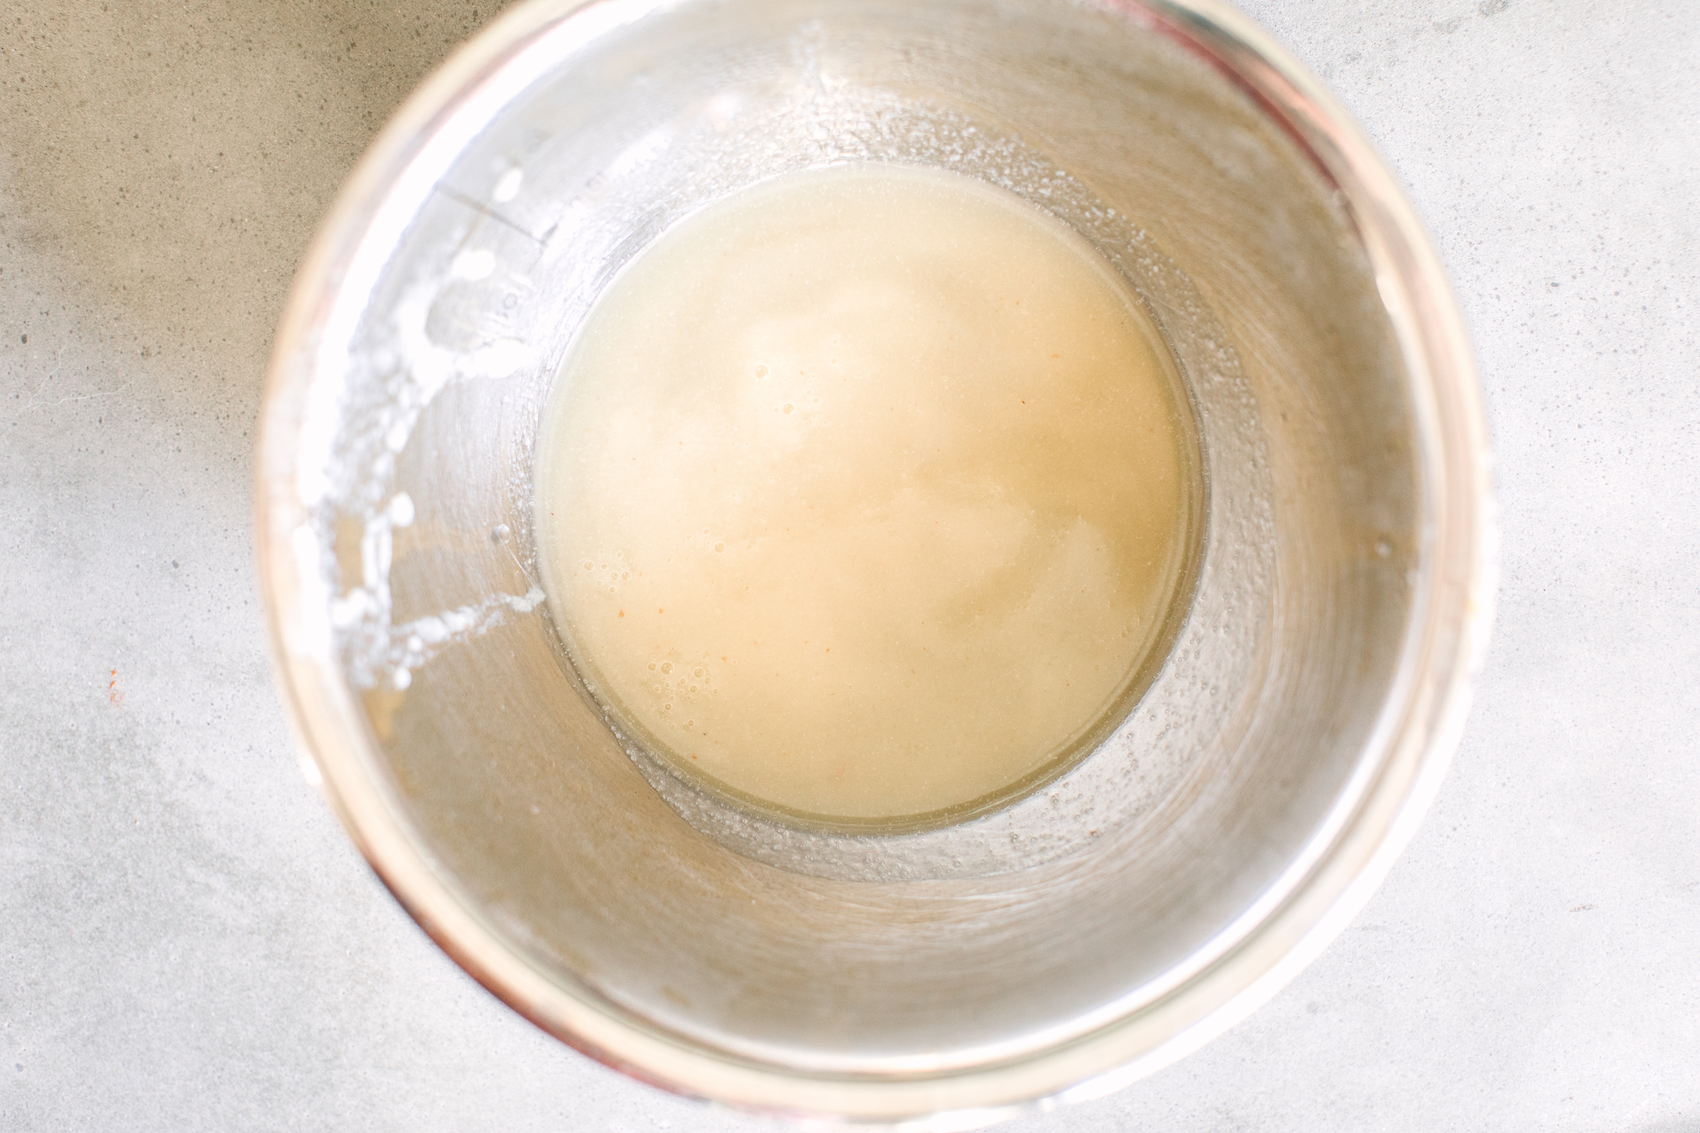
  3. In another large bowl, whisk together the sugar, vegetable oil, eggs, molasses, spiced rum, Greek Yogurt and buttermilk until a smooth. 
  4. Add the flour mix into the wet mix bowl slowly and whisk together for about 30 seconds. 
  5. Fold 1 1/4 cup pecans and 1 1/4 cup chocolate chunks into the batter. Do not over mix. 
  6. Sprinkle the remaining 1/4 cup chocolate chunks and 1/4 cup chopped pecans into the Paderno Bundt pan. 
  7. Pour batter into bundt pan and bake for 55-65 minutes. Or until a tester stick comes out mostly clean. 
  8. Allow pan to rest about 20 minutes. Invert onto coolling rack or plate and allow to completely cool. 
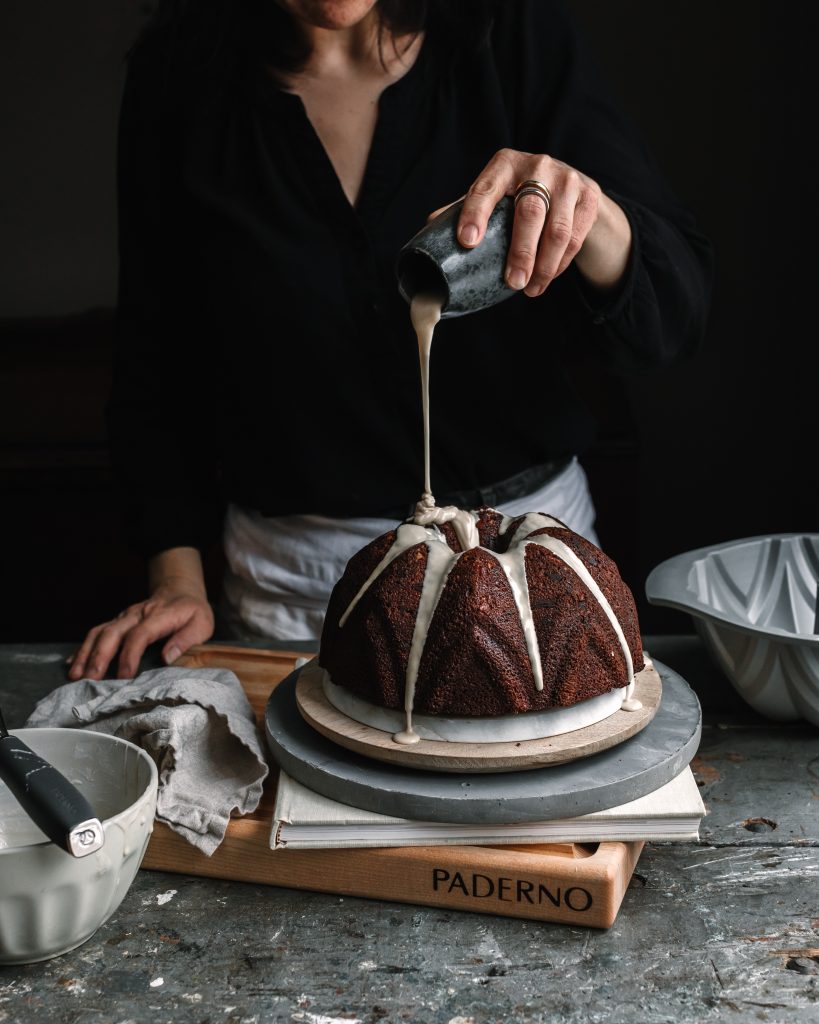
  9. FOR THE ICING: Whisk together the icing sugar, spiced rum and vanilla extract until smooth and glossy. Once the bundt has cooled, drizzle the icing over the top of the cake.
  10. Dust 1 table spoon icing sugar. (Optional) 

Filed Under: Bundt Cakes, Cakes, Chocolate, Winter Tagged With: baking, bundt, cake, chocolate, nuts, pecans

Tahini Maple Syrup Brownies

September 6, 2019 By stemsandforks Leave a Comment

The post was sponsored by Metro Ontario. All thoughts and opinions are my own

Peanut butter, dry roasted nuts and my childhood favourite, Pirate peanut butter cookies. I loved peanuts and anything peanut. However, as of 2008, I have not had any peanuts. That was the year we discovered my daughter was allergic to peanuts and was classified as anaphylactic. 

The first question I always get from young mothers is, “How did you find out?”. My daughter was 2 years old and a typical toddler. She was a super picky eater when it came to meals. In retrospect, this was a good thing. The day we found out was when I decided to share my peanut butter and jam sandwich. It was a first for Moineau. She took one bite and spat it out with disgust. Moments later, she broke out with a rash around her mouth. After seeing an allergist and getting tested, it was official. She was severely allergic to peanuts.

 …

Read More »

Filed Under: Cakes, Chocolate, Family Favorites, Sponsored, Uncategorized Tagged With: brownies, chocolate, tahini

Raspberry Beet Smoothie Cake

July 5, 2019 By stemsandforks Leave a Comment

This post was sponsored by Paderno Kitchenware. All thoughts and opinions are my own.

Paderno’s Power Blender with the Vortex Blade System, Paderno’s Maple Cutting Board and Paderno’s Immersion Blender .

A few years ago, I remembered travelling by train and talking to a few tourists from Germany about the unbearable scorching heat we were experiencing at the time in the south of France. They teased me that the humidity was probably a warm welcome, considering the arctic conditions I must endure back home here in Canada.

That’s right…arctic conditions. 

Paderno’s Richmond Cake Server.

It’s 30 C temperature plus humidity here in Southern Ontario.  Which means I try to keep the oven off, dishwasher running at a minimum and stick my head in the freezer as often as possible. Snacking consists of cold coffee, smoothies, and ice cream. And definitely loads of fresh local berries. 

Which is why this Raspberry Beet Smoothie Cake made with Paderno’s Power Blender is my go-to cake to battle our humid hot summers. I tend to omit the word “beet” when asking the kids if they want some “raspberry smoothie cake topped with whipped cream.” And to be completely honest, you don’t taste beets. Rather a smooth, sweet, crunchy and icy treat. 

Paderno’s Richmond Cake Server.

The beautiful thing about using Paderno’s Power Blender is the Vortex Blade System. It ensures a smooth and consistent result every time. No undesirable chunks of beets that kids may potentially bite into. Instead, a creamy, perfect texture. The blender itself is super easy to use. There are pre-set functions and manual speed settings for smooth operation and accurate controls. There’s even a smoothie function!

…

Read More »

Filed Under: berries, Cakes, No Bake, Sponsored Tagged With: cake, No bake, Paderno, Raspberries, Smoothie, summer

Rhubarb and Cherry Sheet Cake With Cream Cheese Frosting

June 7, 2019 By stemsandforks Leave a Comment

This post was sponsored by Metro Ontario. All thoughts and opinions are my own. 

It’s late spring early summer here in southern Ontario. When the sun stays up and shines longer, the days are warm but not too hot and the evenings are just cool enough for an outdoor fire without those pesky mosquitoes. June is definitely my favourite month of the year. 

Asides from June’s fantastic weather is the incredible local produce that starts to hit the Metro stores across Ontario. Asparagus, strawberries, radishes and cucumbers are just a few items that are available locally from the fields of Ontario farmers. Not to mention the handful of other goodies coming from indoor greenhouses like bell peppers, mushrooms and tomatoes.

But hands down my favourite produce for the month of June is rhubarb and cherries. It’s as though these two were made for each other. The tartness of the rhubarb and the sweetness of the cherries are indeed a match made in heaven in this sheet cake. And the cream cheese frosting elevates this sweet and tangy cake.

…

Read More »

Filed Under: Cakes, Family Favorites, Fruit, Sheet Cake Tagged With: baking, cake, cherry, creamcheese, recipe, rhubarb, sheet cake

Kumquot Orange Cake with a Grand Marnier Pomegranate Icing

December 23, 2018 By stemsandforks 6 Comments

This post was sponsored by Paderno. All thoughts and opinions are my own.

My long term memory is strong, vivid and somewhat creepy. A couple years ago I ran into a classmate from grade 5 on the bus. Her face was exactly the same. Dimpled chin, large freckles and green eyes. I had fond memories of her. The first time I ever had a pomegranate was in fact when Kelly offered me half the fruit. I still remember sitting in the classroom portable and Kelly telling me that we had to count how many little “ruby” seeds there were in one pomegranate. It was something she would do with her brother at home. Count every single red juicy gem and report back home on a pomegranate chart. Apparently the average was 500. 

I remember that first seed I popped into my mouth. The sweet, sharp yet sour juice bursting in my mouth was unique. And simply a lot of fun plucking the little gems and counting them. 

…

Read More »

Filed Under: Cakes, Holidays, Sheet Cake

Mulled Wine Chocolate Cake with Mulled Wine Swiss Meringue Buttercream and Poached Pears

November 19, 2018 By stemsandforks 18 Comments

This post was sponsored by Woodbridge by Robert Mondavi Wines. All thoughts and opinions are my own. Please enjoy wine responsibly.

Wine, chocolate and cake. My three Achilles heel, my guilty pleasures, my three best amigos. These three are my food soulmates. I know it sounds extreme but that’s how much I love wine, chocolate and cake. And interestingly all three came at different points in my life.

Cake.

As a child, I’d remember attending birthday parties and seeing my friends crowd around the gift table ogling all the colourfully wrapped gifts shaking, sniffing and guessing what was in each package. I however, would be in the kitchen ogling the cake. Wondering what flavour was inside. Praying the icing wasn’t that flavourless saccharin drenched grease from a can but a fluffy home made butter cream or cream cheese icing. I’d then cue myself up in the line of kids just so, to make sure I got the right piece. That is, the largest piece and the piece from the moist centre. And of course, I always had seconds and occasionally thirds. 

…

Read More »

Filed Under: Cakes, Chocolate, Christmas/Holidays

Spiced Rum, Date, Walnut, Molasses Bundt Cake with Rum Caramel Drizzle

October 7, 2018 By stemsandforks 17 Comments

Koreans can’t bake.

That’s been my insecurity since starting this baking journey. That I’m Korean. And unlike my fellow caucasian friends, I have no family pie recipe or a mom that baked chocolate chip cookies with me on Saturday mornings. The only things I baked as a child were Pillsbury crescents from a tin or boxed Duncan Hines. Baking from scratch was never a part of my family growing up.

Instead, my Saturdays consisted of Korean language classes followed by math drills with Sargent Shin… and his chopstick wand. After math, my sisters and I would get to watch some TV whilst stuffing thousands of Korean dumplings called “mandu”. Okay. Maybe not thousands but god did it ever feel like thousands! Only after all the mandus were stuffed and our math drills were done correctly, were my sisters and I allowed to bake Duncan Hines Classic Yellow Cake. And if we were really lucky, my mom would have bought the chocolate icing in a carton for us to ice the yellow cake with. As a child, baking this cake and devouring it was my escape, my utopia, my moment of being unkorean. 

…

Read More »

Filed Under: Bundt Cakes, Cakes, Fruit, Holidays, My Journey, This Korean Bakes

Carrot Almond Cake with Toasted Meringue – Dairy and Gluten Free

August 28, 2018 By stemsandforks Leave a Comment

I hadn’t planned on posting this recipe but you asked, so here it is.

I recently had a friend over that was lactose and gluten intolerant that was itching to try one of my cakes. I was also asked by fellow food blogger Andrey Tulsky to collaborate on posting a photograph on Instagram with carrots and one’s pet. And so was born this gluten free and dairy free almond and carrot cake. I love it when I kill two birds with one stone! 

This uber moist, high fibre, vitamin rich cake alone was a bit too “healthy”.  Initially I thought roll cake with orange marmalade to fill. But as I was cutting the cake into mini bite sizes and sampling the cutaway pieces, I realized it needed something fluffy, soft, sweet and naughty. It needed toasted meringue.

And in all fairness, meringue isn’t really “naughty” is it. Its simply egg whites and sugar. It’s the torching part that’s naughty I suppose. Firing up pure white fluffs into a light brown caramelized skin. Totally naughty. But if you’d rather “nice”, feel free to simply dust the sheet cake with some icing sugar. 

…

Read More »

Filed Under: Cakes, Diary Free, Gluten Free, Meringue

Pavlova with White Currant Curd

July 23, 2018 By stemsandforks 5 Comments

I’ve been promising a Pavlova recipe for ages. And while the web is doused with Pavlova recipes, I thought this white currant curd one might stand out. And stand out she does!  I rigorously researched (meaning I Googled it), and I couldn’t find a white currant Pavlova or for that matter a white currant curd anywhere online. 

It’s been a week since I got back from Paris, France and if you’ve been following along on my Instagram account you’ll know Pierre and I were sick for half the time we were there. Food poisoning from lightly seared tuna during a heatwave. I never seem to learn. (Second time…but the seafood stands look utterly scrumptious!) The worst part about this food poisoning story…I had forced Pierre to eat my leftover tuna (of course before I knew it was tainted), and the Airbnb we stayed at only had one toilet. Merde! 

So why a Pavlova now? Before heading to Paris, Pierre had made a mental list of all the foods he wanted to eat. Meringues were one of them. As a child, Pierre and his parents would make a yearly pilgrimage from Geneva to Paris to do some shopping. Not LV or Chanel, but books and antiques. Very old and special books you’d find in the markets along the Seine river. But for Pierre, it was meringues. He’d dream of those fluffy saccharin-drenched, swirly clouds of egg whites every year as a child. 

It’s been 14 or so years since we’ve both been to France and unfortunately that meringue plan never happened for Pierre. Between jet-lagged kids, food poisoning and my workshop, there were maybe at most, two days that we got to venture out …albeit with recovering woozy bellies. So for two days, we focused on showing the kids Paris’ sights and attractions much to their conspicuous lack of enthusiasm.

In the meanwhile white currant curd Pavlova for Pierre…crispy on the outside and pillowy on the inside sweet meringue discs, sandwiching a sugary but tart curd topped with freshly whipped cream. Sorry Pierre! But French meringue will have to wait. First world problems. C’est la vie!

Bon app!


Save Print
Pavlova with White Currant Curd
Author: Betty Binon
Prep time:  30 mins
Cook time:  1 hour
Total time:  1 hour 30 mins
Serves: 7
 
For a single tier Pavlova, make exactly half the quantity.
Ingredients
  • FOR THE PAVLOVA:
  • 6 Egg whites room temperature
  • pinch of salt
  • 300 grams or 1½ cups super fine white sugar
  • 2 table spoons corn starch
  • 1 teaspoon vanilla extract
  • 1 teaspoon vinegar
  • FOR THE CURD:
  • 10 ounces or 285 grams more or less of fresh white currants stemmed
  • 4 tablespoons water
  • 6 egg yolks
  • 100 grams or ½ cup white sugar
  • 115 grams or ½ cup unsalted butter room temperature cut into cubes
  • FOR THE WHIPPED CREAM
  • 473 ml or 1 pint fresh heavy whipping cream
  • 4 table spoons fine white sugar
  • 1½ teaspoons vanilla extract
Instructions
  1. DIRECTIONS - PAVLOVA:
  2. Preheat oven with rack in middle to 325 F and line a baking sheet with parchment paper and draw two 7 inch circles with a gap of at least 4 inches between the two circles
  3. In a very clean stand mixer with very clean whisk attachment, beat the egg whites and salt on low speed and work your way up gradually to medium high speed until soft peaks are formed
  4. Start adding the sugar on high speed a table spoon at a time until egg whites are stiff and shiny...test by holding bowl upside down...whites shouldn't move. As well, take a bit of meringue and test between fingers...should be smooth with no grittiness left from sugar...takes about 5-7 minutes
  5. Sift the cornstarch over the meringue and whisk again on medium for max 5 seconds
  6. With spatula, gently fold in the vanilla and vinegar into the meringue until combined
  7. Take spatula and evenly divide the meringue into the two circles traced on the parchment paper
  8. Take an off set spatula and smooth out into circles and smooth out tops...you can make swirls or kisses on the side for an interesting design
  9. Place baking tray with meringues in 325 F pre heated oven but immediately turn down to 300 F and bake for 1 hour.
  10. Once bake time is finished, turn oven off, but do not remove or open door to oven!!! Leave in oven for at least 2-3 more hours. !Important otherwise major cracking and/or sinking pavlova! (keep in mind a little sinking and a little cracking is okay!)
  11. Allow to complete cooling outside in room temperature
  12. DIRECTIONS - CURD:
  13. While the pavlova is baking, in a medium saucepan, cook the stemmed white currants and the water for about 5 minutes all the while mashing them with a potato masher
  14. Once the berries have reduced, remove from heat and push the currant puree through a fine mesh strainer into a bowl... (you'll be left with about ¾ cup of currant puree) ..discard seeds and skin
  15. In a clean saucepan over medium heat add the egg yolks, sugar and white currant puree until well mixed and dissolved- whisking constantly about 4 minutes
  16. Add butter cubes one at a time once mixture warms up and is lightly bubbling and whisk frequently for another 5 minutes or until the mixture is thick and bubbling
  17. Strain through sieve into a bowl (for quicker cooler, use a baking tray lined with parchment paper.)
  18. Cover with plastic film so it touches the curd and refrigerate
  19. DIRECTIONS - WHIPPED CREAM:
  20. Take a clean stand mixer bowl, the whisk attachment, the cream and pop in freezer for 10 minutes
  21. Put the cream, sugar and vanilla extract in the cold stand mixer bowl and whisk on high speed for 1-1½ minutes or until medium stiff peaks form - do not over mix!
  22. ASSEMBLING PAVLOVA:
  23. Place first meringue layer down on your cake stand, take an offset spatula and spread the cooled down white currant curd evenly over the layer
  24. Place next meringue layer on top ...top with all the whipped cream
  25. Garnish with some white currant berries
  26. Keep refrigerated for up to 2 days, however be aware pav will become soggy. Best to consume same day it's been prepared.
  27. Pavlova discs can be made a few days in advance and stored at room temperature in an air tight container with parchment paper between the discs to avoid them from sticking
3.5.3251


Filed Under: berries, Cakes, Curds, Meringue, Pavlova, Summer

Chocolate Cake with a Coffee Swiss Meringue Buttercream and Maple Glazed Walnuts

March 16, 2018 By stemsandforks 6 Comments

On one of my recent blog posts, Orange Cardamom Cake with Blackberry Curd, a reader left a comment that left me scratching my head. She wrote, “I have tried to make this cake twice and the cake has fallen – severely – before taking it out of the oven. I have years of baking experience, and can’t get this to bake right.”

Of course, my heart sank. How could this be? I referred back to the cake recipe and scrutinized it line by line, and was still left baffled. I knew I had baked this cake several times and wondered what had gone amiss. After several conversations between the reader and myself, and I discovered exactly what went wrong. She had used a 6 inch pan the first time and an 8 inch pan the second time, when the recipe had called for a 9 inch pan. Using pans of another size, other than what the recipe calls for, (even a mere inch) can cause the cake to collapse in the middle and/or cause the excess to flow over the edge of the pan.

The fact that this particular reader was a seasoned baker, made me realize that although many home bakers out there may have decades of experience, it is probably in baking the same repertoire of recipes over and over. For instance, a simple pound cake or chocolate cake most likely won’t sink if substituting with a slightly different pan size. But for a genoise, sponge, angel, chiffon or any cake using egg whites and air to leaven (raise/suspend), the cake would definitely end up with a monumental crater. 

Chopping board provided by https://www.tshirtstudio.com

I’ve decided to do a quick checklist here with brief explanations on how to achieve that perfect cake. I’ll dedicate a more detailed blog post at a later time but for now I thought I’d share these quick tips to help you avoid any cake disasters.

-Check that your oven’s temperature is correct with an oven-safe thermometer.

-Always use the pan size indicated in the recipe. Using a smaller pan than what is called for in the recipe will cause the cake to collapse in the middle (and over flow on the sides). While baking, the cake expands and rises and has nowhere else to go. Thus, the flop and spillover. On the opposite spectrum, using a pan larger than what the recipe indicates may result in a flat and dry cake.

-Grease pan with butter and dust with flour on sides and line bottom of pan with parchment paper (that you’ve traced and cut out).

-Glass and dark-coloured pans usually bake things faster…reduce oven by about 25F or check up on cake a bit earlier. Normally recipes are based on aluminum/light-coloured pans.

-Always measure flour and most ingredients by weight. If you don’t have a scale, don’t scoop the flour directly with a measuring cup. Take a spoon and spoon it into the measuring cup and level off with a knife.

-Sift all your ingredients including sugar (especially brown sugar). Nothing like baking a gorgeous cake only to find a big air pocket inside after slicing into it. 

-Make sure you thoroughly whisk your flour and baking powders/sodas together

-Have all your ingredients come to room temperature (unless otherwise stated) – especially eggs, milk, creams, cheeses etc. This helps create a lighter texture and an even bake.

-If you’ve forgotten to bring your eggs to room temperature, soak them in a bowl of warm water for 10-15 minutes. 

-Don’t stray too much from the recipe. If it says 2 cups of flour, don’t add another half cup. In baking, even the slightest variation in ingredient ratios can throw the entire recipe off.

-When testing with a toothpick, dont wait till it comes out perfectly clean. A few crumbs on the toothpick is the perfect time to take out of the oven as the cake will continue to cook when taken out

-Brush your cakes with a simple sugar syrup while still warm. Its simple to make- equal amounts of water to sugar…bring to boil and brush over cakes. This will make your cakes moist for days!

Now back to what this blog post was really about…chocolate cake. The recipe below was tested at least a dozen times with various ingredients…sour cream instead of yogurt, butter instead of oil, unsweetened chocolate rather than semi sweet, raspberry buttercream instead of coffee…etc. And the end result was a gorgeous, moist, crumb. Sweet but not overly sweet with a smooth silky coffee buttercream with a nutty crunch. The recipe below is for a double layer cake and is quite large. You can easily make this cake into a single layer by dividing all the ingredients by half. This makes a single nine inch cake. I hope you enjoy it. 

Bon app!

Chocolate Cake with Coffee Swiss Meringue Buttercream and Toasted Maple Syrup Walnuts
2018-03-15 00:24:27
Serves 12
Write a review
Save Recipe
Print
Cook Time
20 min
Cook Time
20 min
FOR THE CAKE
  1. 390 or 3 cups all purpose flour sifted
  2. 2 1/2 teaspoons baking powder
  3. 1 teaspoon baking soda
  4. 1 teaspoon salt
  5. 225 grams or 8 ounces of semi-sweet chocolate finely chopped
  6. 85 grams or 1 cup sifted cocoa powder
  7. 2 tablespoons instant coffee or espresso powder
  8. 2 1/2 cups boiling water
  9. 1 1/2 cups canola or vegetable oil
  10. 6 eggs room temperature
  11. 400 grams or 2 cups white granulated sugar
  12. 200 grams or 1 cup brown sugar
  13. 1/2 cup plain greek yogurt
  14. 1 tablespoon vanilla extract
SUGAR SYRUP
  1. 1/4 cup water
  2. 50 grams or 1/4 cup white granulated sugar
  3. 3 tablespoons Grand Marnier
INGREDIENTS FOR COFFEE SWISS MERINGUE BUTTERCREAM
  1. 6 egg whites
  2. 400 grams or 2 cups granulated white sugar
  3. 450 grams or 2 cups softened unsalted butter
  4. 2 tablespoons milk
  5. 1 teaspoon vanilla extract
  6. 2 tablespoons instant coffee or espresso powder
WALNUTS
  1. 100 grams or 1 cup walnuts
  2. 1/4 cup pure maple syrup
  3. pinch of sea salt flakes
CAKE
  1. Preheat oven to 350 F and place oven rack in middle
  2. Grease sides of pan with butter and dust some flour then trace and cut out bottom of 9 inch pan with parchment paper and place inside pan. Set aside
  3. Chop semi sweet chocolate into small bits and put in large bowl and sift cocoa powder over chocolate, and add the 2 tablespoons of instant espresso powder or instant coffee
  4. Bring a pot or kettle of water to boil (at least 3 1/2 cups) But pour only 2 1/2 cups of boiling water over chocolate and whisk until it becomes smooth and silky. set aside
  5. In large bowl, sift flour, baking powder, baking soda, salt, whisk well and set aside
  6. Using a stand mixer with the paddle attachment, put sugar in bowl and add egg in one at a time making sure each egg has been incorporated into sugar.
  7. Once egg and sugar have become thoroughly combined, add the vegetable oil in a slow steady stream stirring on low- scrape sides and mix again
  8. Stir in the yogurt and vanilla extract
  9. Reduce to lowest speed and stir in flour in three additions and chocolate mixture in two additions. Mix until flour streaks have dissolved. Do not over mix
  10. Divide the batter equally into pans and bake for 30-35 minutes or until a tester comes out with just a few clean crumbs
  11. Allow to cool in pan for about 10 minutes. Place wire cooling rack on pans and invert cakes removing the parchment paper. Generously brush SUGAR SYRUP (instructions just below) while cake is warm Allow to cool completely another 1 1/2 hours
SUGAR SYRUP
  1. While cake is baking, in a small saucepan, bring the sugar and water to a boil stirring until sugar has completely dissolved
  2. Add the Grand Marnier while syrup is just a touch warm.
  3. Generously slather on both cake layers about 5 minutes after cake has come out of oven
WALNUTS
  1. Leave oven on at 350 F. Line a baking tray with parchment paper
  2. Place the walnuts in centre of tray and drizzle with the maple syrup and mix with wooden spoon
  3. spread nuts out evenly and bake for about 15 minutes, turning once halfway at about 8 minutes
  4. after
  5. Let cool for about 3 minutes before separating the walnuts and sprinkling the sea salts
  6. Keep all the caramelized bits of maple syrup to dress cake with
COFFEE SWISS MERINGUE BUTTERCREAM
  1. In a medium saucepan filled with couple inches of water on medium heat, place the stand mixer bowl with the 6 egg whites and 2 cups of white sugar and bring water to a simmer
  2. Whisk constantly until candy thermometer reads 160 F- check by rubbing a bit between your thumb and finger that the sugar has completely dissolved and isn't gritty
  3. Fit the mixer bowl in the stand mixer with the whisk attachment and whisk until medium-stiff peaks form and the bowl returns to room temperature about 10 minutes
  4. Whisk together the instant espresso or coffee powder with the milk until all the powder has been dissolved
  5. Turn the mixer down and stir in the vanilla extract and the epresso/coffee milk mix
  6. Change the whisk attachment to the paddle attachment and start dropping in the room temperature butter in a couple table spoons at a time. Make sure the butter is fully incorporated before adding the next dollop of butter.
  7. Once all the butter has been added beat another 5 minutes on medium
  8. Buttercream may look a bit lumpy at times...be patient, it'll smooth out with a couple minutes of beating.
ASSEMBLING THE CAKE
  1. First...make sure cakes are completely cool. Refrigerating overnight or freezing for about 15 minutes makes icing easier.
  2. Place first cake layer on your cake stand and spread out about a quarter of the buttercream with an offset spatula
  3. Top with the next layer of cake and spread buttercream with offset spatula on top and on sides of cake
  4. Sprinkle the walnuts and the caramelized maple glass
Notes
  1. -This recipe can easily be made into a single layer chocolate cake. Just divide all ingredients by half and bake in one 9 inch pan
  2. -I've read that swiss meringue buttercream can be stored in an airtight container in the fridge for up to 2 weeks...however consuming within a week is ideal. Make sure you bring to room temperature and beat again for about 3 minutes before icing onto cake...if it gets lumpy or appears like it's curdling, blast a hair dryer on the buttercream while its beating in the stand mixer or place on a double boiler for a couple minutes...just to get the butter to gel with the meringue again.
  3. -Store cake in fridge in a cake container for up to a week
By Betty Binon
STEMS & FORKS https://www.stemsandforks.com/

Filed Under: Baking Basics, Baking Tips, Cakes, Chocolate, Family Favorites

  • Go to page 1
  • Go to page 2
  • Go to page 3
  • Go to Next Page »

Primary Sidebar

Stems & Forks Newsletter

Categories

Archives

Copyright © 2023 · stemsandforks.com · Disclaimer · Terms of Use · Privacy Policy · Contact