When my Belgian husband Pierre first immigrated to Canada, he was taken aback by the coffee culture here in Canada. “I find it so bizarre that North Americans can guzzle down this watery, sad version of what you call coffee.” This is where I explained to him coffee here wasn’t just about functionality and flavour profile. There’s an enormous social and cultural undercurrent surrounding coffee here. “Let’s do coffee.” Synonymous to let’s gather. Let’s gather and talk about anything and everything which will potentially take more than a few minutes…in which case we’ll need a heaping cup of coffee and some dessert to go with it.
Of course Pierre, who was accustomed to little espresso shots in Europe has finally acclimatized to the Canadian coffee culture. Now, he’s the biggest advocate for taking the time to enjoy an oversized mug of java over long and meaningful conversations with loved ones. It only took ten years…

And I suppose that’s where this virtual coffee party all started. The talented Nate of the Terminatetor Kitchen wanted to “do coffee” with a few international fellow food bloggers. What better way to celebrate and connect but through a coffee recipe.
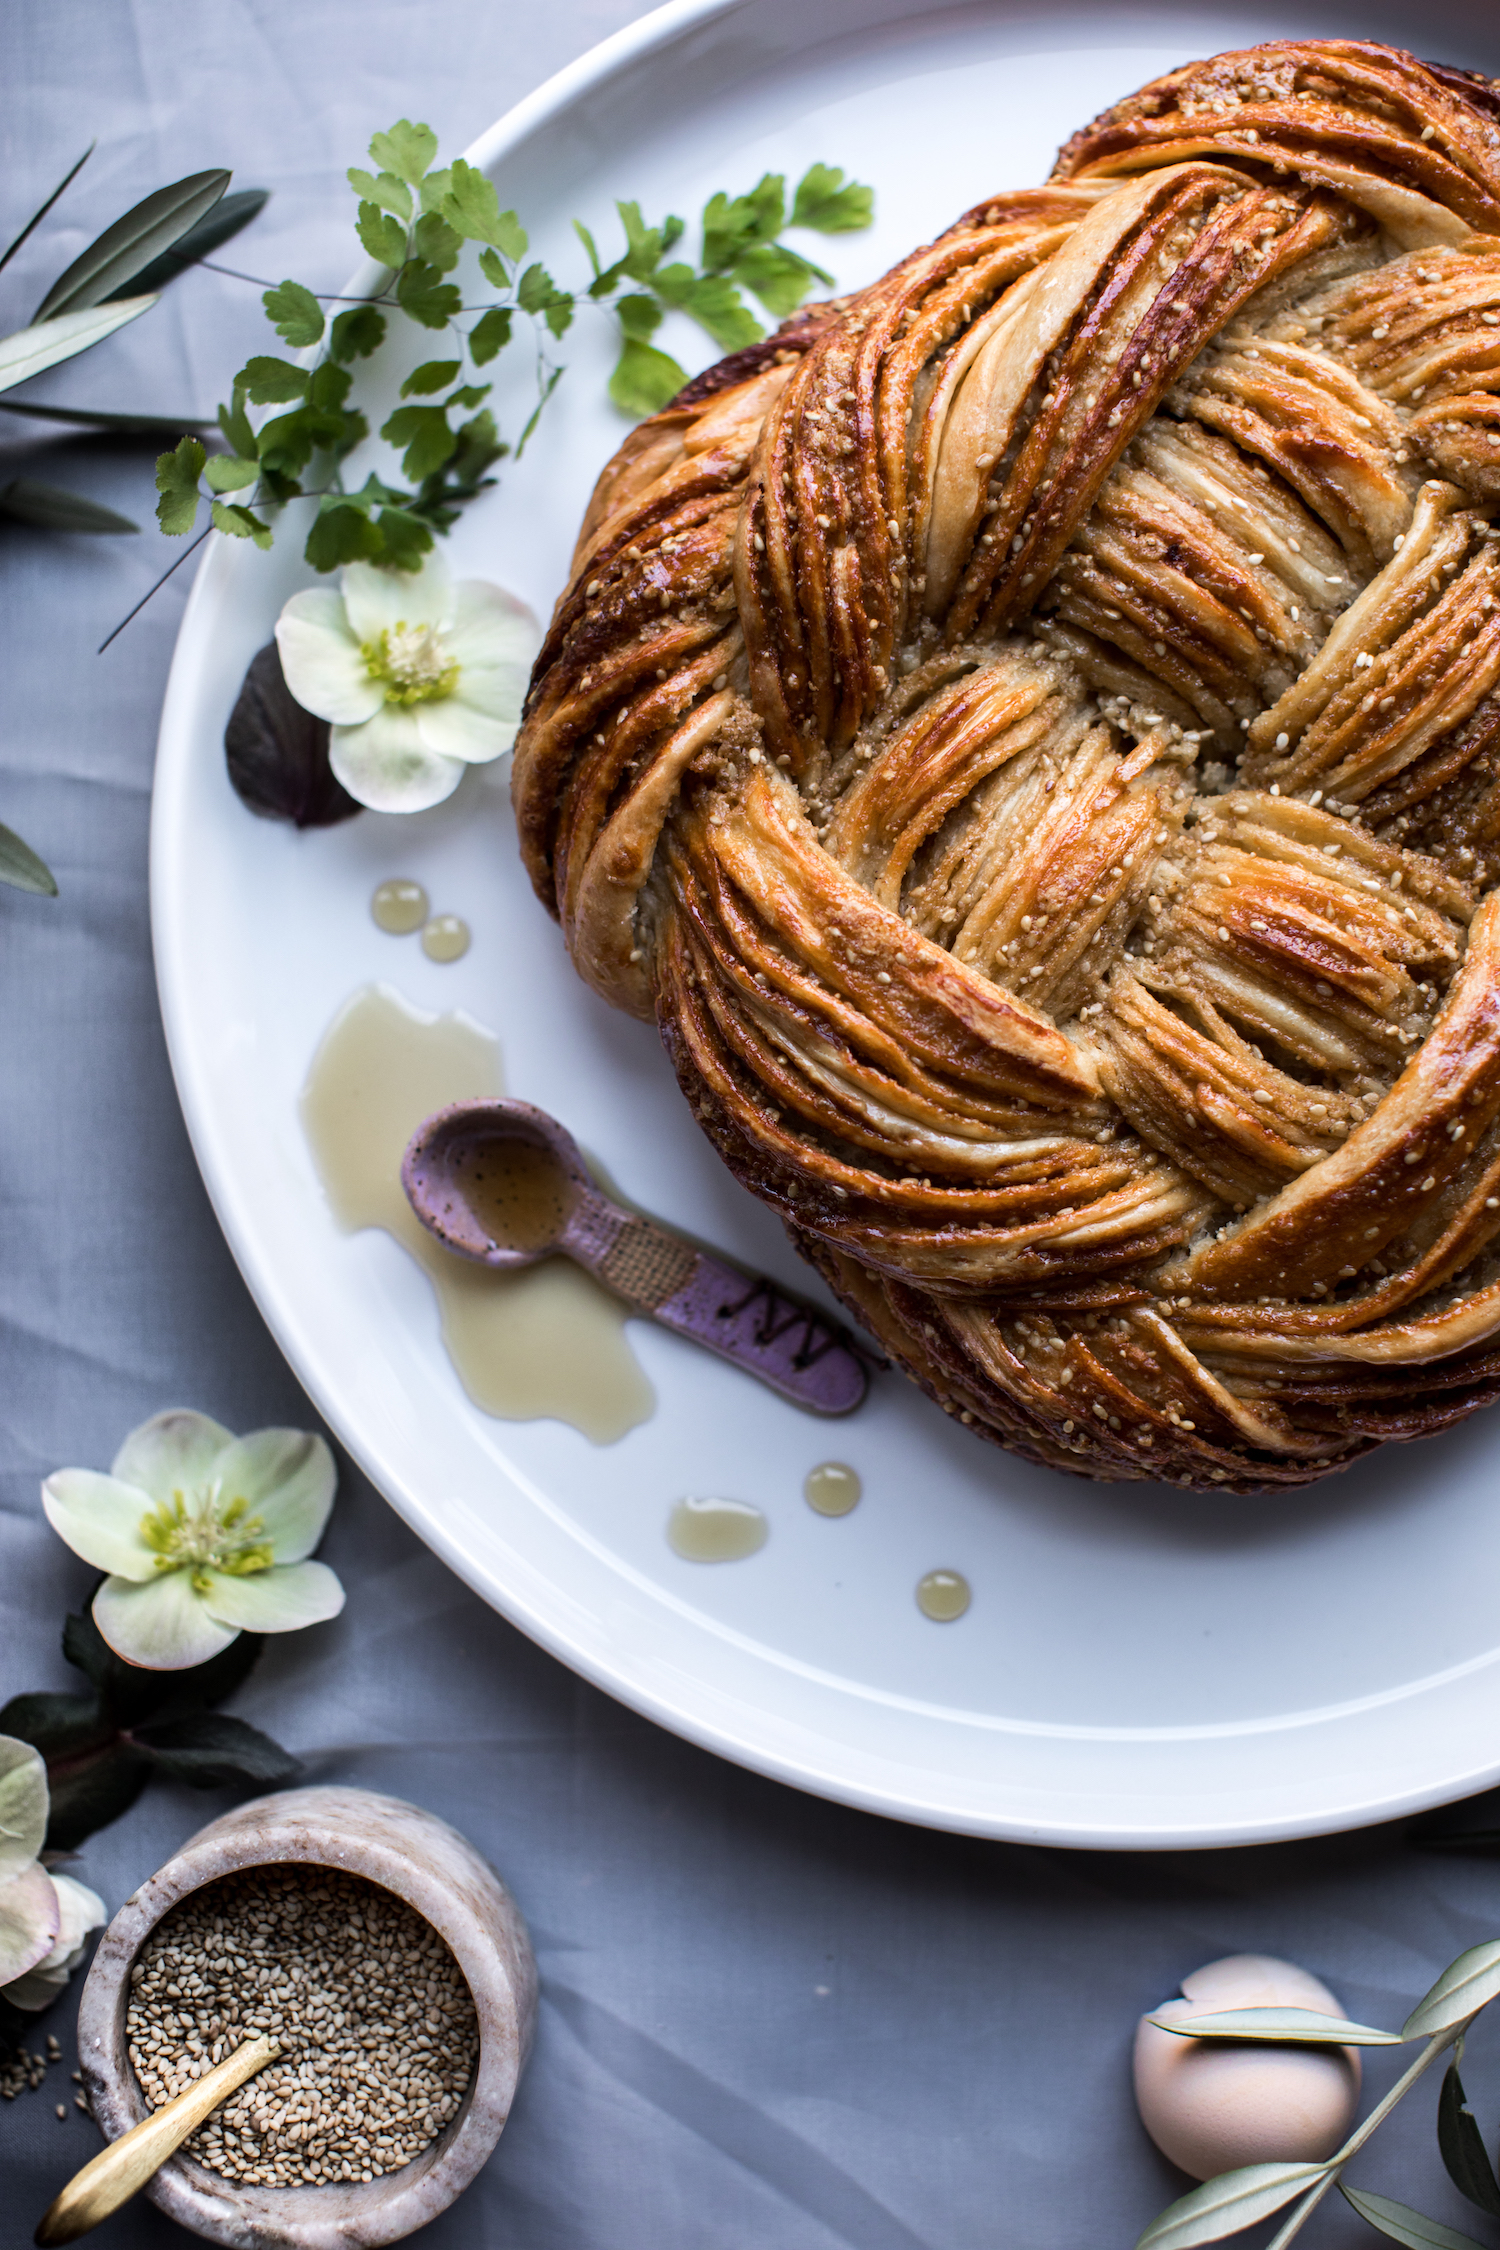
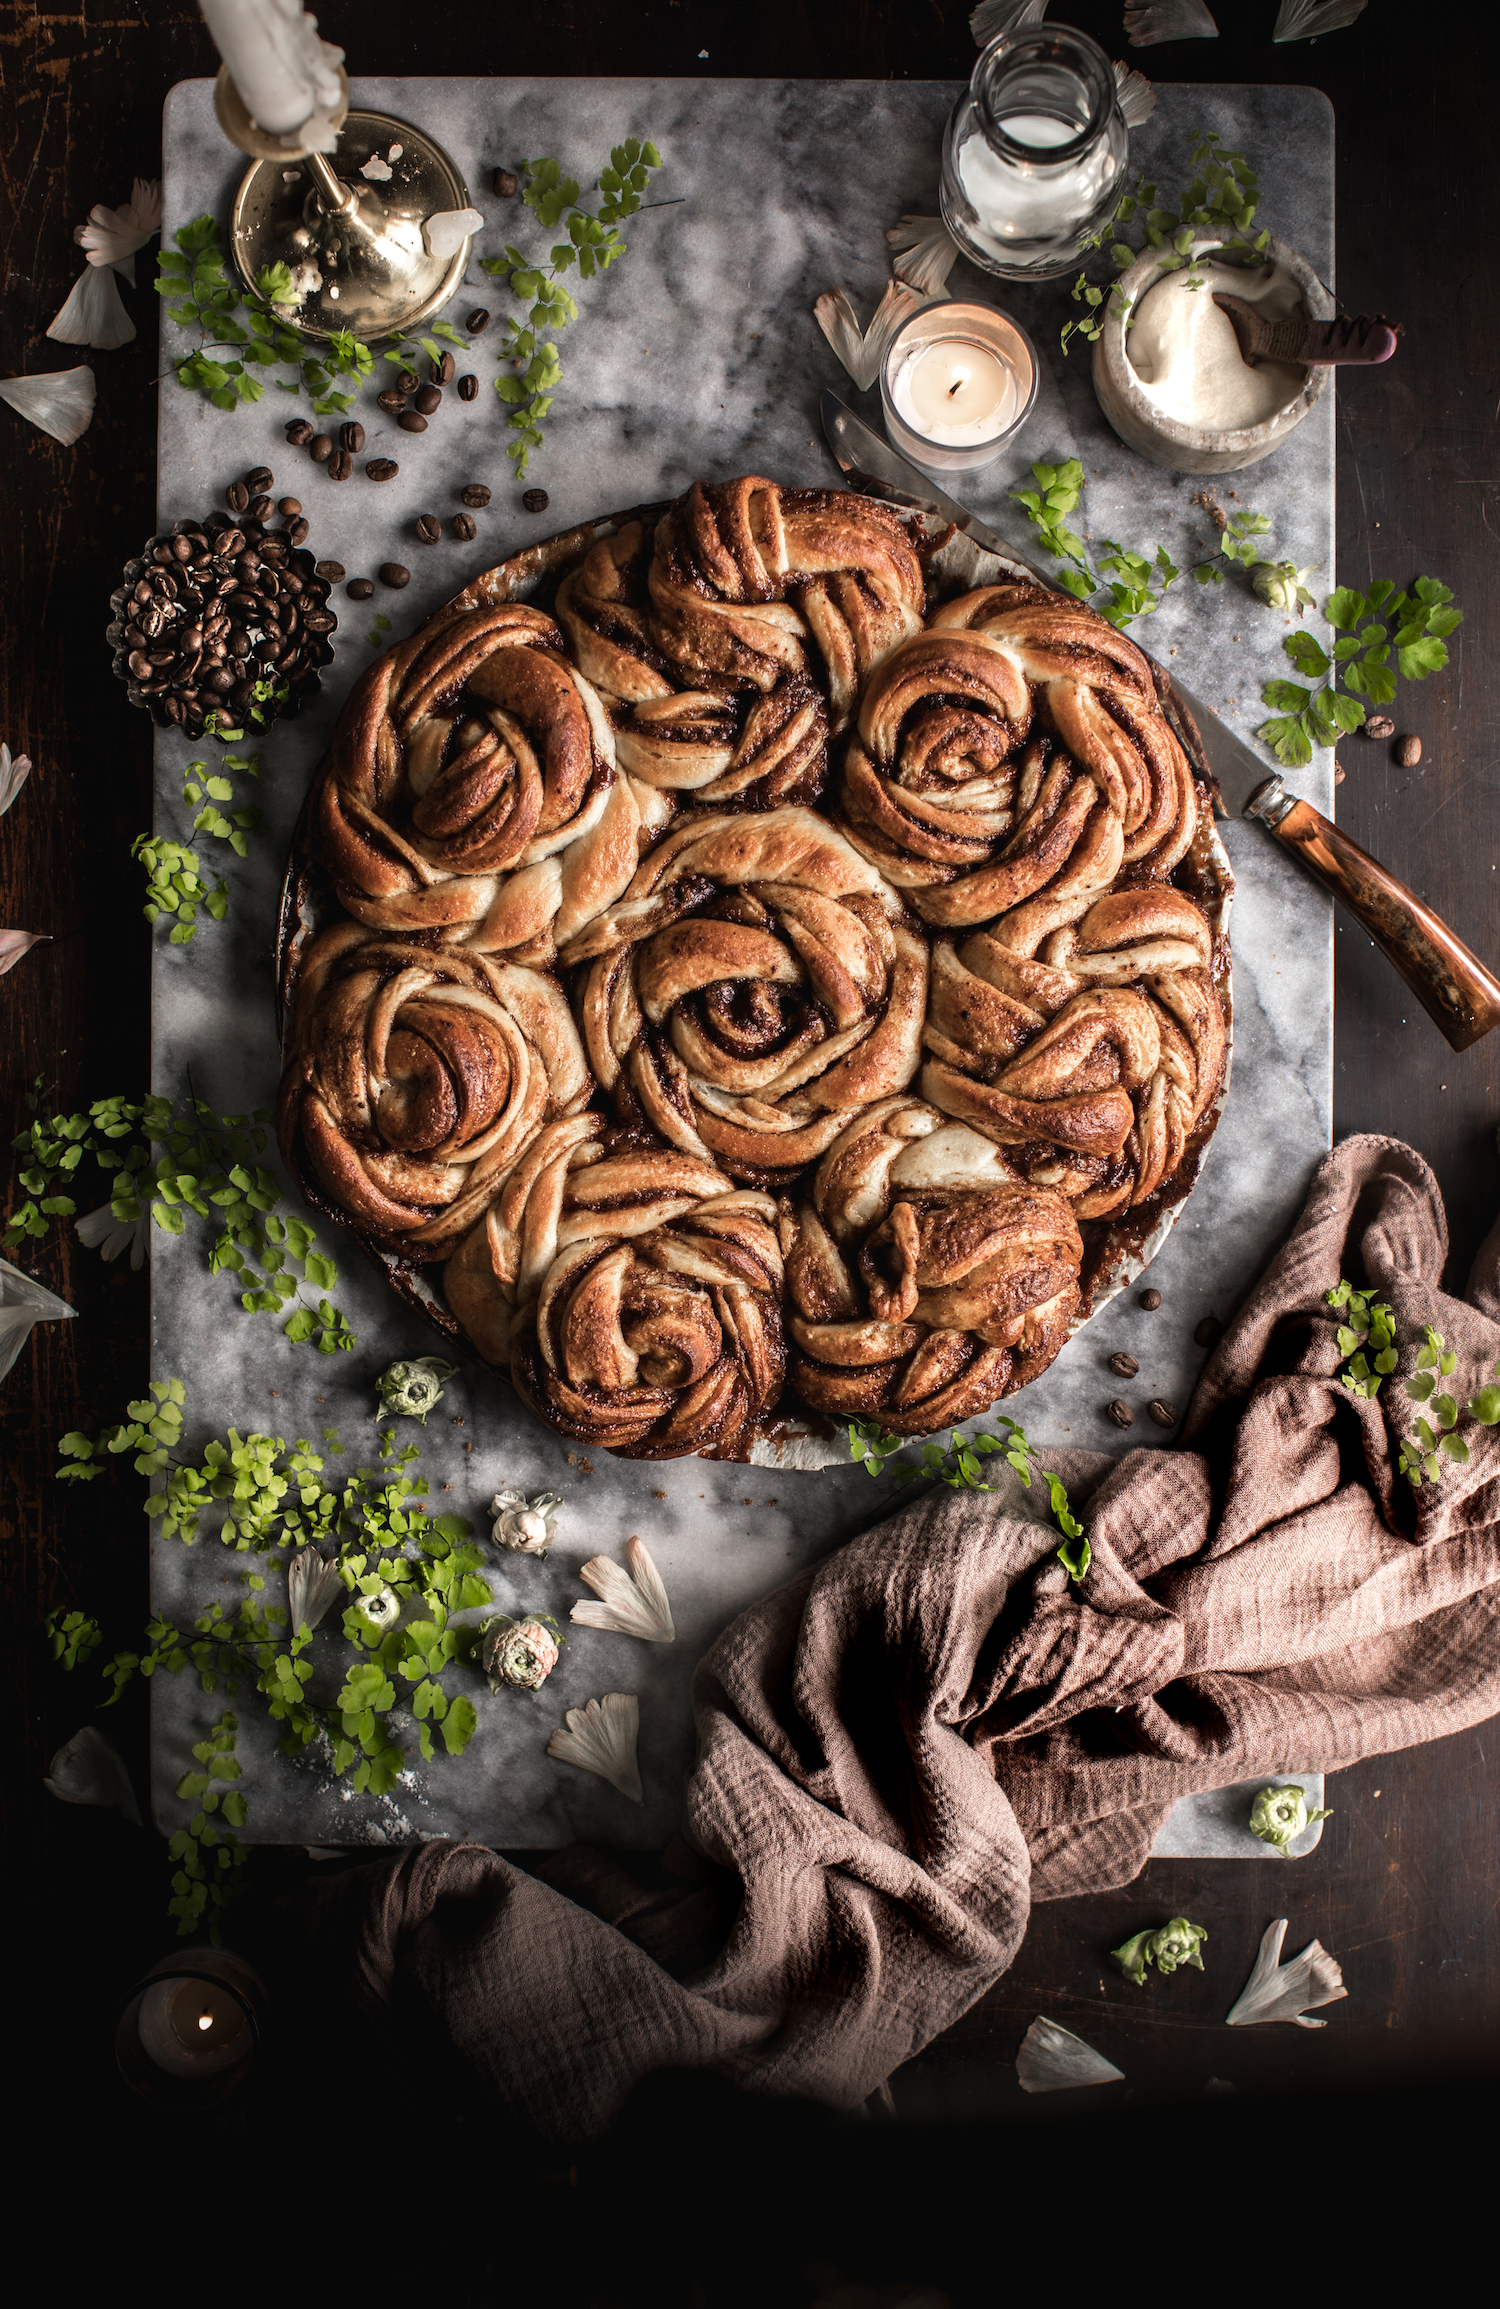
So I invite you to call a few friends, gather, brew a pot of java, bake these buns (which by the way are SUBLIME) and “do coffee”.
Check out some of the other amazing coffee inspired recipes by my fellow food bloggers below:
Alexcrumb • Vegan chocolate meringue pie
Ananás e Hortelã • Strawberry Rolls with White Chocolate Glaze
Black.White.Vivid • Emirati Sweet Dumplings with Coffee Syrup (Luqaimat)
Cloudy Kitchen • Tiramisu Sheet Cake
DisplacedHousewife • Banana Espresso Cake with Espresso Bean Buttercream
Feed Me With Amanda • Tea Infused Shortbread
Feed The Swimmers • Fudgy Espresso Sweet Potato and Black Bean Brownies with Hazelnuts
and a Coffee Cream Cheese Frosting
Flor de Cerejeira • Mocha Orange Entremet
Flour Covered Apron • Espresso Banana Muffins with Chocolate Espresso Glaze
From Scratch Mostly • Argentinian Dulce de Leche Churros, Dipped in Coffee Chocolate Sauce
Harvest & Honey • Mocha-Braised Pork & Polenta Bowls
HonestlyYUM • Cafe Con Tres Leches Cake
Love Olive • Breakfast Almond Pancakes with Coffee Syrup
Milk of Thy Kindness • Best and Easy Coffee & Avocado Indo Style
Stems & Forks • Espresso Cinnamon Buns
TermiNatetor Kitchen • Blueberry Creme Fraiche Coffee Cake
The Almond Eater • Mocha Tahini Fudge
The Cinnaman • espresso ricotta cheesecake with emirati date crumb (batheeth)
The Korean Vegan • Vegan Tiramisu
Bon app!


- 1 teaspoon white granulated sugar for the yeast
- 1 tablespoon traditional active dry yeast
- 1/3 cup milk
- 3 3/4 cups - 4 cups or 490 grams - 520 grams of all purpose flour
- 1 teaspoon salt
- 1/2 cup or 100 grams white granulated sugar
- 3/4 cup buttermilk room temperature
- 6 table spoons very soft room temperature unsalted butter
- 2 large eggs room temperature
- 1 stick or 1/2 cup or 115 grams of unsalted butter room temperature
- 3/4 cup or 175 grams brown sugar
- 1 1/2 tablespoons cinnamon powder
- 1 tablespoon instant espresso powder (if its in flake form, put in ziploc and roll a rolling pin over it till it becomes a powder) Substitutes: instant coffee
- 1/4 cup heavy cream
- 3 ounces or 85 grams cream cheese room temperature
- 1/4 cup or 55 grams unsalted butter room temperature
- 1 1/4 cup or 155 grams icing/powdered sugar
- Instructions for the dough
- Scald 1/3 cup milk in small sauce pan till small bubbles form at side of pan or until it reaches a temperature of 110-120 F and is very warm to the touch but not so hot that it’s unbearable to touch
- Gently stir in the teaspoon of sugar and tablespoon of yeast. Set aside to poof to double it’s size… about 8-10 minutes
- In stand mixer with paddle attachment, mix the buttermilk, the eggs, salt and 1/2 cup sugar with the 6 tablespoons of very soft room temperature butter… Don’t worry too much if the butter is lumpy.
- Once the yeast has poofed pour into the stand mixer bowl and stir for a few seconds
- Swap out the paddle attachment now with the hook attachment
- Add about half the flour in until shaggy and somewhat combined, then add the rest of the flour and knead for about 8 minutes on low speed.
- Dough should be smooth, shiny, tacky and stick to the bottom of the bowl (not the sides) don’t be tempted to keep adding flour. Only add more if it’s sticking to sides and bottom…and add a spoonful at a time only. Less is more here. If it’s too dry, add a spoon of milk
- Transfer to a lightly oiled bowl keeping in mind the dough will double…cover with plastic and allow to rise in a warm part of home…2 - 2 1/2 hours
- Line with parchment or generously butter a 12 inch baking pan or pizza pan (with no holes on the bottom. I used a pizza pan) and set aside
- In a medium bowl, mix the cinnamon, brown sugar and espresso powder together and set aside
- Once the dough has risen to at least double, lightly dust a work surface with flour
- Punch dough down and transfer to counter. Take sharp serrated knife or dough scraper and cut the dough into 4 equal parts.
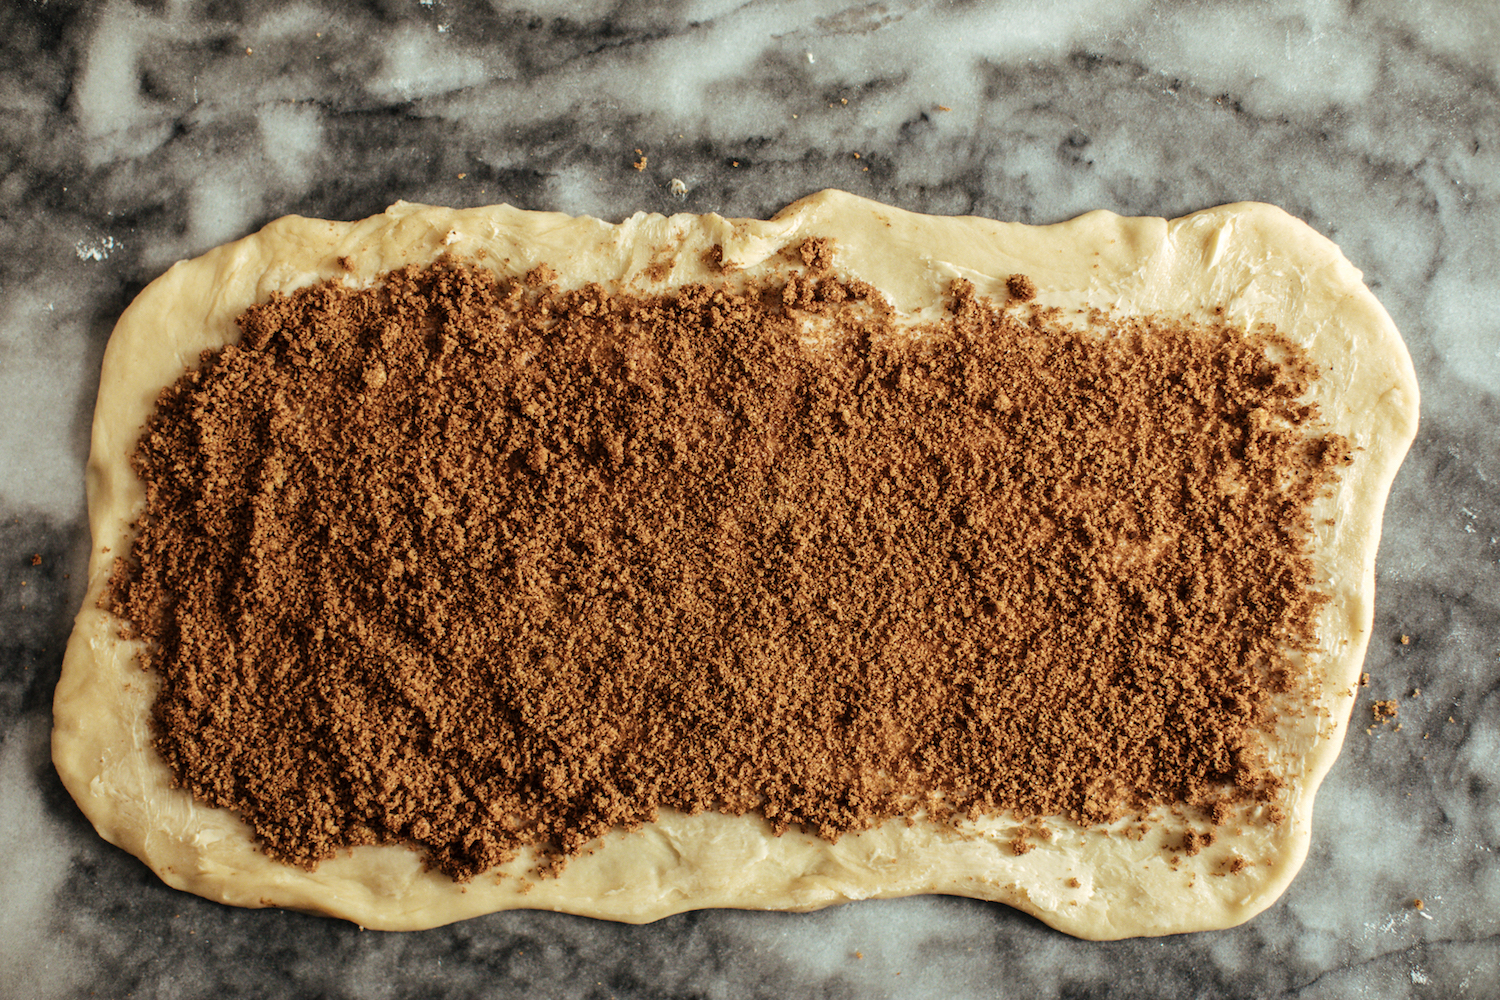
- Roll each of the pieces out in a rectangular shape about 8 inches by 12 inches
- Slather/spread about two tablespoons (from the half cup butter) on each rectangle using your fingers and leaving about half an inch on the edge of the entire border
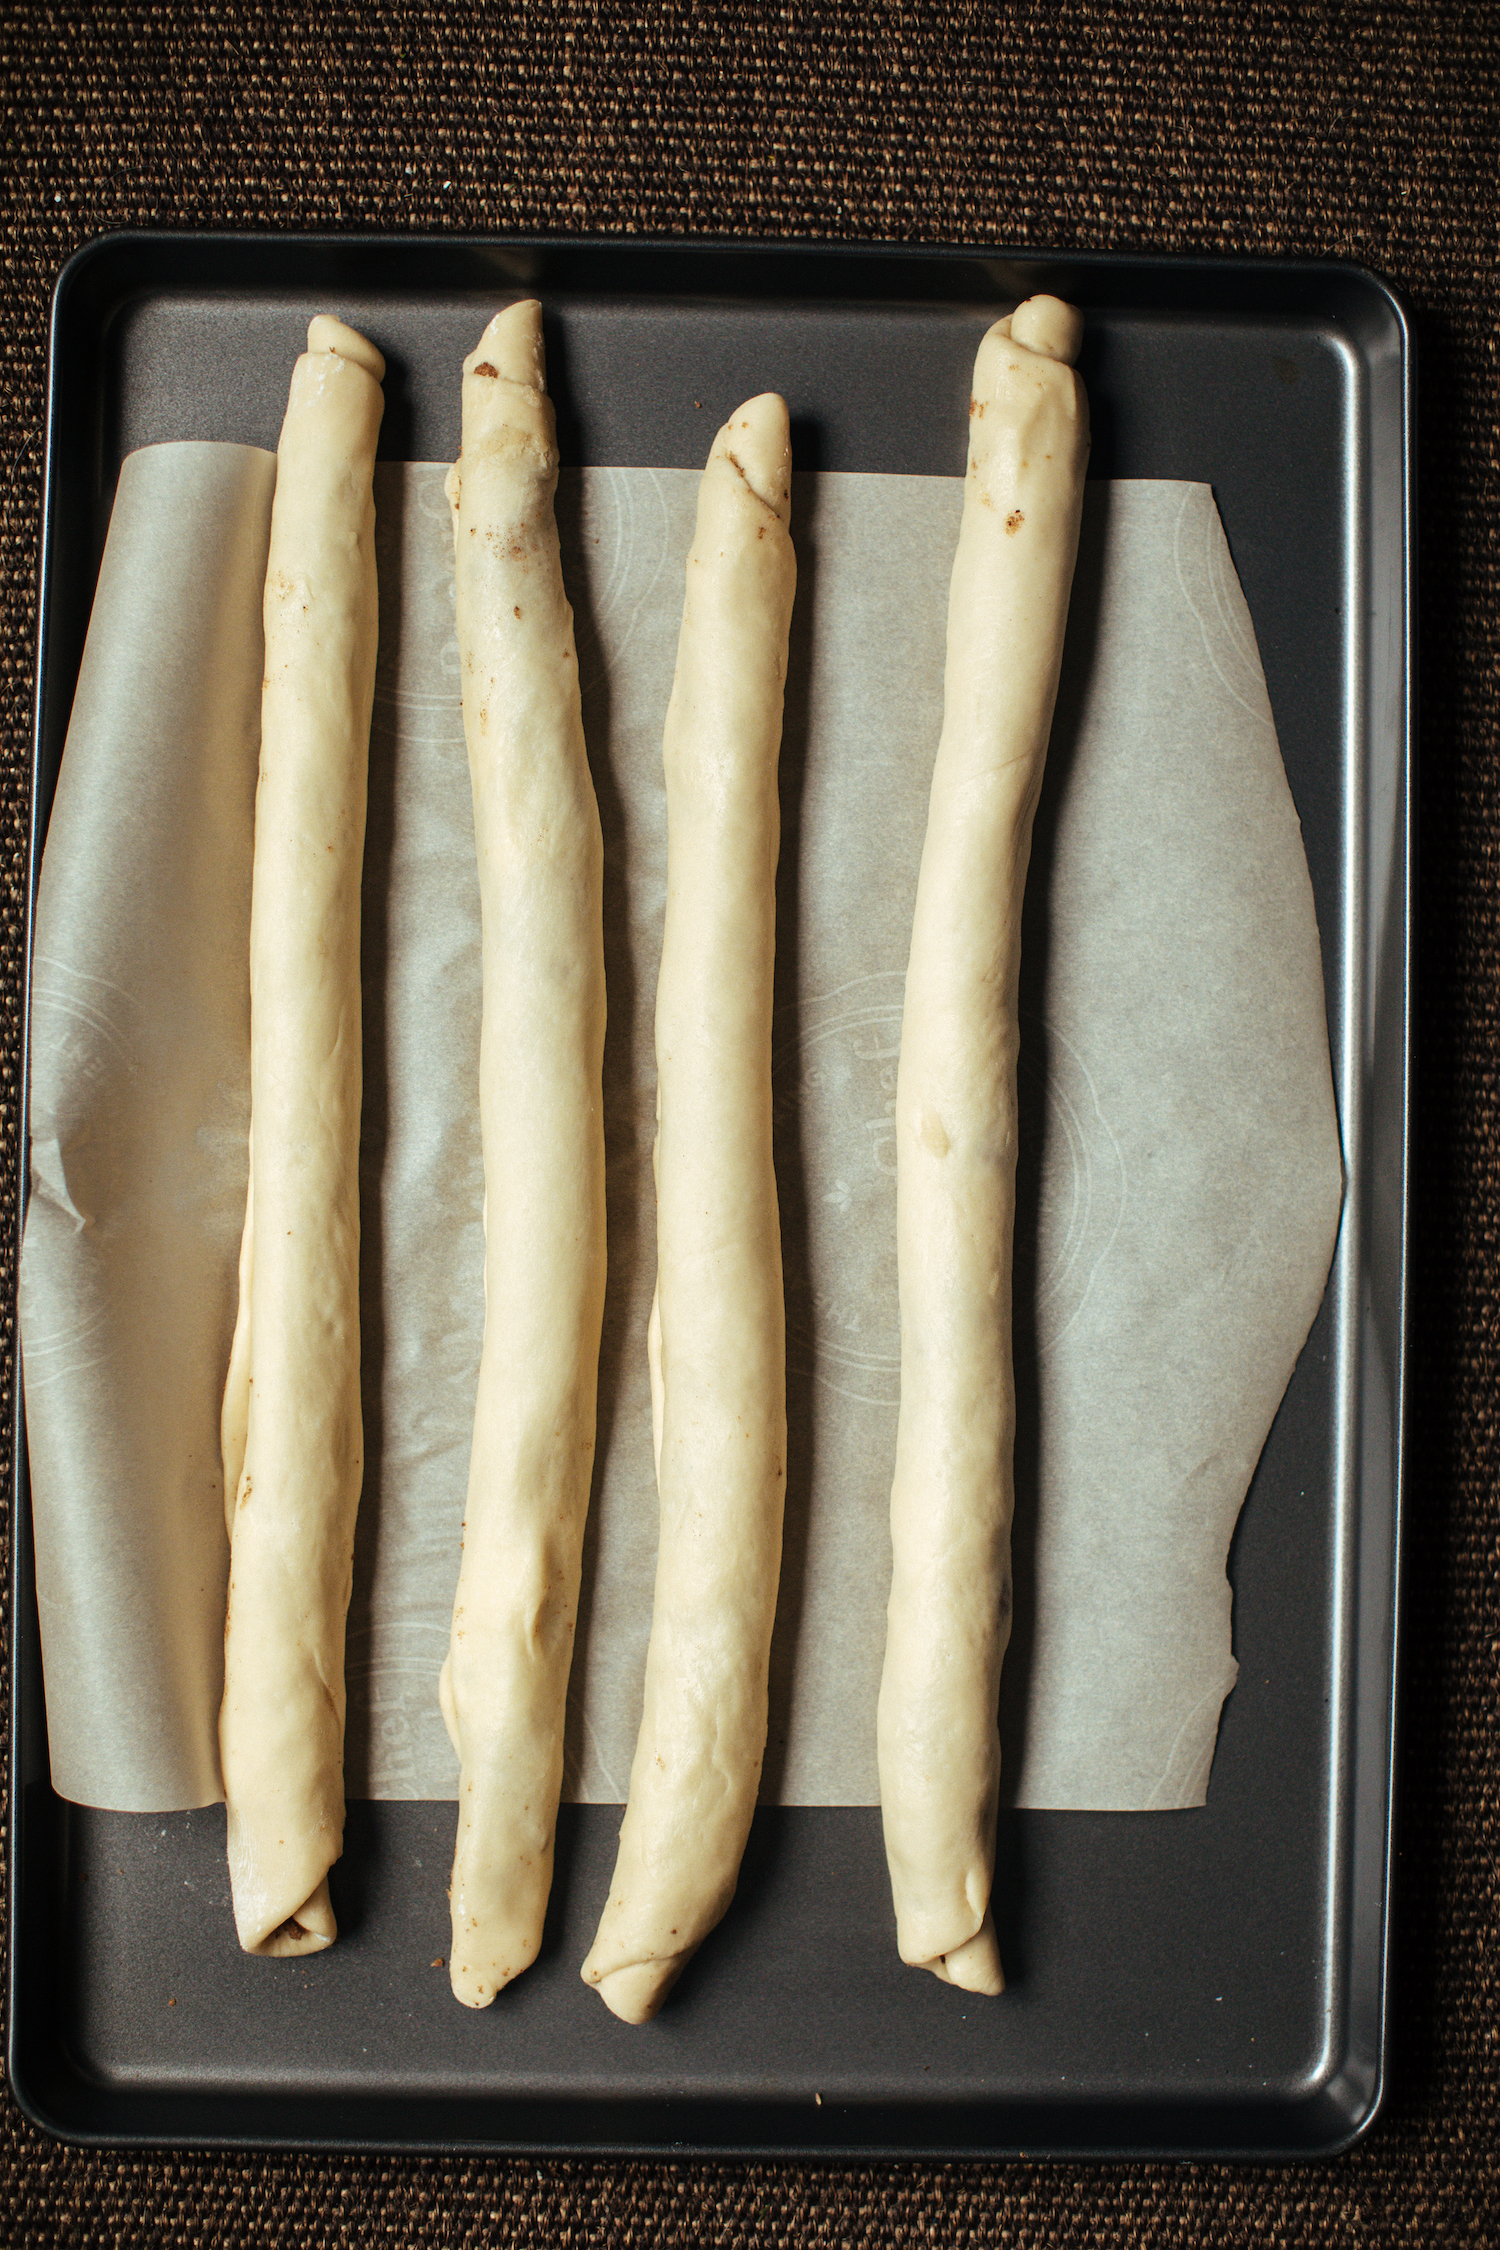
- Sprinkle and spread about a quarter of the filling per rectangle and roll snuggly
- Not mandatory but very helpful at this point to chill the rolled dough for about 15 minutes before proceeding to next step - slightly chilled dough makes it easier to work with.
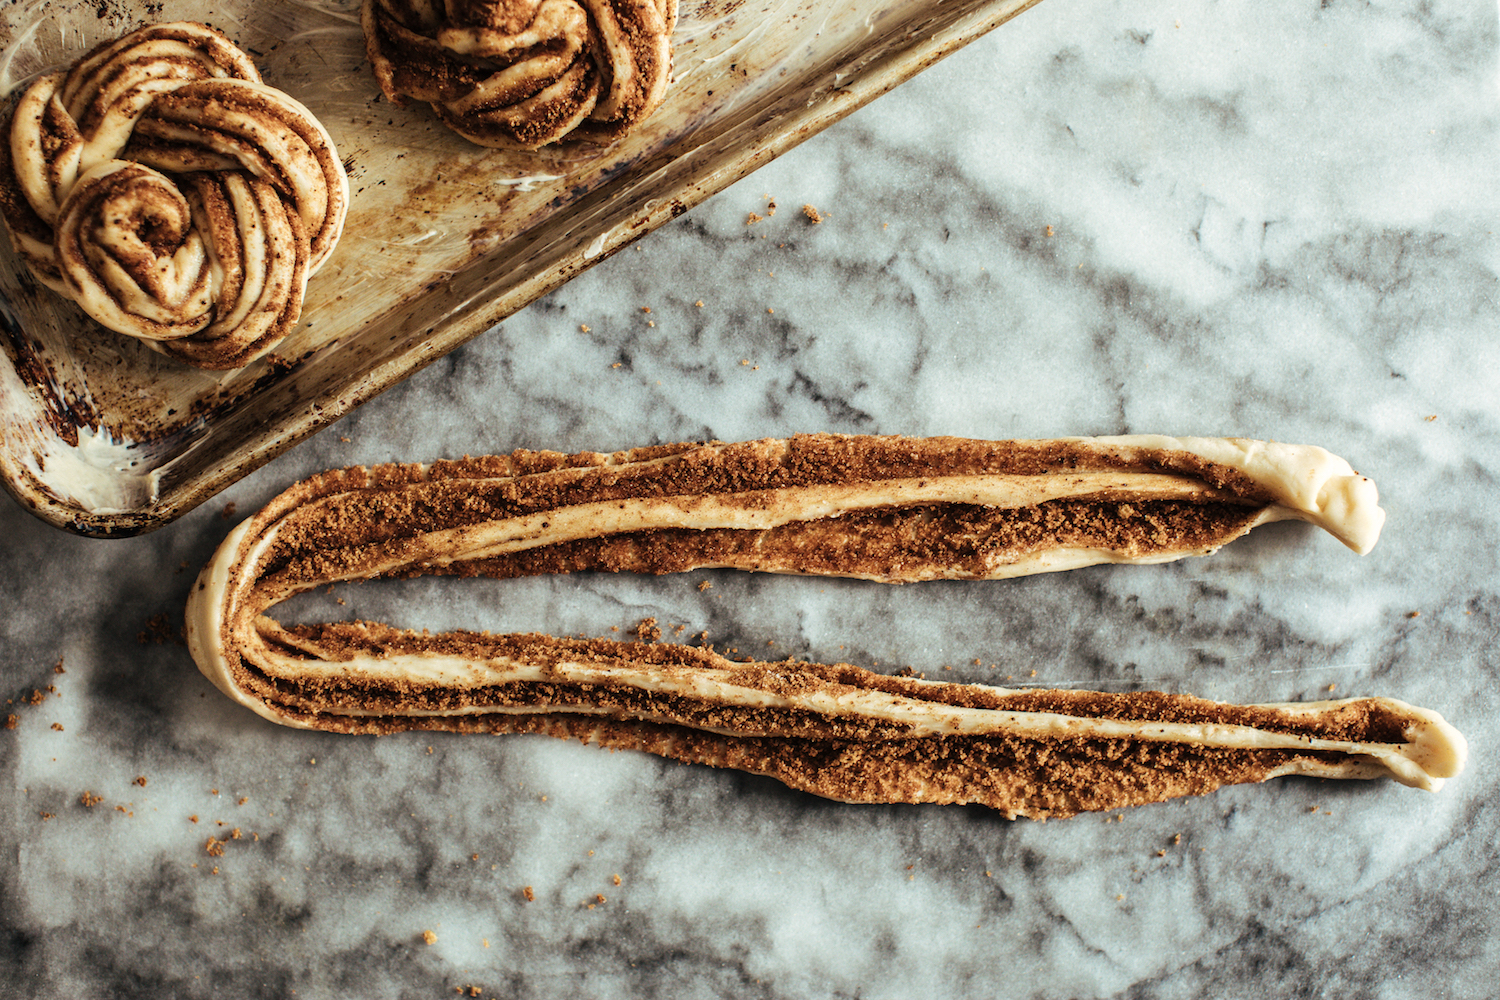
- Once all four have been rolled, take a very sharp serrated knife and cut down lengthwise centre and set aside
- You should have 8 tendrils now
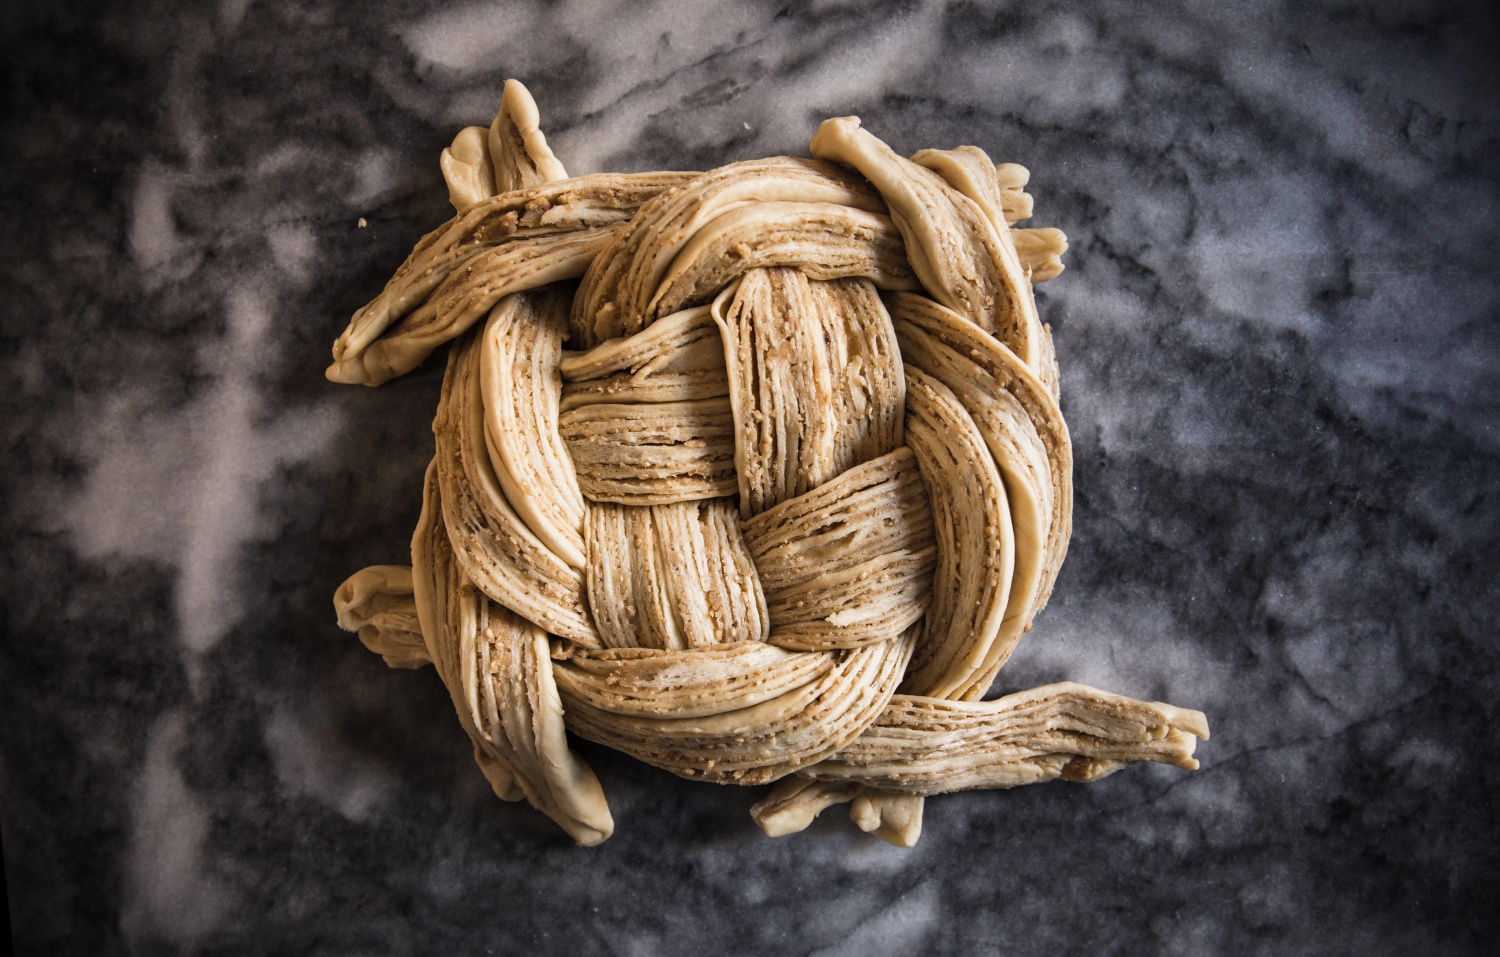
- Refer to pics above for the following steps
- Take the tendril and bend at the center to make a “U”
- Twist/braid the the two 'legs' so they weave together
- Now starting from the center end, roll the weaved tendril all the way in a swirl motion.
- Once you’ve reached the end, tuck that tail under the bun
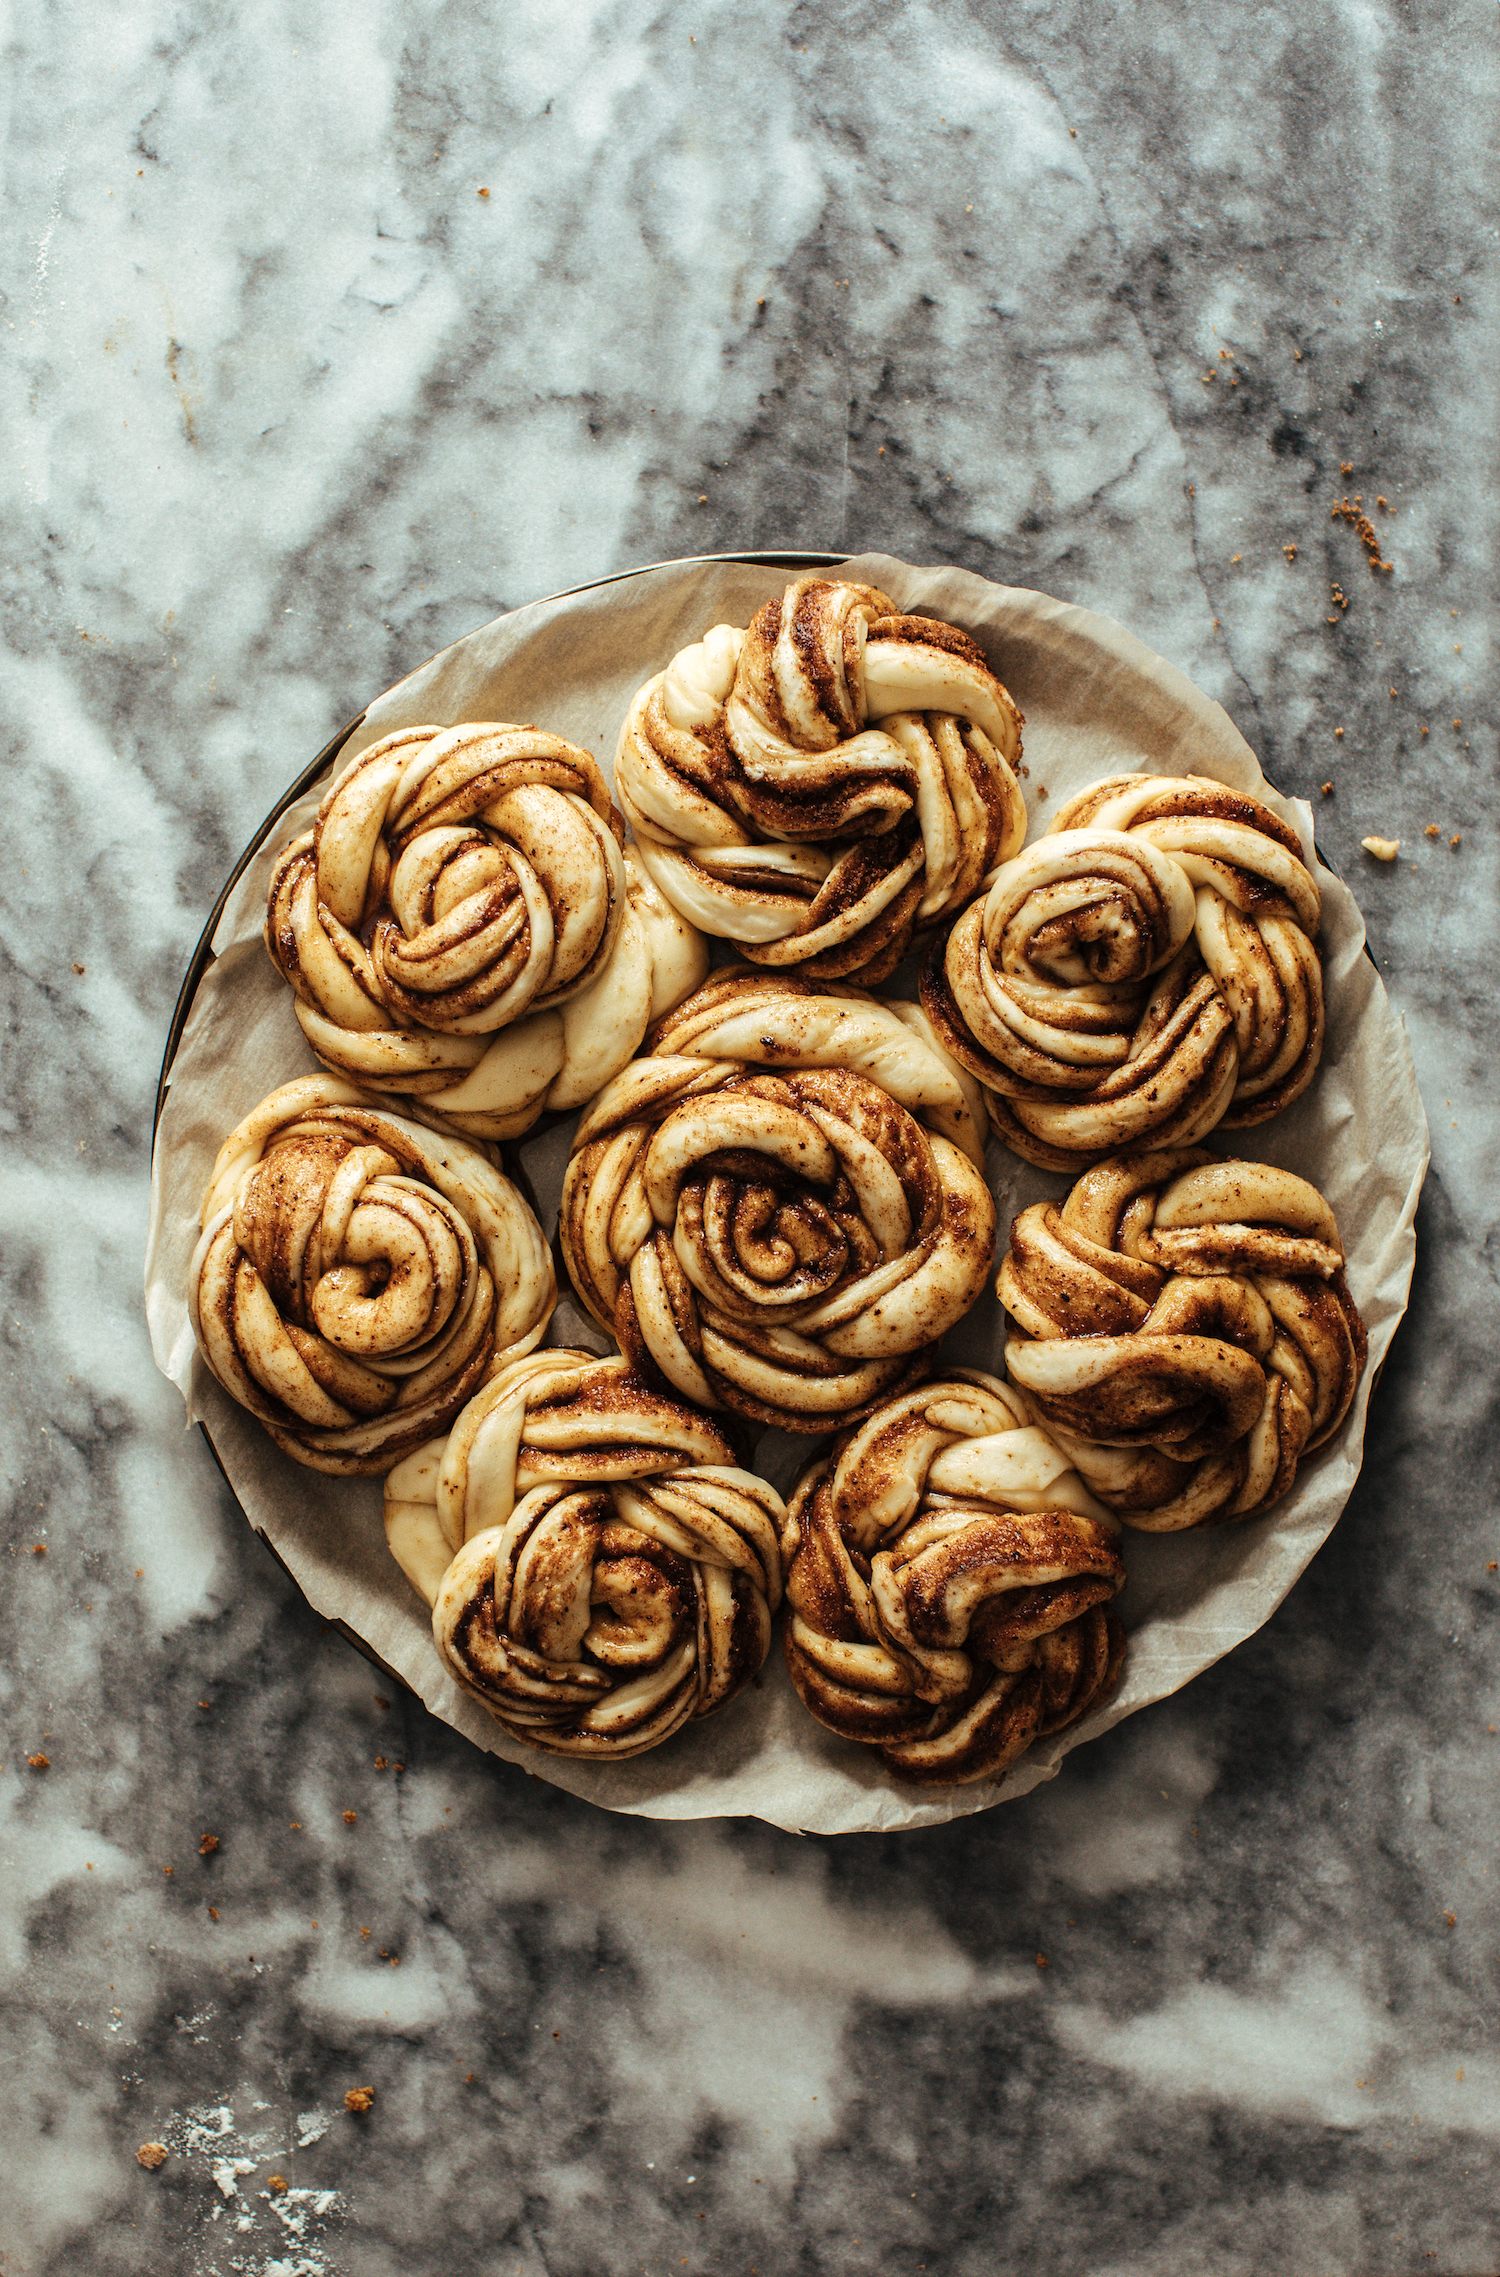
- Repeat with all 8 tendrils
- Arrange your rosy buns on your baking pan or pizza pan and completely cover with a damp cheesecloth or light kitchen towel (dampen cloths by soaking with water than wringing out excess water)
- Place in warm area for the second rise (until they’ve almost doubled in size) about 1 hour
- Preheat oven to 375 F and place rack to middle position in oven
- Brush on/pour over the 1/4 cup of cream all over the buns…make sure you use the entire 1/4 cup…its okay if it puddles between the buns…the liquid will get absorbed as it bakes
- Bake for 20-22 minutes…I usually tent mine with aluminum foil for the last 5 minutes as my buns tend to brown rather quickly towards the end. All ovens vary, so keep an eye on your buns to avoid over browning!
- They are ready once the internal temperature in the center of the buns reads 185 F on a thermometer and no longer looks doughy.
- While the buns are baking, prepare the frosting
- With paddle attachment, beat the room temperature cream cheese until smooth and creamy, then add the butter and beat until fully incorporated (if it gets lumpy, blow a hair dryer over the frosting while it’s beating for a few seconds)
- Add the powdered sugar and beat until smooth and silky
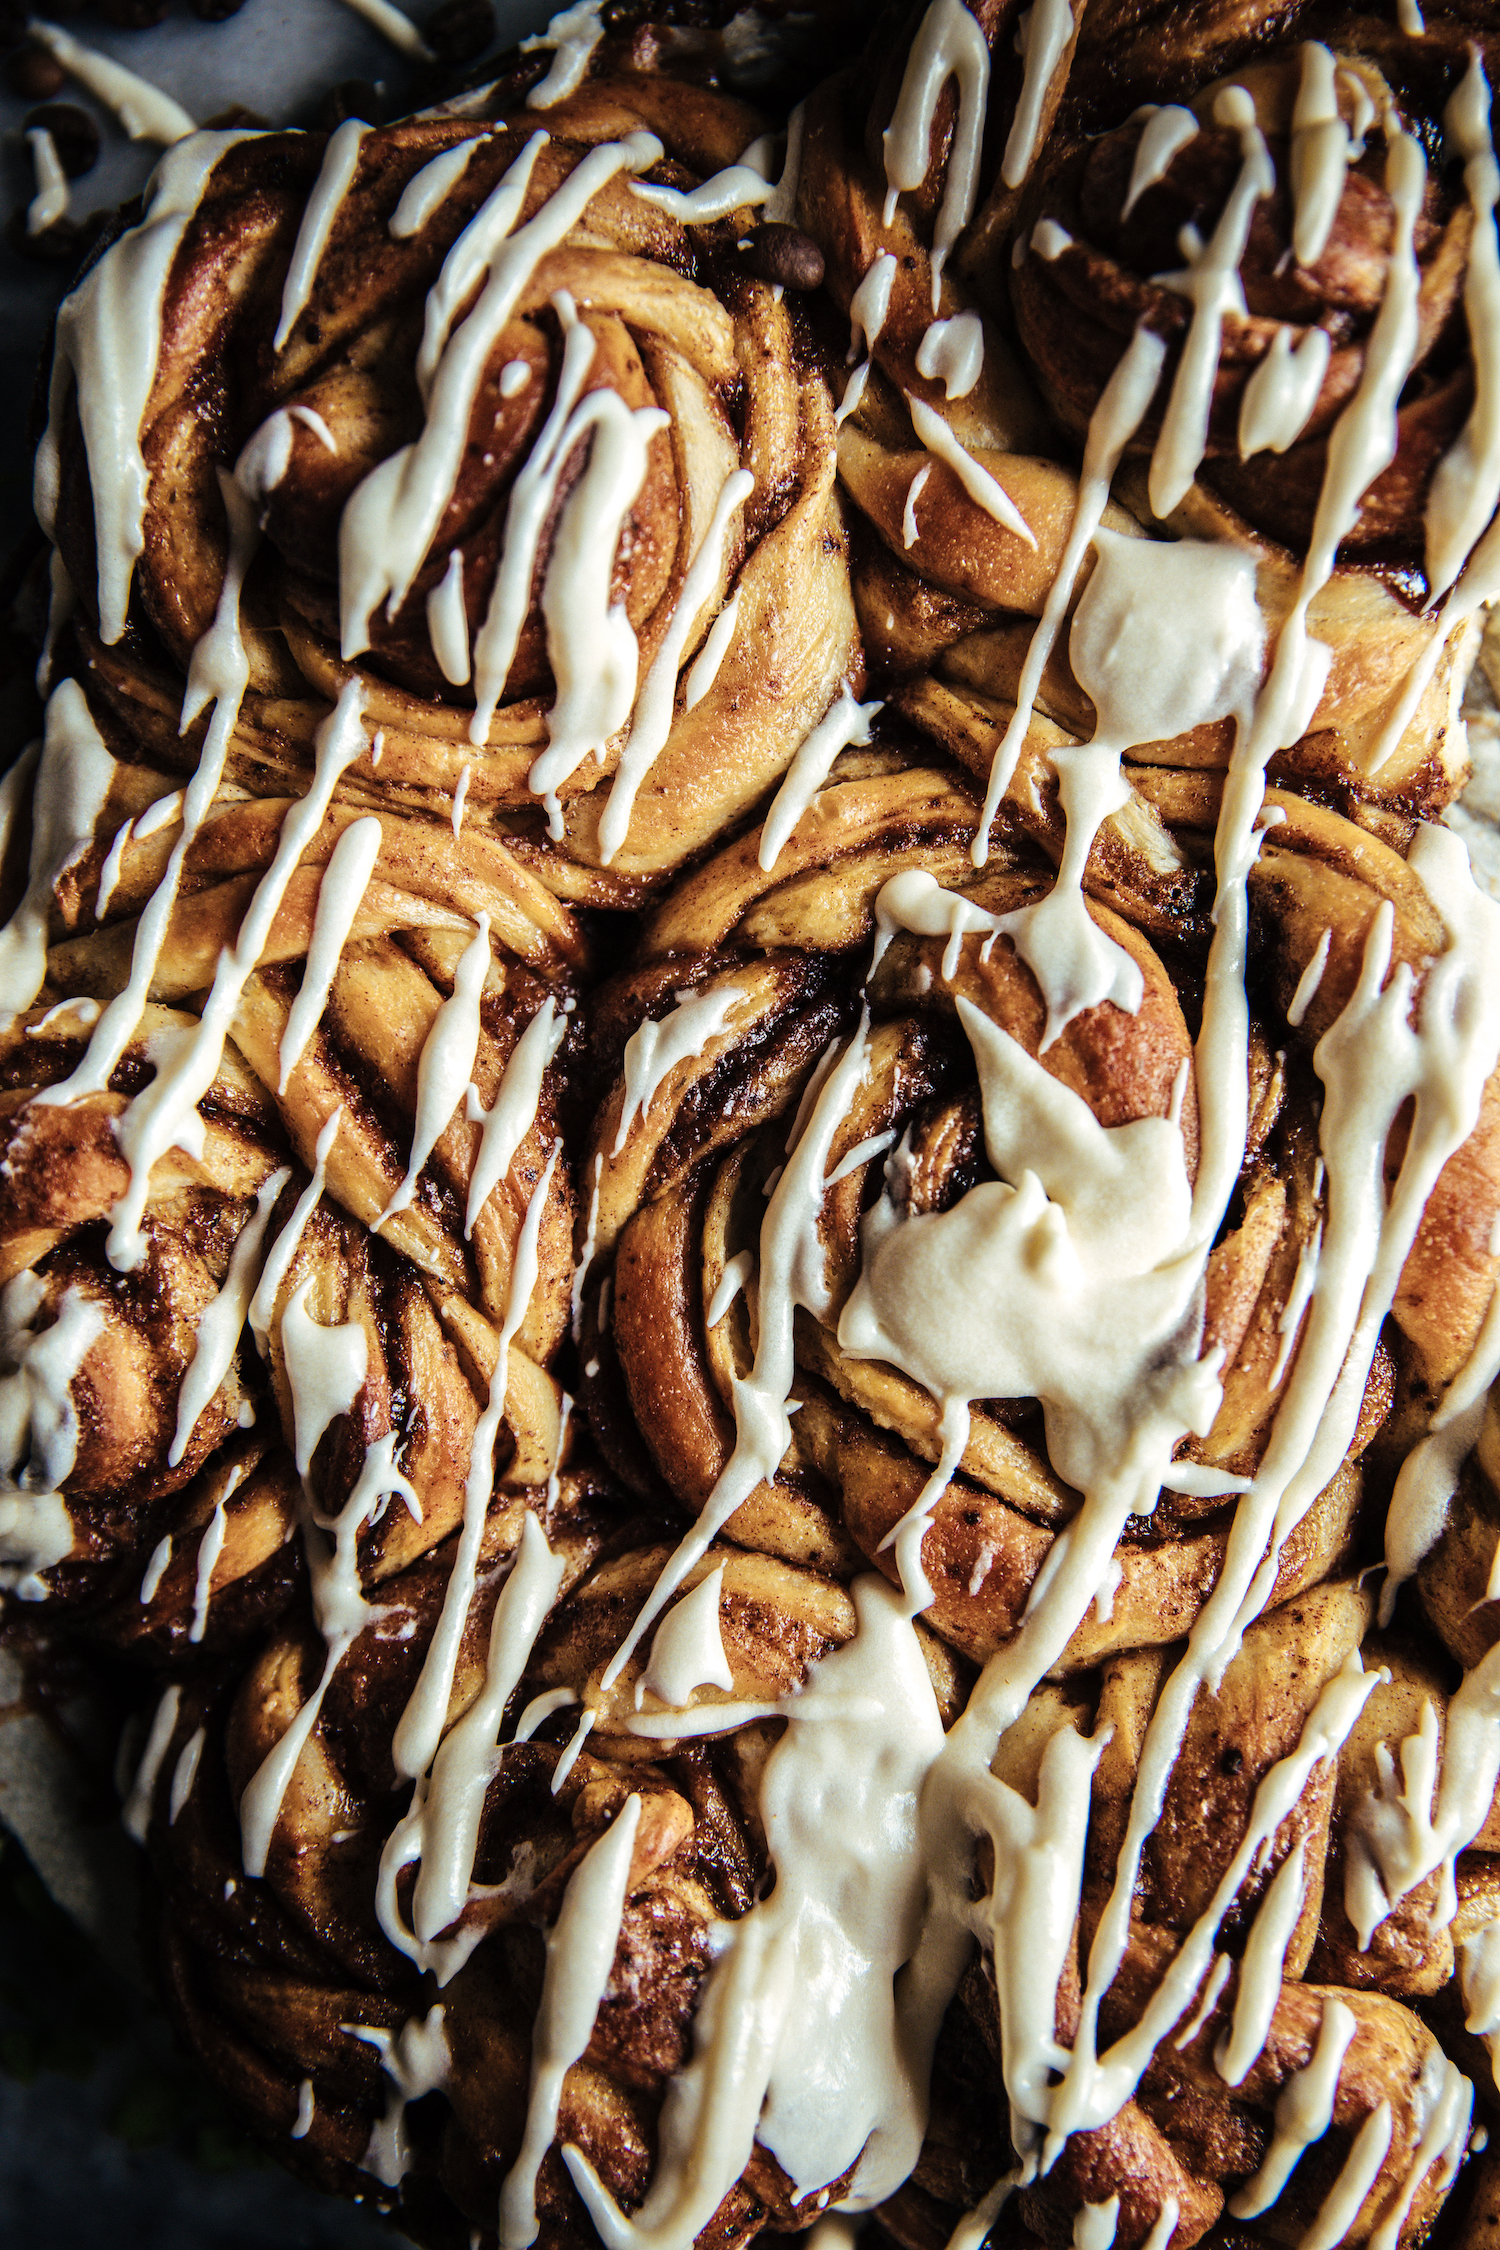
- There are a few ways to serve with the frosting.
- You can slather the entire pan of buns with the frosting while they are still a bit warm (not hot)
- Probably the most appetizing, but also the messiest and unestheitcally pleasing as the frosting completely covers the beautiful rosette buns
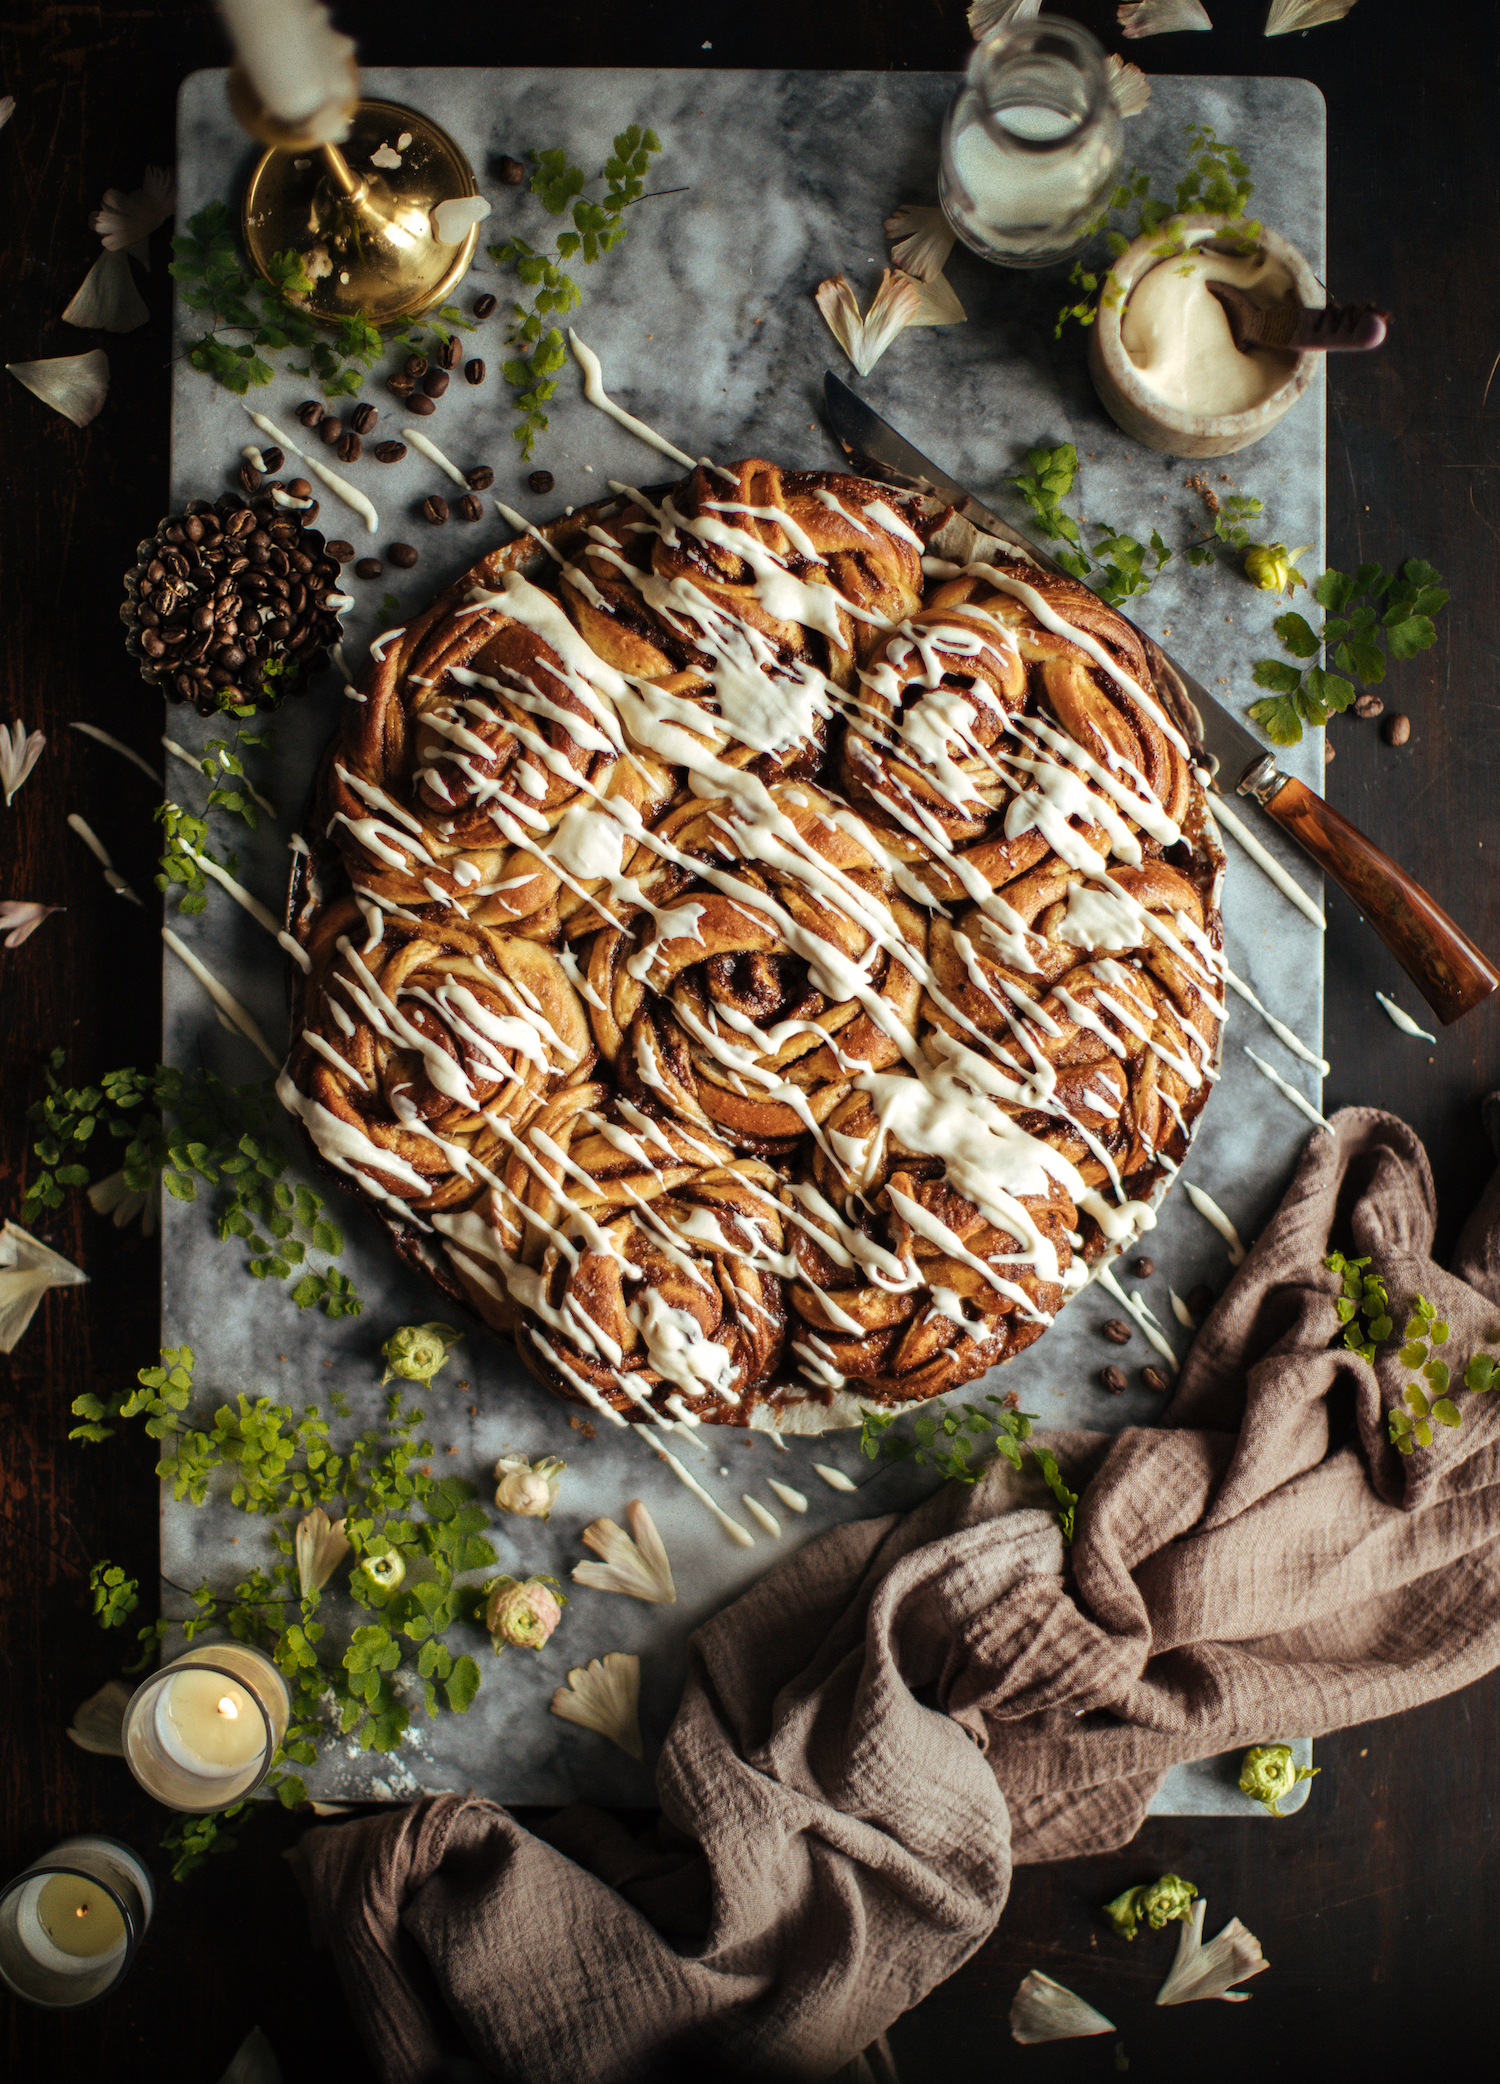
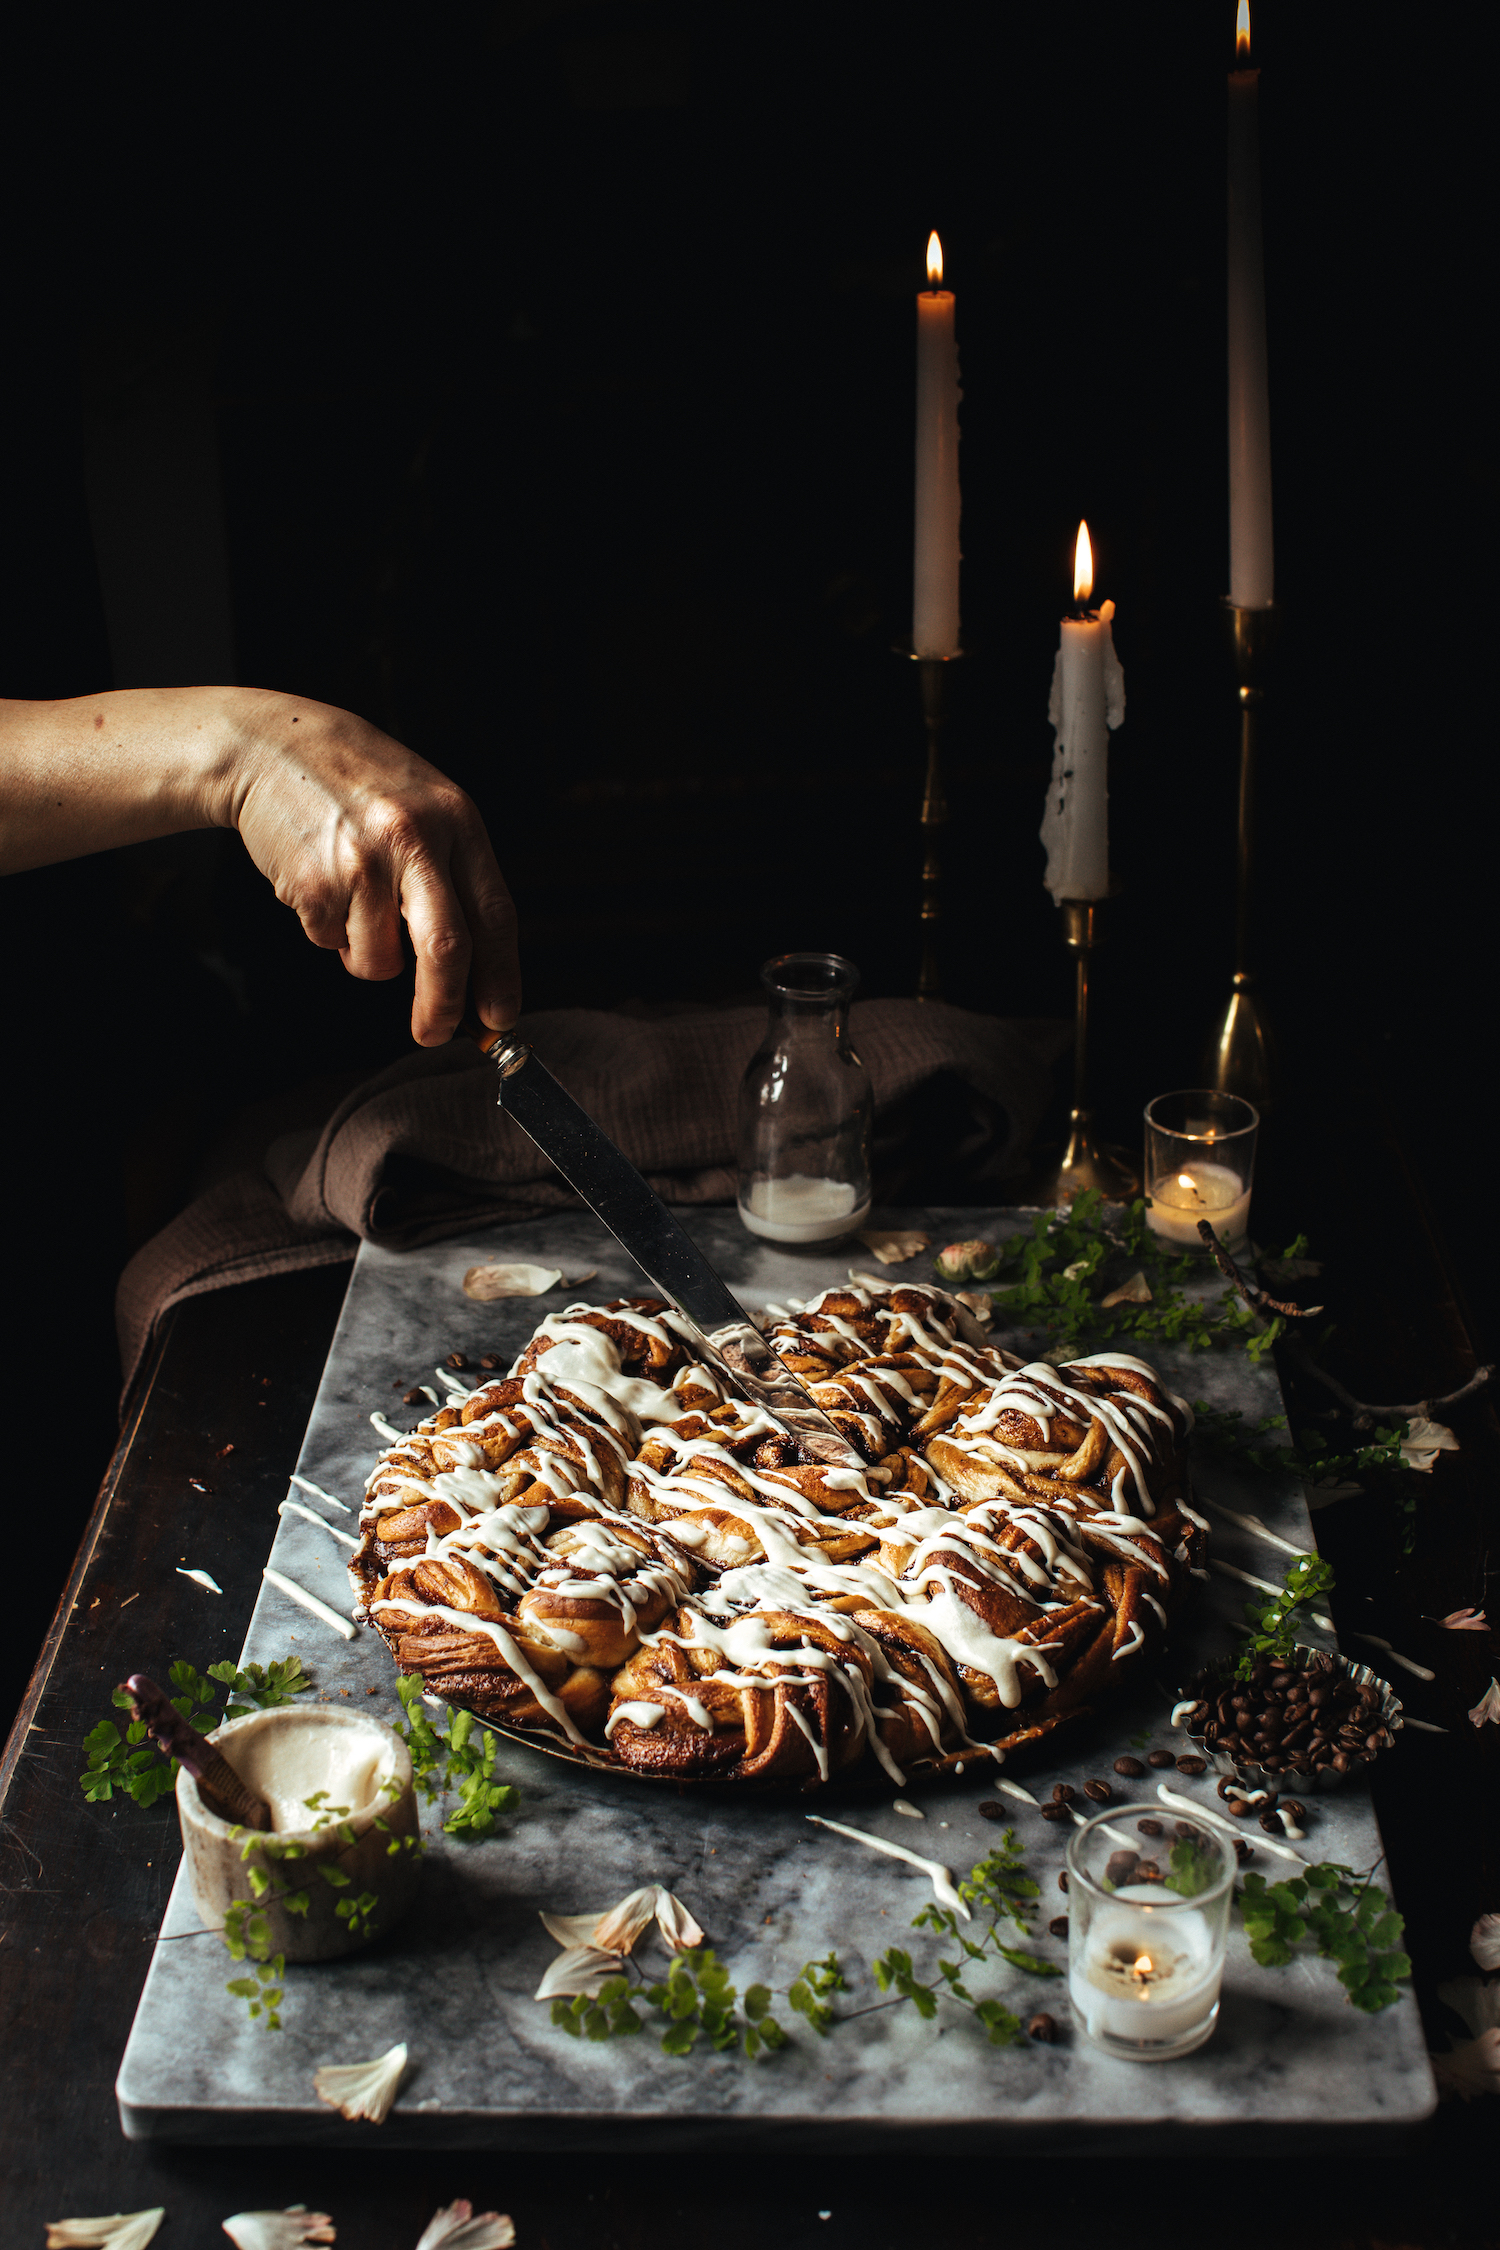
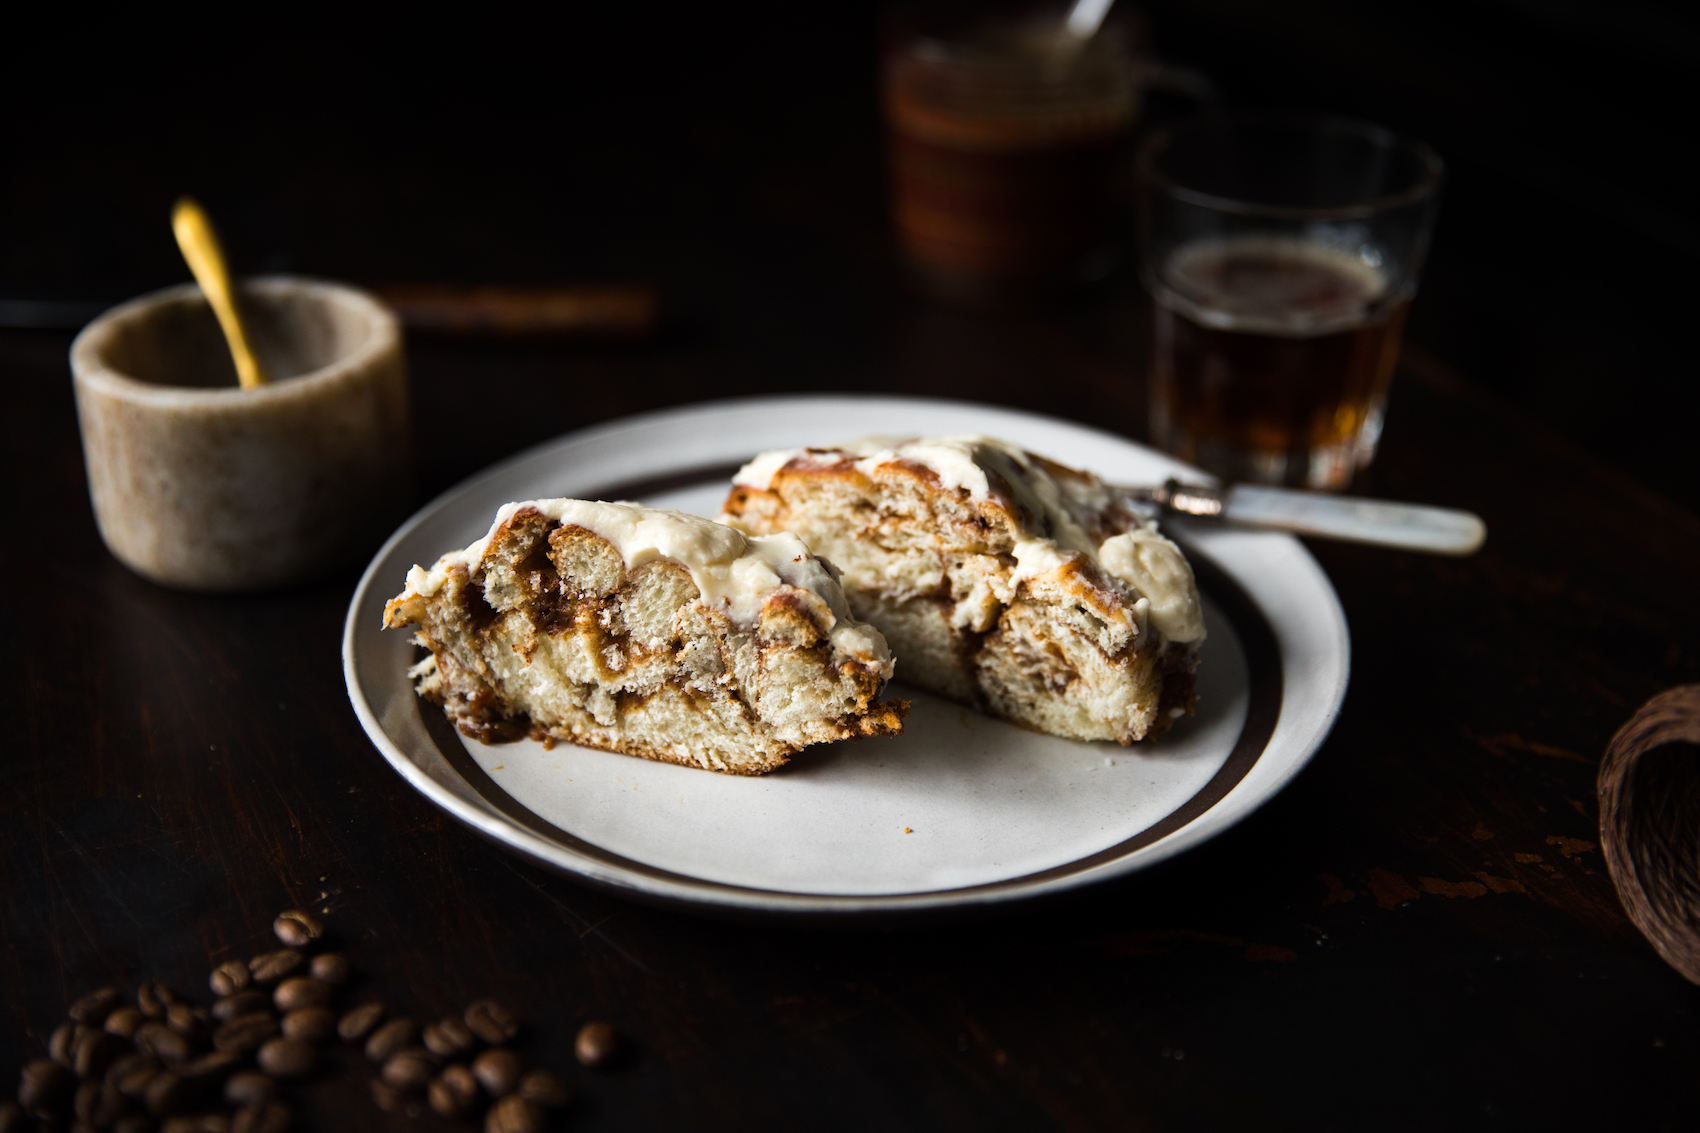
- The other way to serve is by lightly drizzling the frosting over the buns with a spoon or fork once they’ve cooled and serving with a heaping dollup of extra frosting on the side.
- Or serve these buns as is with a side of frosting for dunking.
- Anyway you pick, it’ll all be super yummy and fun.
- If using a pizza pan to to bake buns, make sure you line the bottom of your oven with some aluminum foil as there could be some excess filling that spills over
- Buns are ideal same day they are baked. However, keeps well for up to 3 days wrapped or in an airtight container.

 I know you’re thinking, “This looks hard!” I assure you it’s not! If I had to compare it to another task that might seem initially difficult- it’s like sewing a button. Actually, I don’t know how to sew a button. Rewind. Erase. It’s like learning to tie a shoelace. It seems complicated at first, but once you get into it, you’ll find your groove and it’s a cinch. A kid could even weave this bread. It’s that simple. You just need to follow the steps. And the pictures below will make it a no-brainer. I promise.