
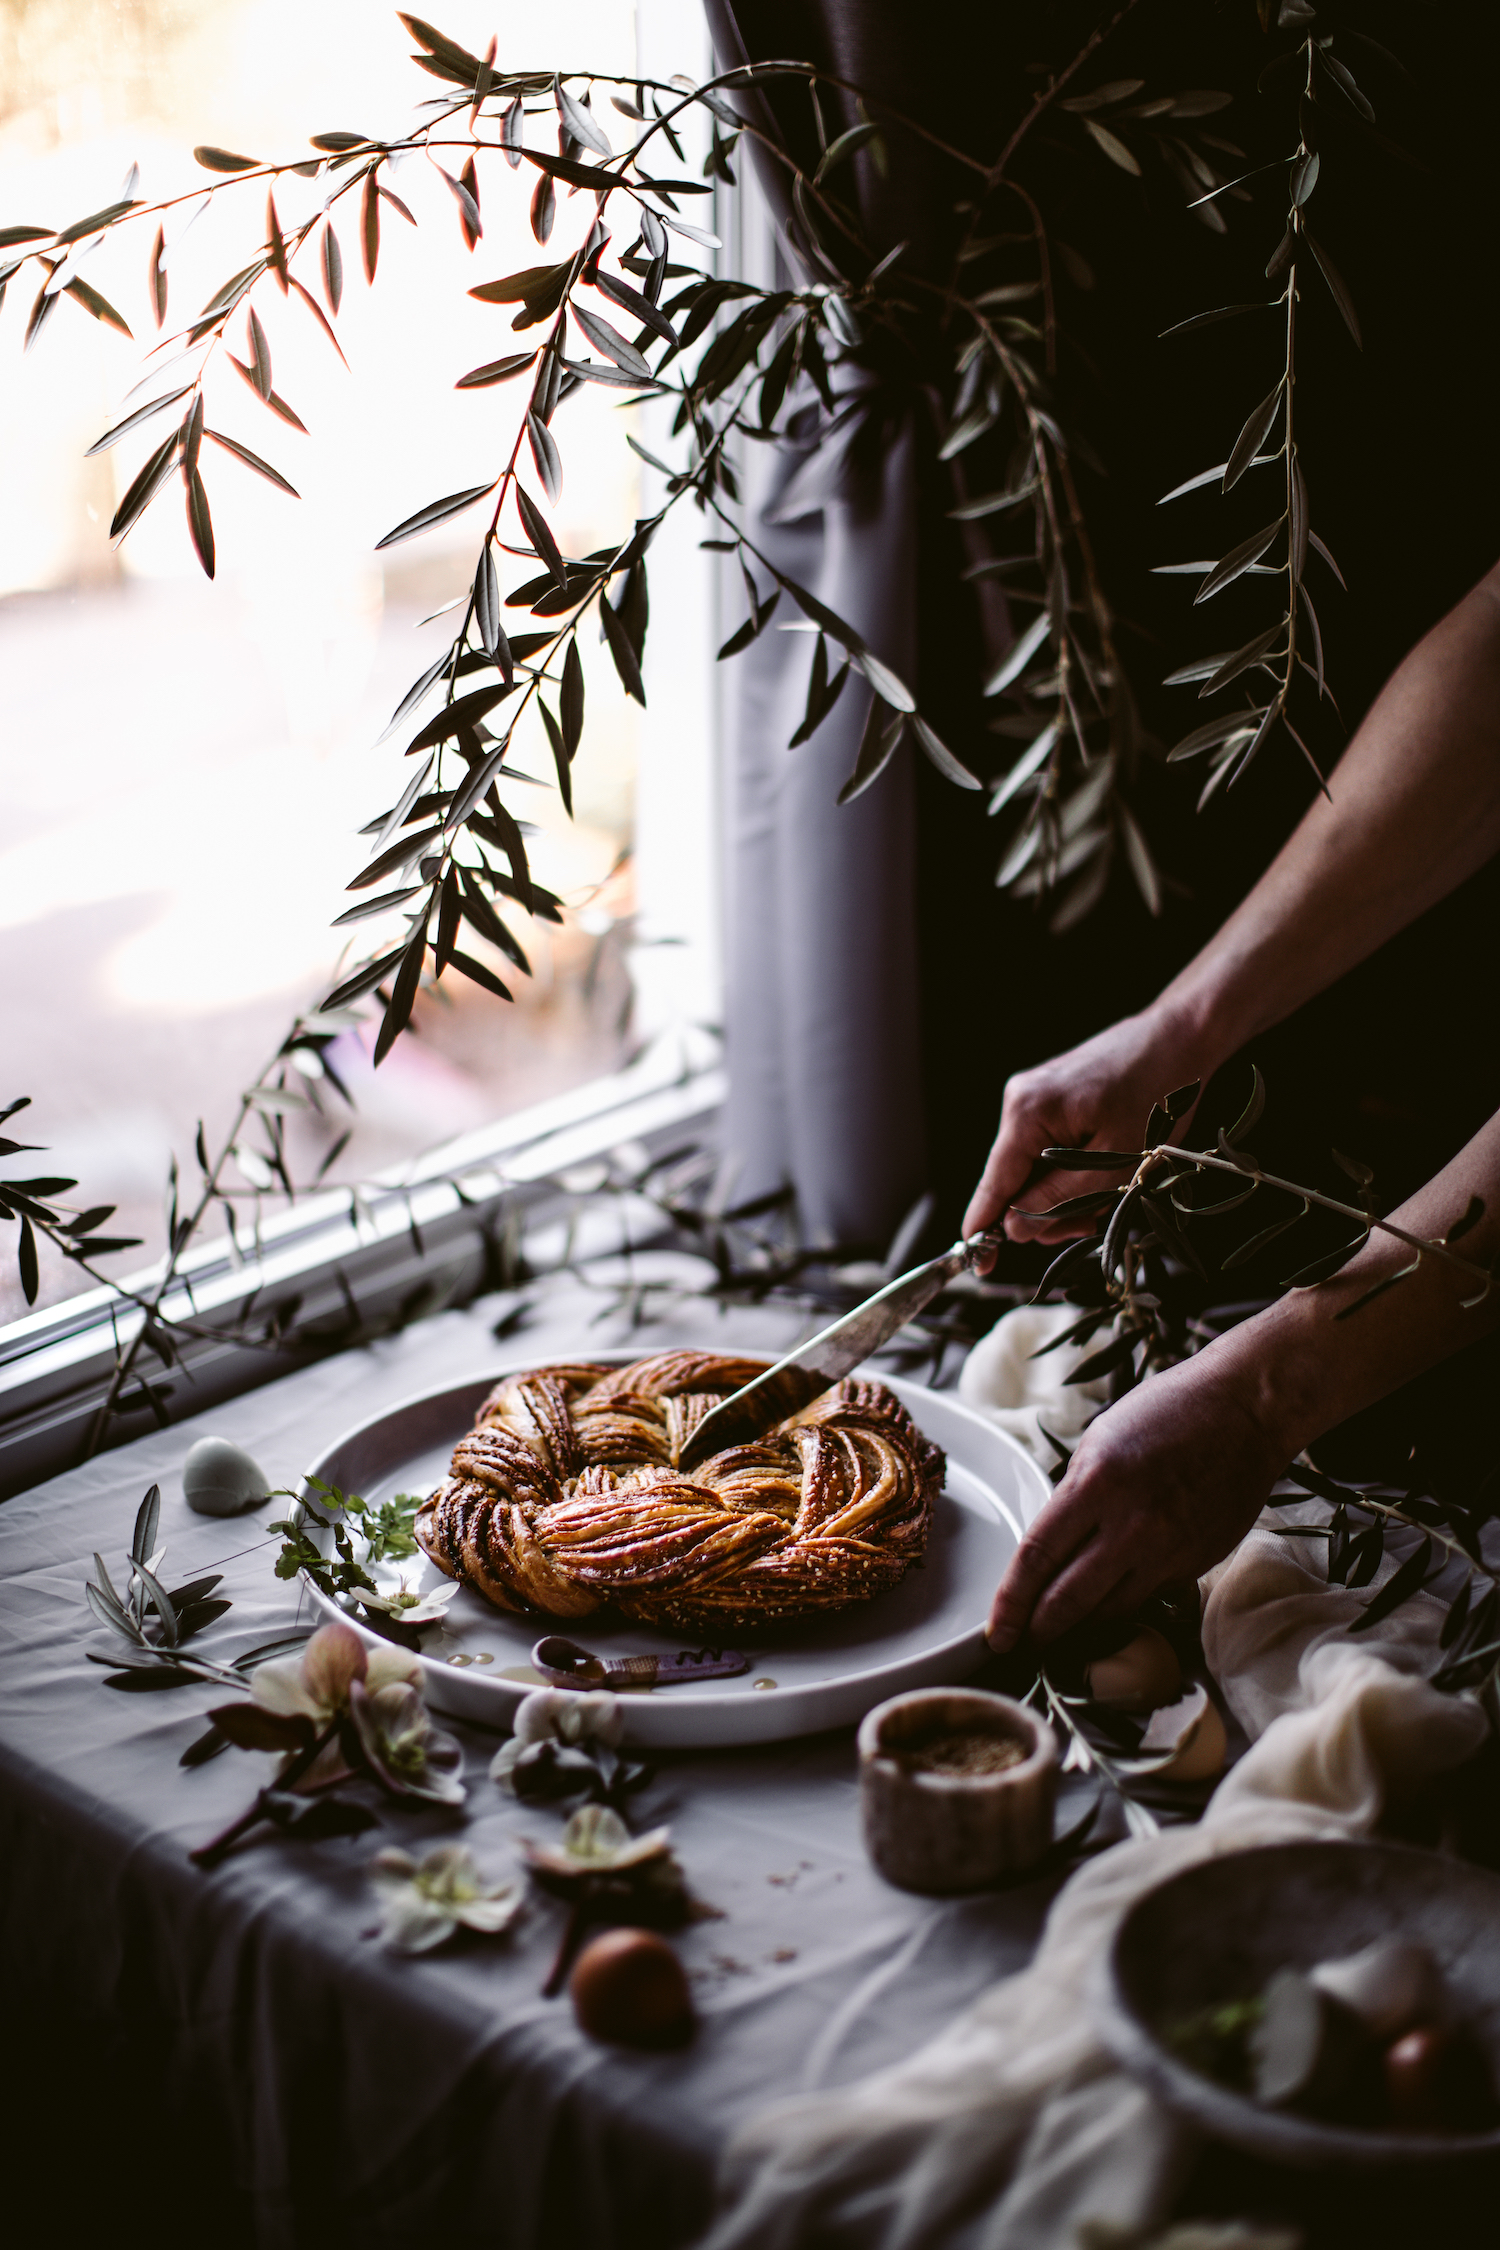
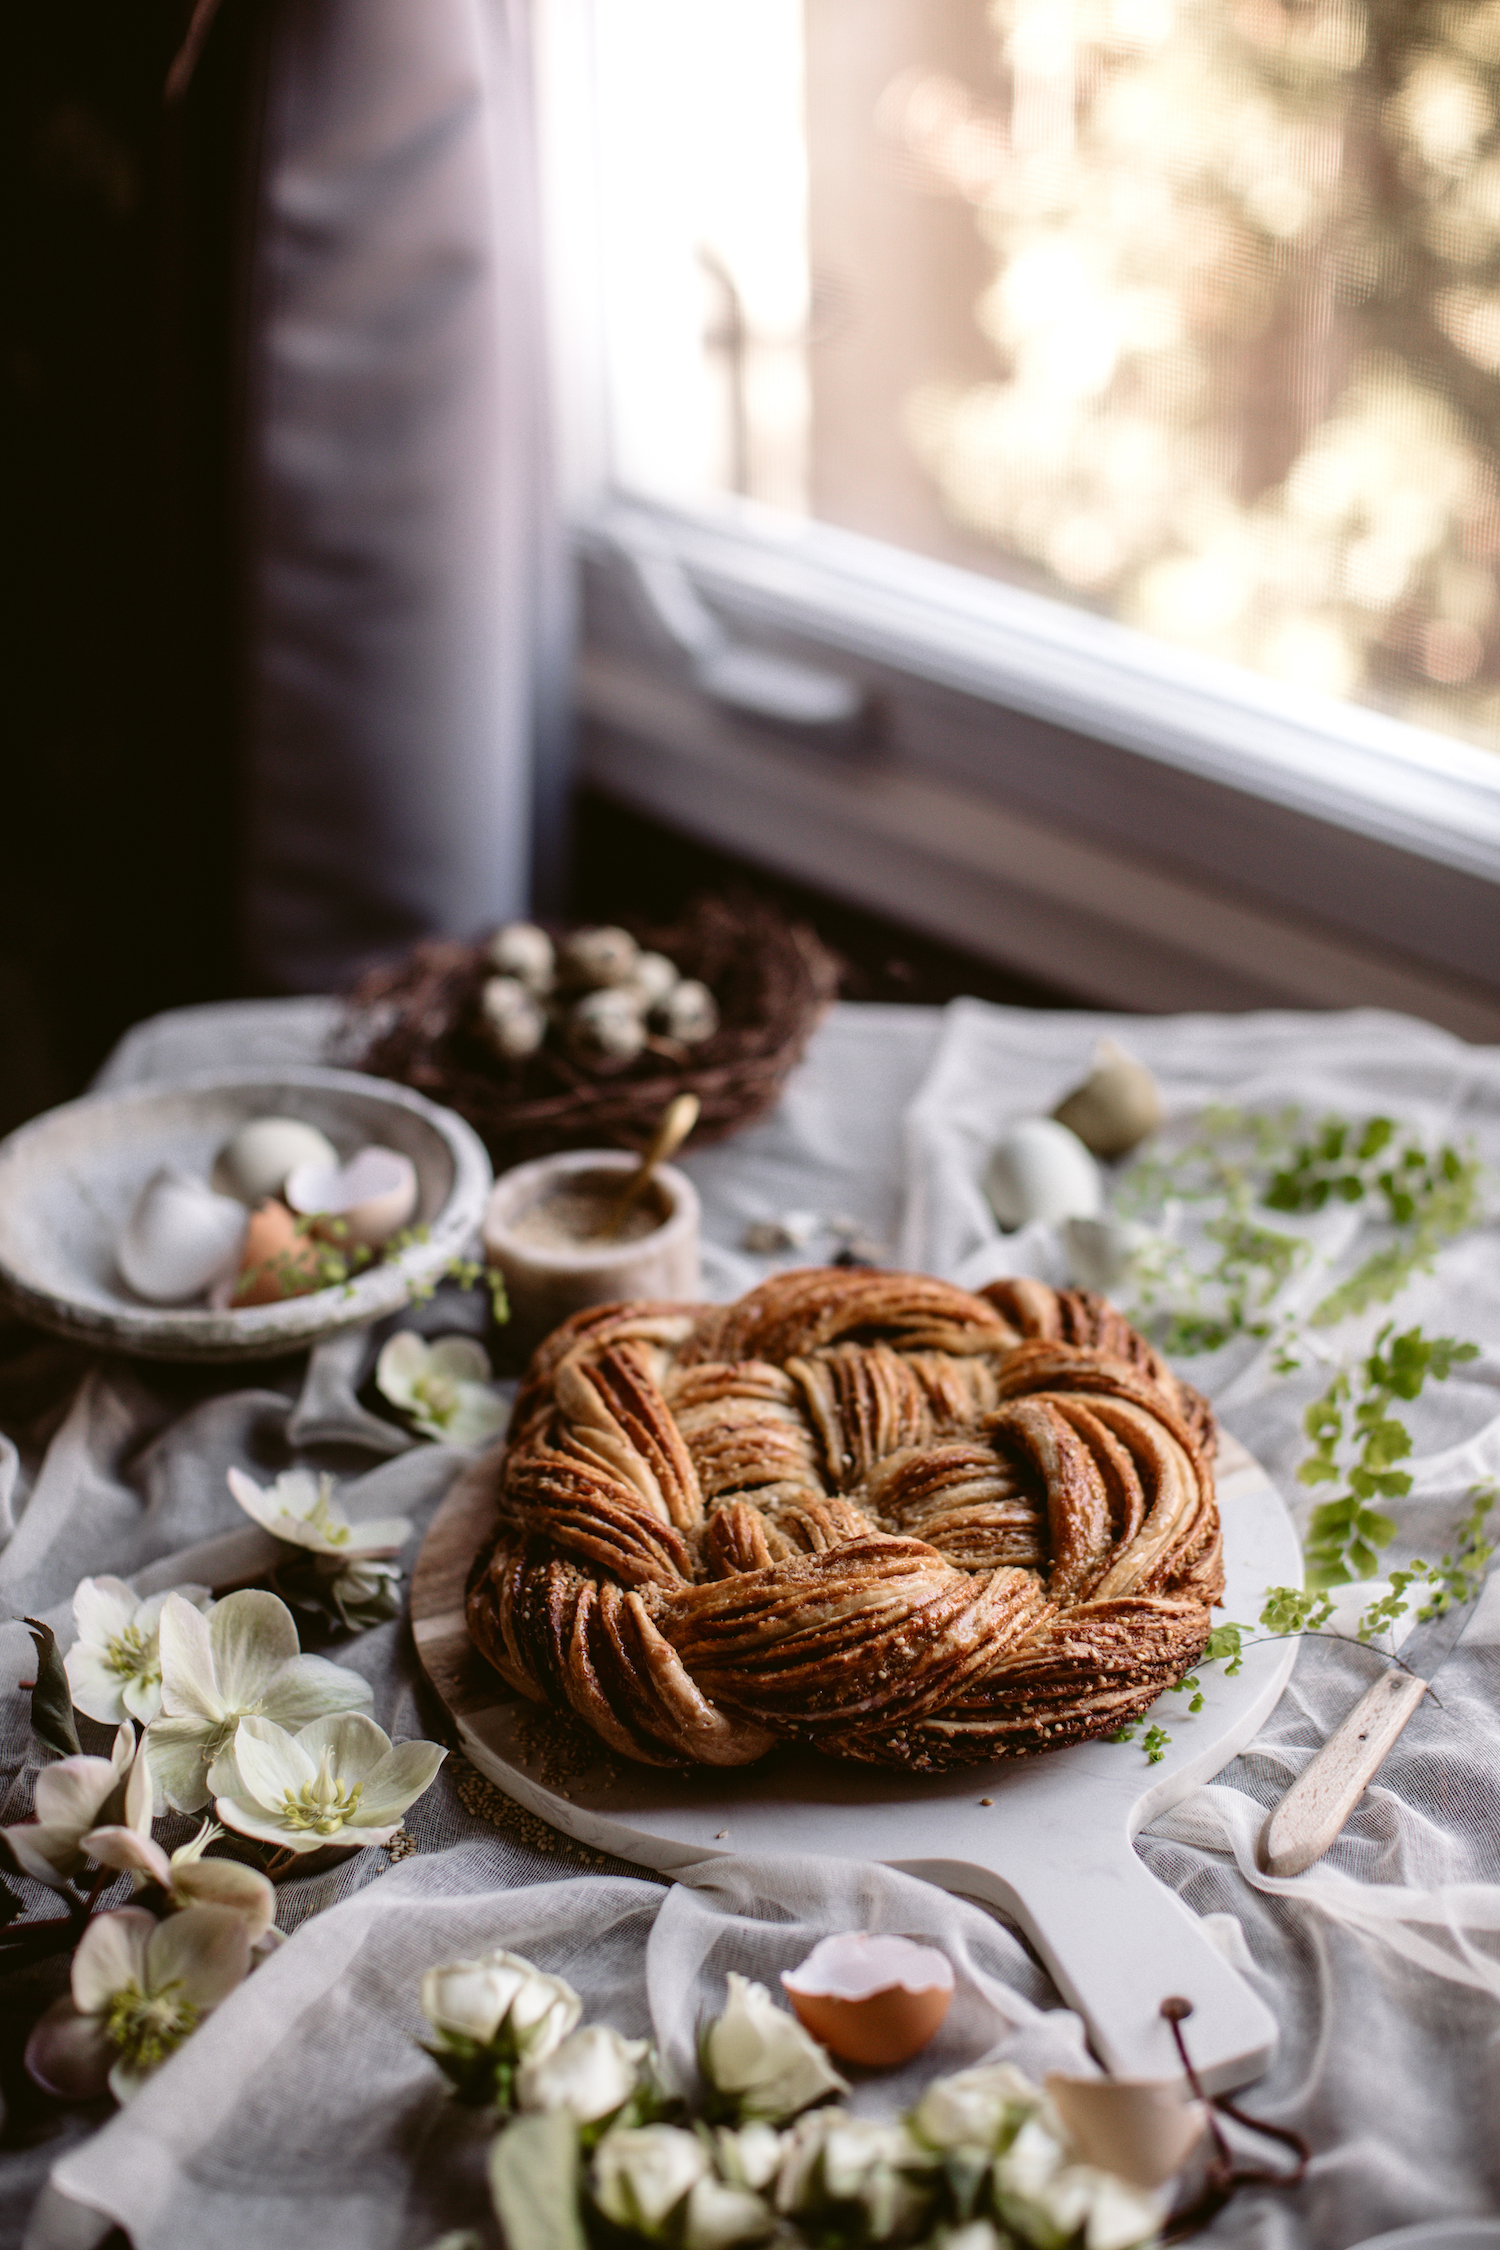
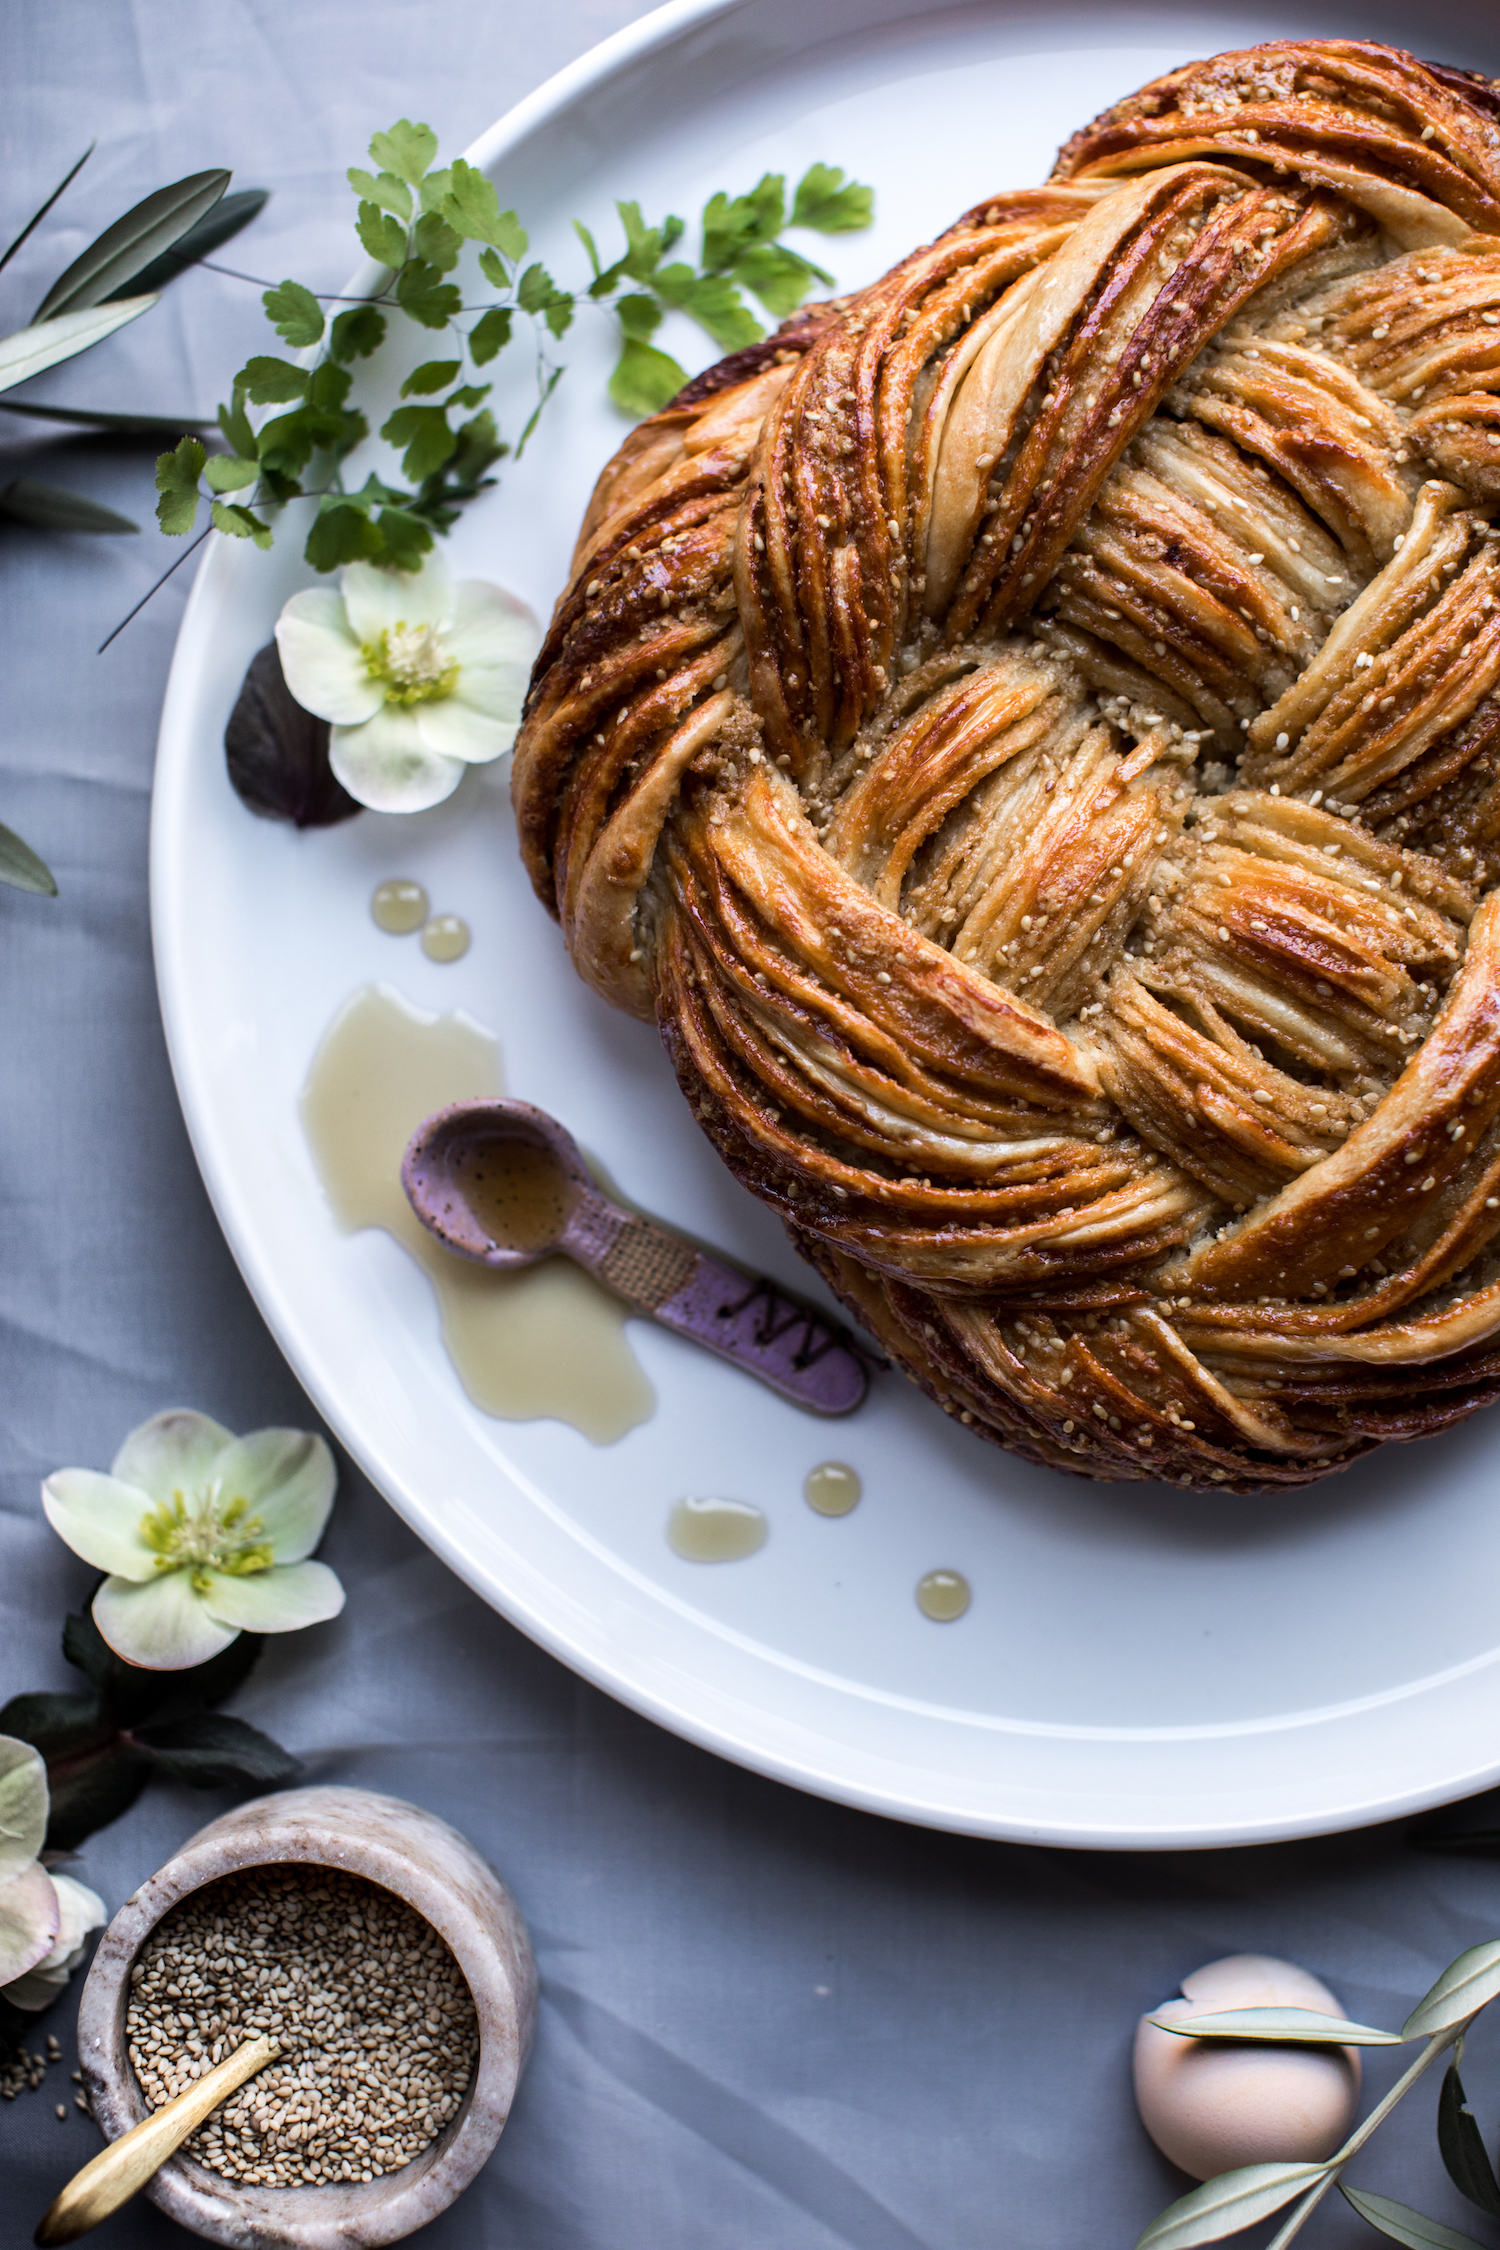
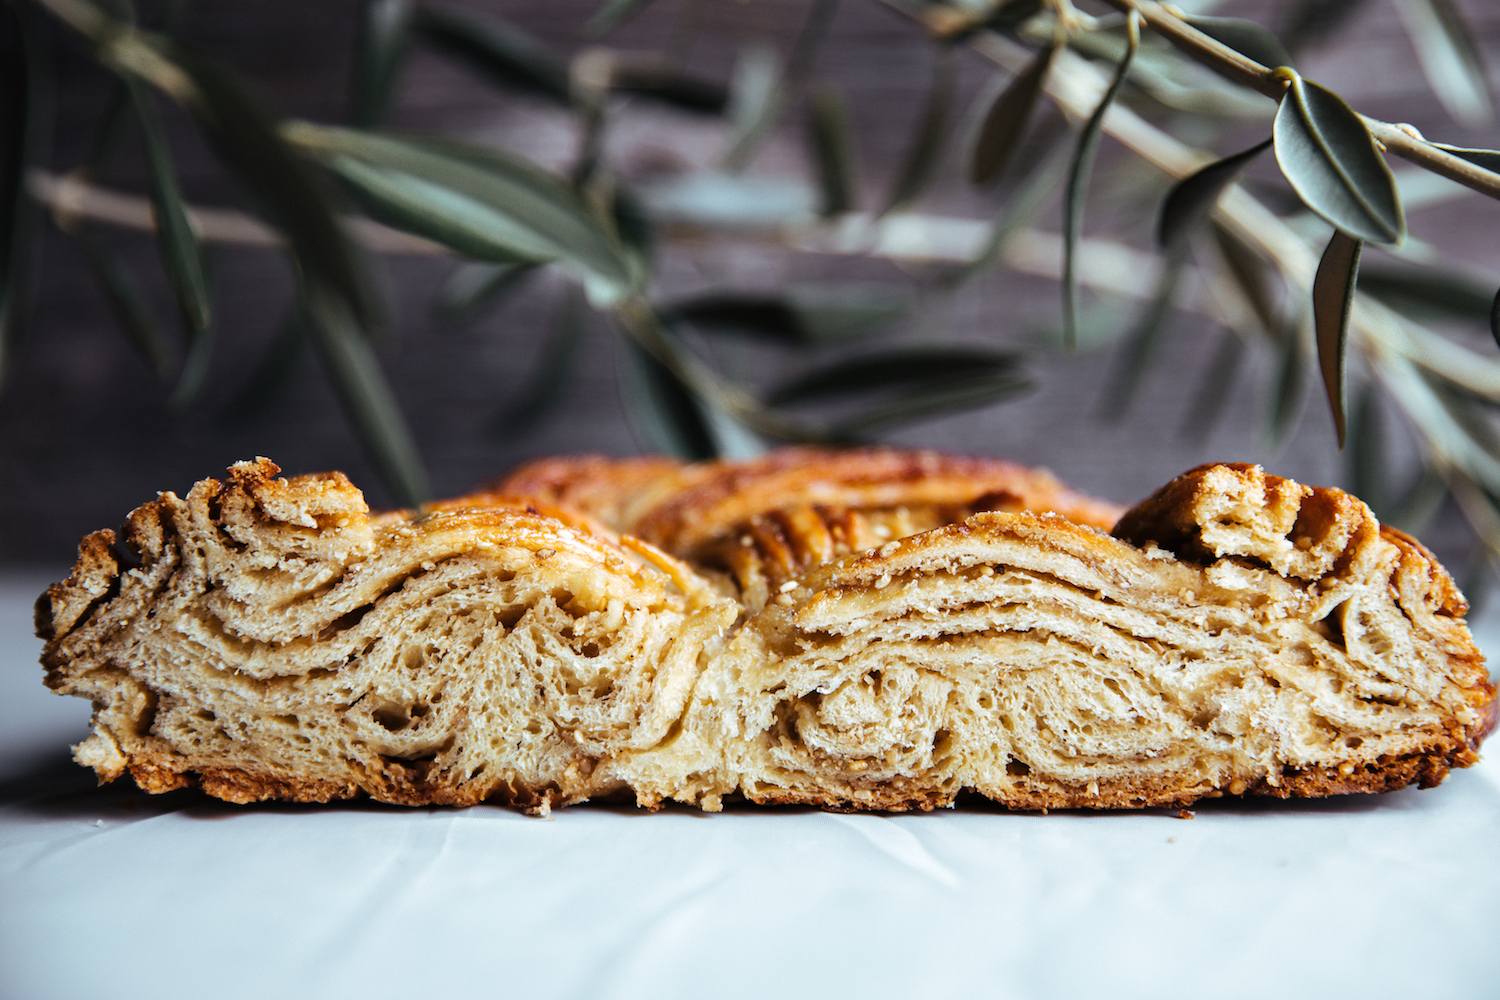
As I continue on my Stems & Forks journey, I’m learning that my recipes are truly about taking the ordinary and making them extraordinary. Such as this weave brioche. I’ve taken this classic weave bread and doubled up on the layers by having 4 tendrils of dough rather than 2 crisscrossing. In fact, altogether there are 8 tendrils weaving in and out, creating a kaleidoscope of sugar, dough and buttered sesame seeds. If you love a more “pillowy” bread, feel free to make this into a two-roll (but with 4 tendrils) bread. I just love having loads of buttery sesame seeds intertwined with the brioche.
 I know you’re thinking, “This looks hard!” I assure you it’s not! If I had to compare it to another task that might seem initially difficult- it’s like sewing a button. Actually, I don’t know how to sew a button. Rewind. Erase. It’s like learning to tie a shoelace. It seems complicated at first, but once you get into it, you’ll find your groove and it’s a cinch. A kid could even weave this bread. It’s that simple. You just need to follow the steps. And the pictures below will make it a no-brainer. I promise.
I don’t say this often, but this has definitely become one of my favourite recipes. I made this on a Friday but photographed it the following day. It was still moist and wonderful. Now I say it’s enough for 5-6 people, and with that being said, my husband and I finished it with a pot of coffee in less than an hour. But I guess my husband and I don’t qualify as normal people. We have no self-discipline when it comes to deliciousness! Make 2 if you expect company.
Wishing you and your family a happy Easter, Passover, Spring.
Bon App!
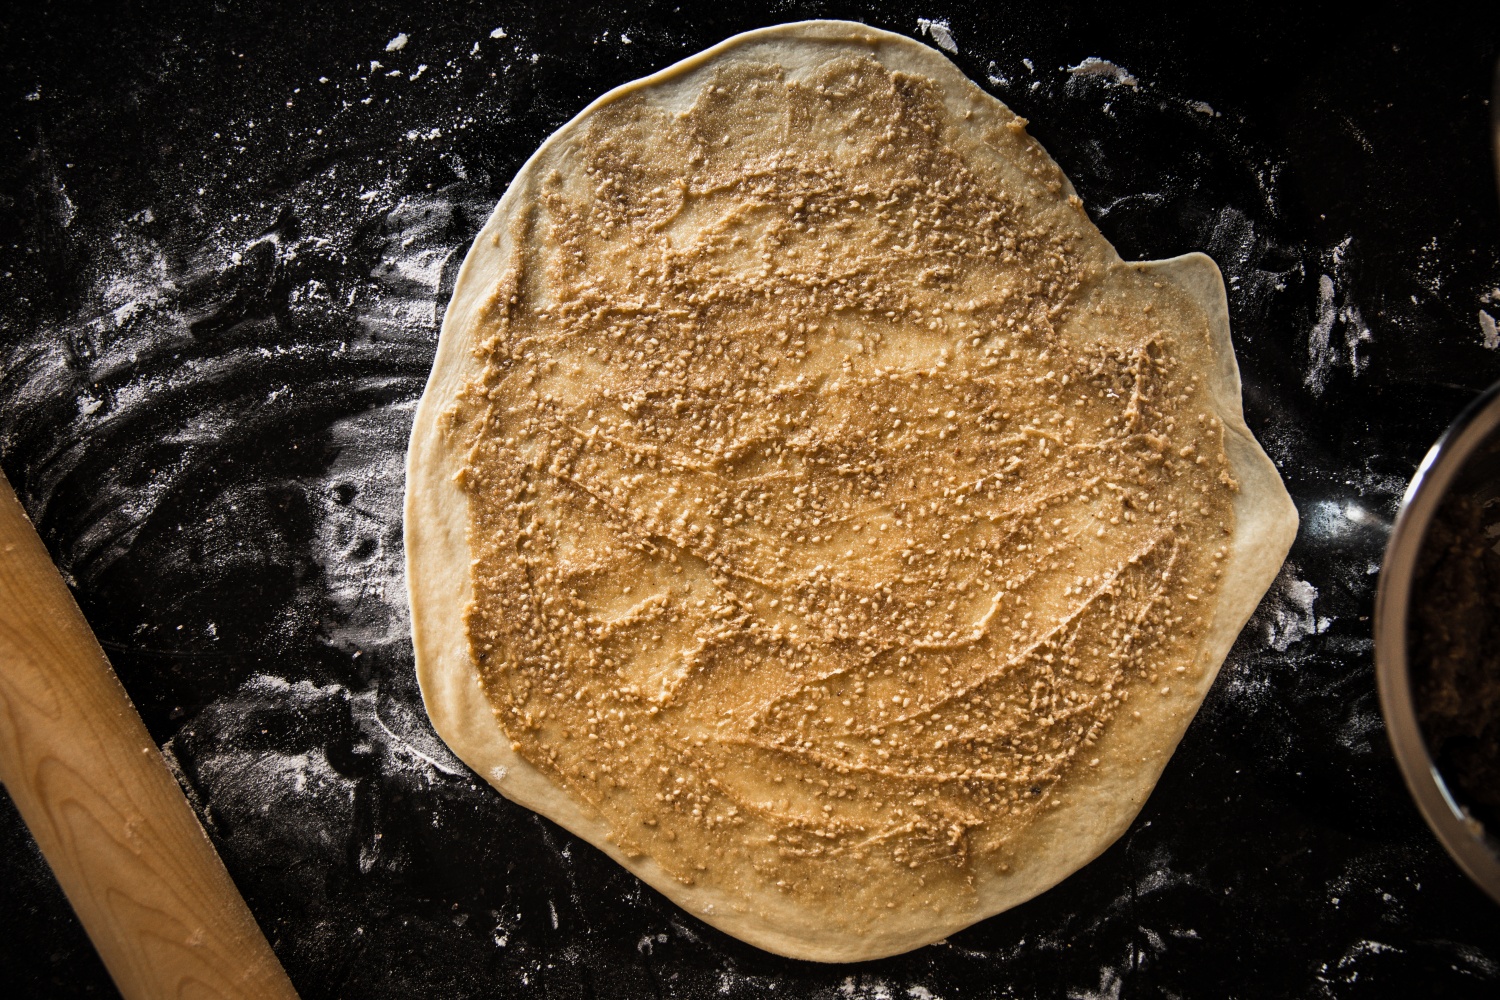
2. Take about a quarter of the filling and spread leaving about half an inch on the edge
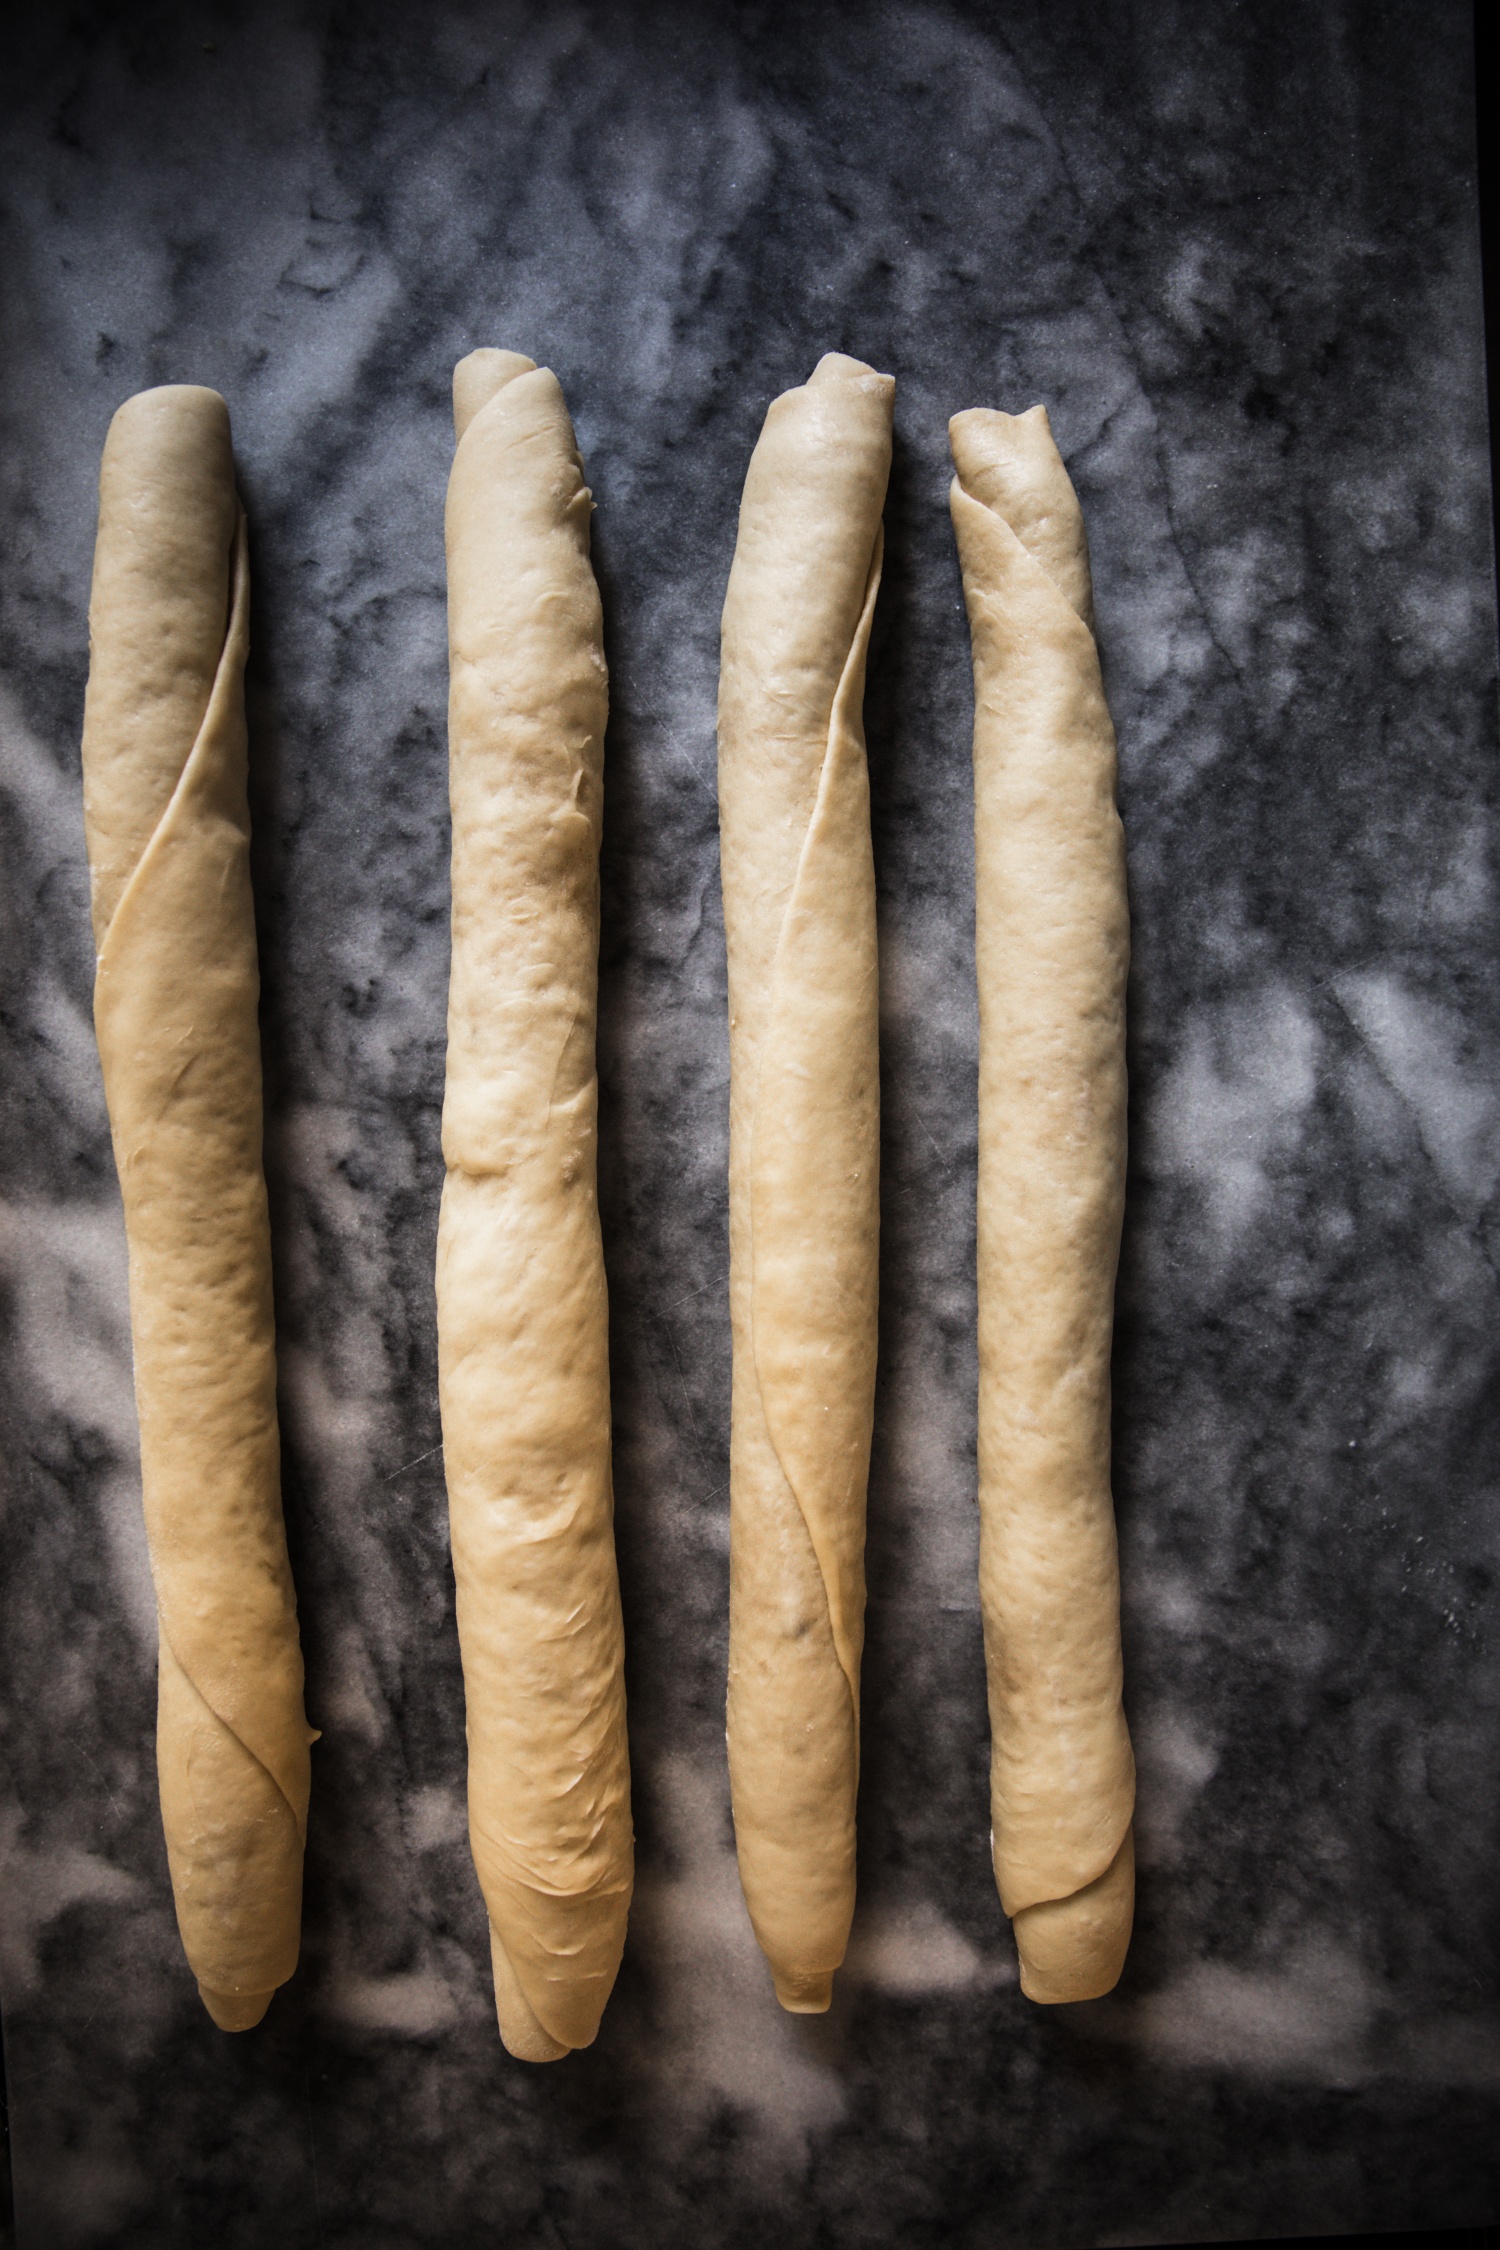
3. Roll up nice and tight
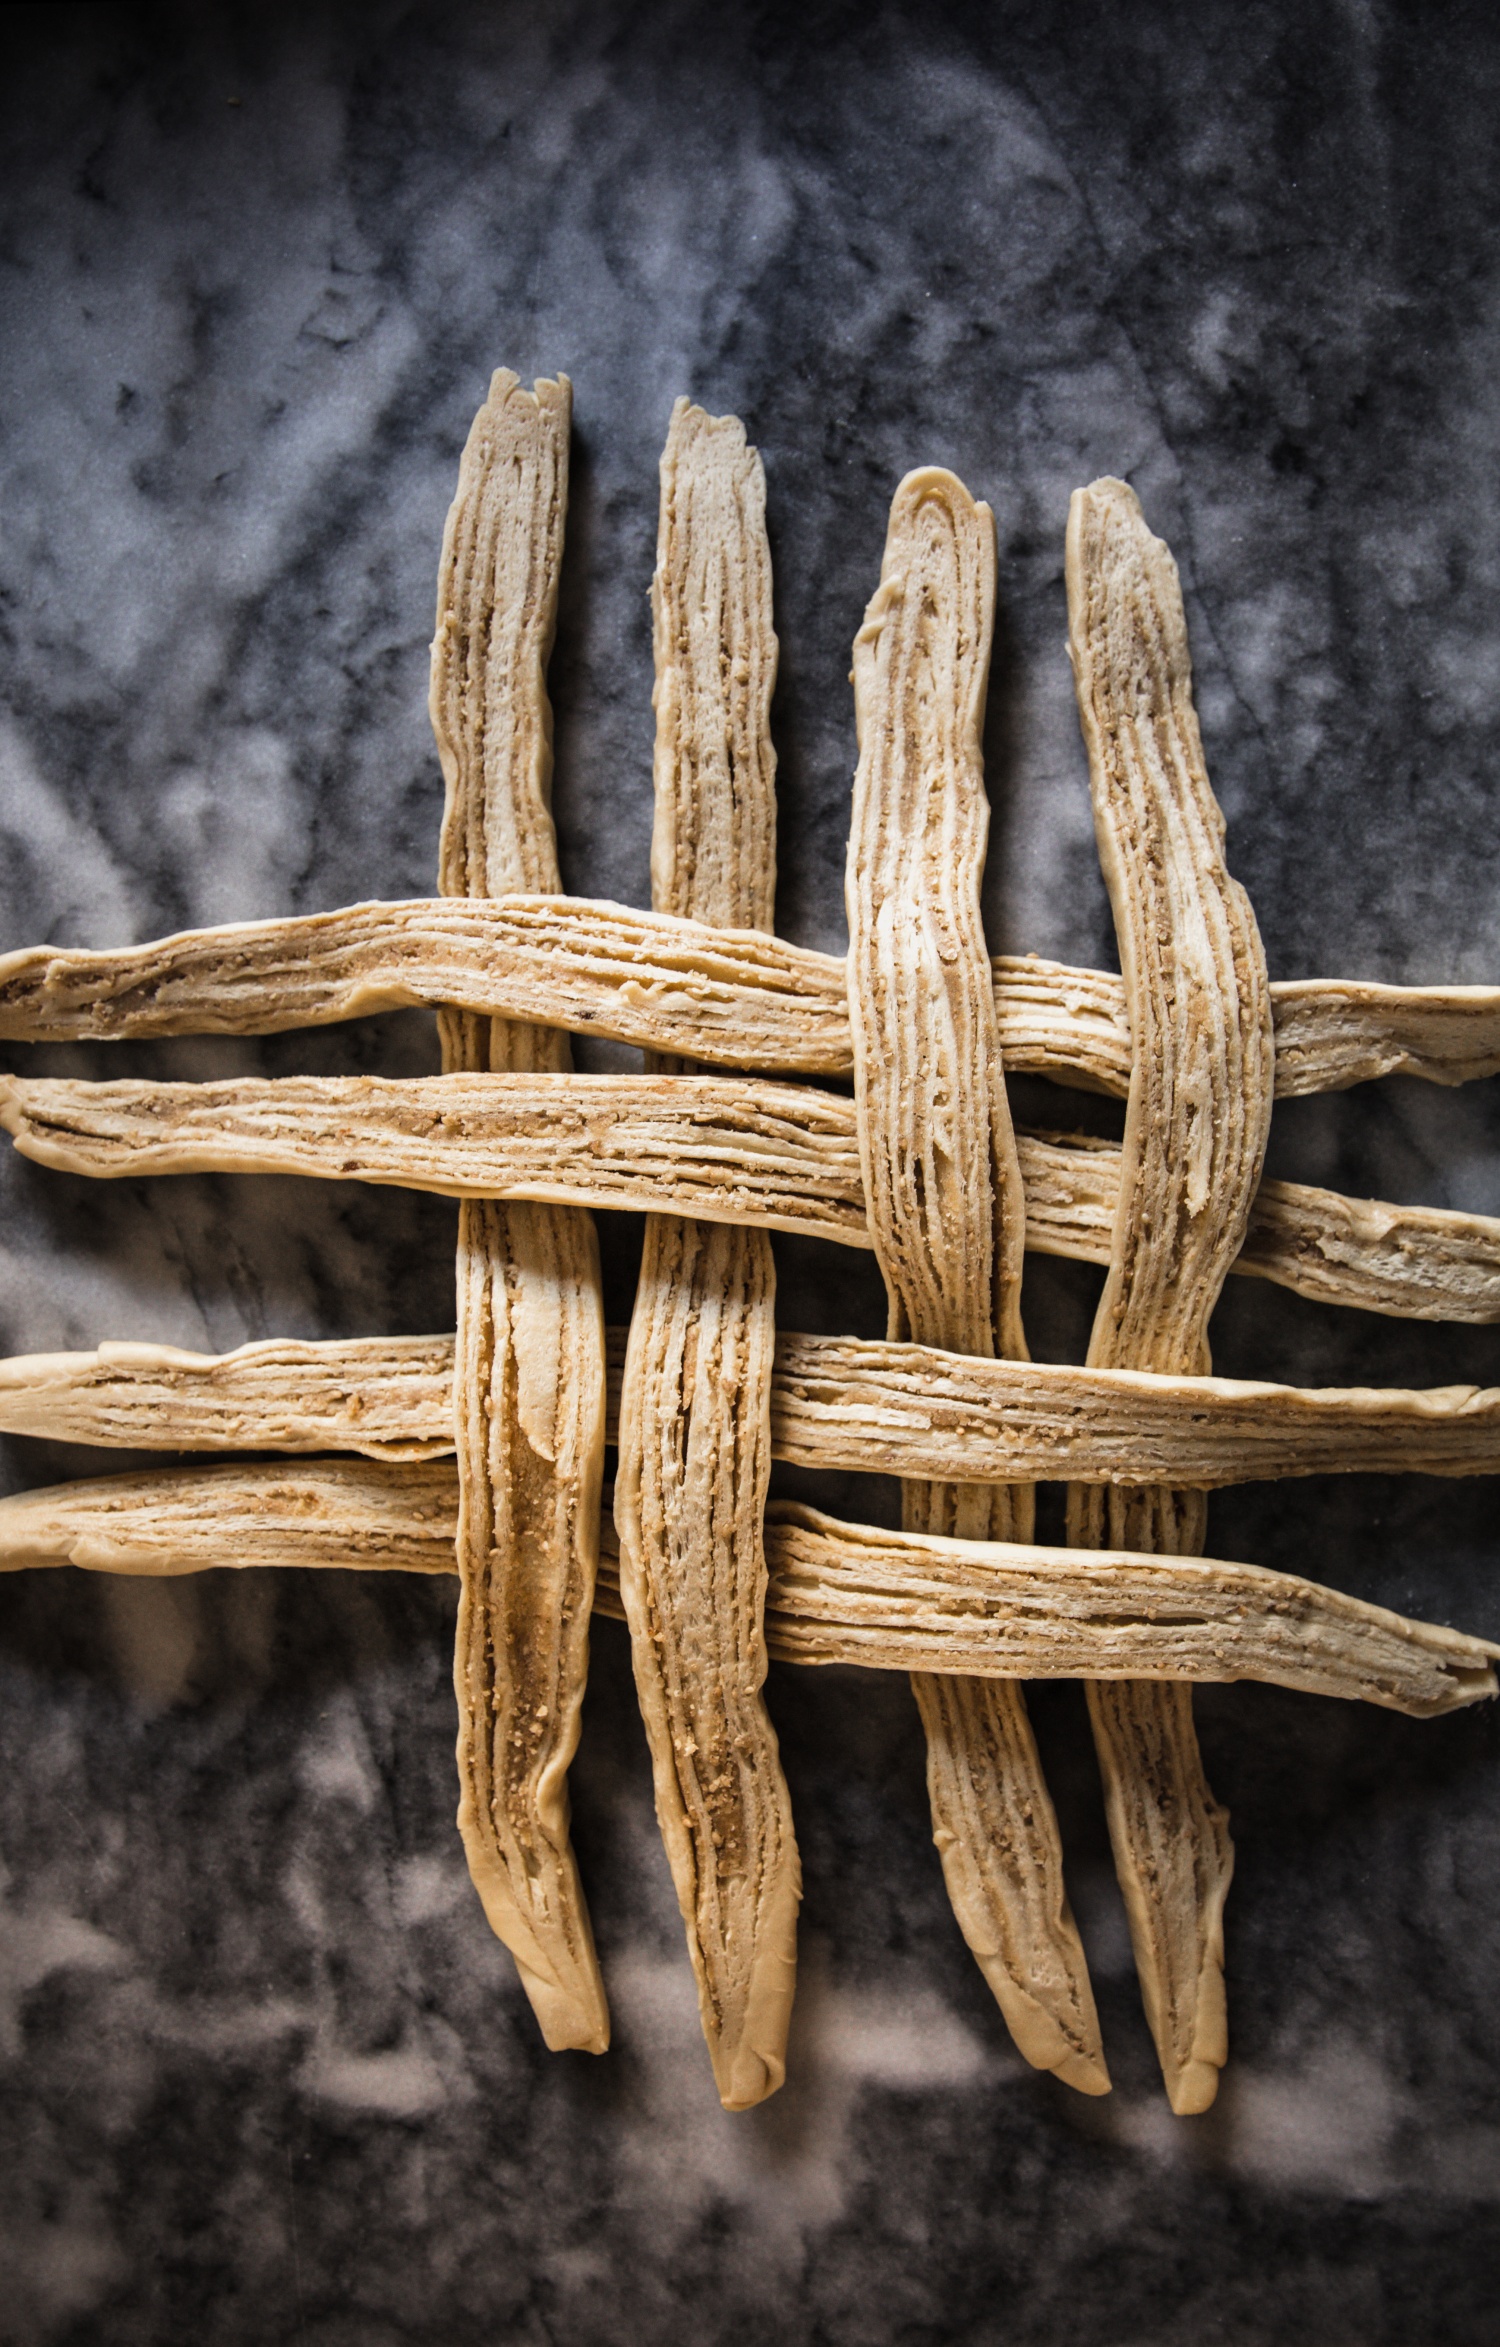
4.With a sharp serrated knife, cut the rolls down the centre middle in half lengthwise.

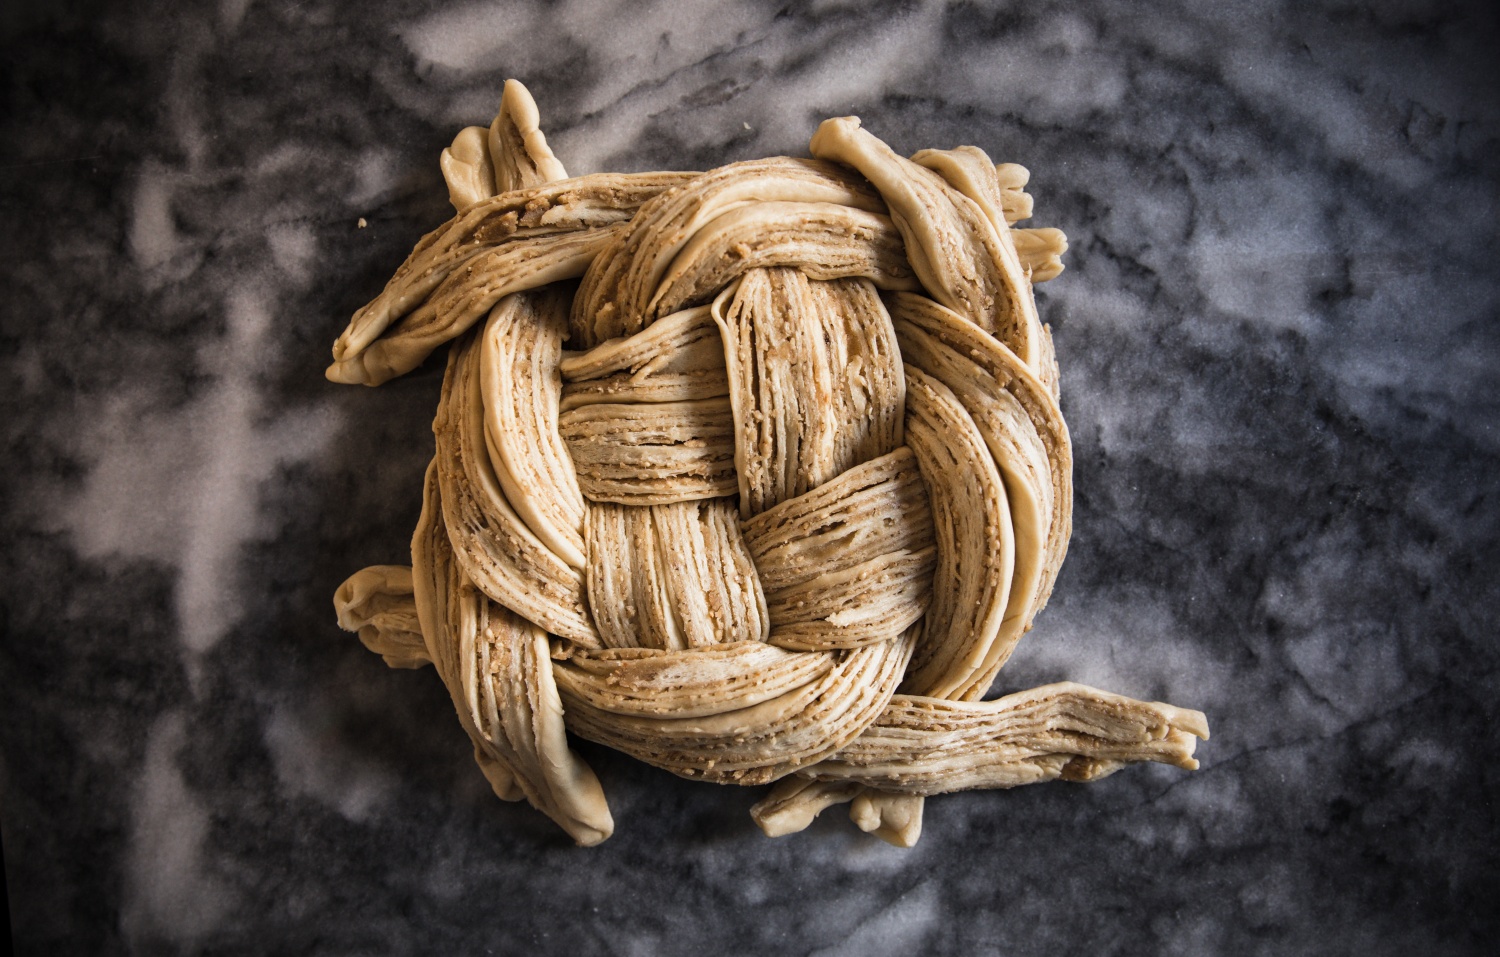
6.Overlap the tendril pairs so they are alternating with the overlaps

- FOR THE BREAD:
- 2 1/2 cups or 325 grams all purpose flour
- 1/4 cup or 50 grams white granulated sugar
- 1 teaspoon white granulated sugar
- 1 teaspoon table salt
- 1 1/2 teaspoons traditional active dry yeast
- 1 cup milk (will be reduced to a little less than a cup of milk)
- 2 Earl Grey Tea bags
- 2 fresh eggs room temperature
- 6 tablespoons softened unsalted butter
- 1 tablespoon vegetable oil
- FOR THE FILLING:
- 1/2 cup or 113 grams softened unsalted butter
- 1/2 cup or 100 grams brown cassonade sugar
- 1/3 cup or 40 grams toasted sesame seeds
- GLAZE:
- 2 tablespoons pure maple syrup
- In stand mixer bowl with hook attachment, sift flour, sugar and salt and give quick mix (with a whisk)
- In small sauce pan, on medium low heat, scald the milk until it forms little bubbles on the side of pan or reaches a temperature of 180 F. Turn heat off and allow to cool to about 110 F or touch with hand. Should be very warm to the touch… but not too hot that it’s unbearable to touch
- Measure out 1/2 cup of the warm milk in a bowl and add the yeast and 1 teaspoon white sugar and give quick stir. Set aside and allow to poof (double its size)- about 10 minutes
- Drop the 2 Earl Grey tea bags in the remaining warm milk in sauce pan and let steep for 4 minutes. Remove bags and squeeze excess milk
- You should be left with about 1/3 cup of Earl Grey infused milk
- In stand mixer, still with kneading hook, stir in the Earl Grey infused milk
- Then add the milk with yeast and stir – Mixture will look shaggy and ragged. This is okay.
- Add the eggs in one at a time while stirring on low- scrape sides and bottom with a spatula a couple times while kneading.
- Add the butter in a table spoon at a time. waiting for butter to be incorporated fully before adding the next chunk in – dough will look sticky but keep kneading until the dough looks shiny and smooth
- If still dry and not coming together after 2 or 3 minutes, add a teaspoon of water or milk until dough comes together. If opposite issue of too wet, add an extra flour, a tablespoon at a time. You don’t want it too sticky like pizza dough nor too taut… refer to pic above.
- Continue to knead for 10 minutes until the dough is smooth, shiny and no longer sticky
- Form the dough into a ball
- Grease with vegetable oil a large bowl until it is lightly covered
- Lightly roll the dough around in the greased bowl (Make sure bowl is large enough to accommodate the fact that dough will double in size)
- Cover with plastic film and allow to rise in warm area of home for 3 hours.
- In the meanwhile make the FILLING
- Loosely crush the sesame seeds in a mortar and pestle or zip in blender for a few seconds or put in ziplock and crush with rolling pin. You want a few seeds crushed. Crushing it will release some lovely nutty flavour
- Mix with spatula in bowl, the softened 1/2 cup butter and 1/2 cup brown cassonade until well blended- set aside
- ASSEMBLING THE WEAVE:
- *There are a series of pictures above which will help with the assembly
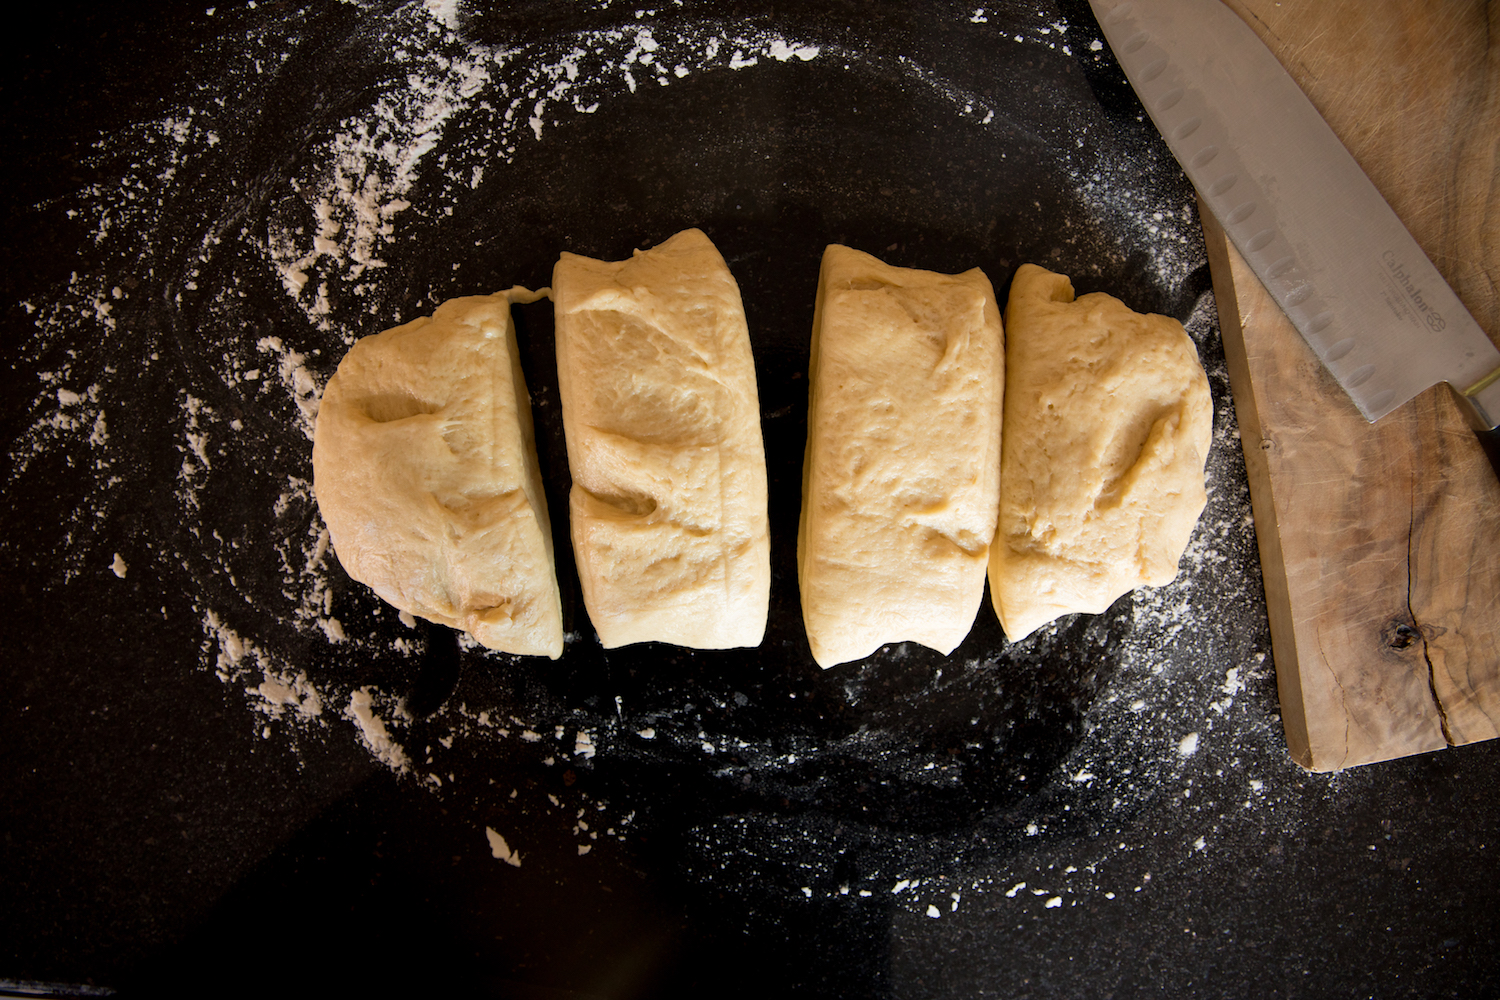
- After the first rise, take dough and cut into 4 equal pieces
- Roll each piece into flat oval shapes – about 12 inches in diameter
- Take about a quarter of the filling and spread leaving about half an inch on the edge
- Roll up all the way
- Do this for the rest of the dough sections
- Pop in refrigerator for 15 minutes on baking tray lined with parchment paper covered with plastic (Optional- I find this step helps keep the dough a bit firm when shaping)
- With a sharp serrated knife, cut the rolls down the centre middle in half lengthwise.
- Create a “tic tac toe” grid with the tendrils (refer to pic)
- Overlap the tendril pairs so they are alternating with the overlaps (see pic)
- Take all the tendril pairs that are on the underneath another tendril pair to overlap the pair that is clockwise to it. (refer to pic)
- Carefully tuck the tendril ends under the loaf
- Put on a large baking tray lined with parchment with at least 4 inches on all sides (to allow for the second rise and the spread during bake)
- Cover with a damp tea towel for second rise, place in warm part of house- about 1 1/2 hours
- BAKING THE WEAVE:
- Preheat oven to 375 F
- Remove tea towel and bake for 20 minutes or until somewhat browned on the top
- Remove from oven and cover loosely with sheet of foil and bake for another 15-18 minutes
- Test bread by pressing close to centre…should be firm
- Immediately brush maple syrup all over bread
- NOTES:
- *When yeast doesn’t poof, it usually means the milk was too warm or too cold. If you don’t have a food thermometer, test by touching water. It should be very warm but not so hot that your fingers can’t take it.
- Another issue could be the yeast has expired or simply died.
- If you only have raw sesame seeds, toast on pan over medium high heat for about 3 minutes stirring occasionally.
- This weave bread is best consumed within a couple days, however can be kept up to 5 days at room temperature wrapped with plastic
- Can also be frozen for about a month
Wow! This bread is a masterpiece! I’m not much of a bread maker (I like my simple bread machine stuff) but my dad is a bread maker and I would love to make this to impress him! Lol! Thank you for the inspiration!
Thank you Tara. So happy you like the way this bread looks! It’s much easier to make than you think! Let me know if you have any questions.
Cheers,
Betty